AI Mode. More power to you.
31st October 2026
The Workflow
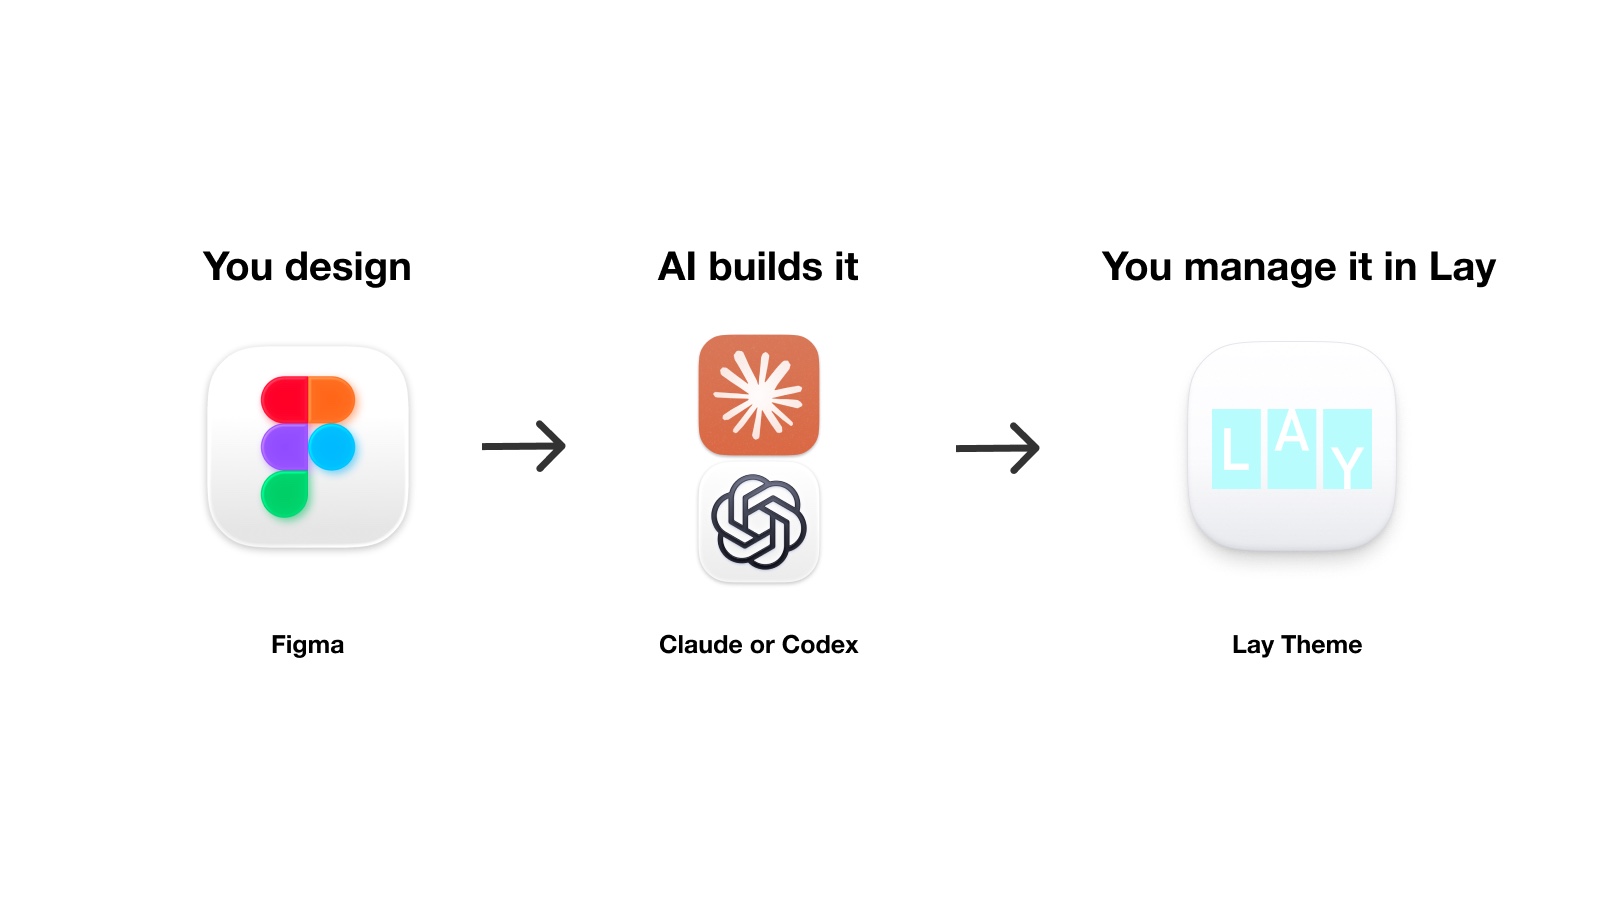
Here is the workflow from start to finish.
Let's find out what you can do with AI Mode.
For a shorter overview, see Claude to WordPress, Figma to WordPress or Build a Custom Website with AI.
For a complete real-world walkthrough, see How I Build €10,000 Gallery Websites with AI.
 Design in Figma↓Open Figma Dev Mode↓
 Connect Claude to Lay↓Let it build the Design↓
 Use it in Lay,
manage content here
Real life examples
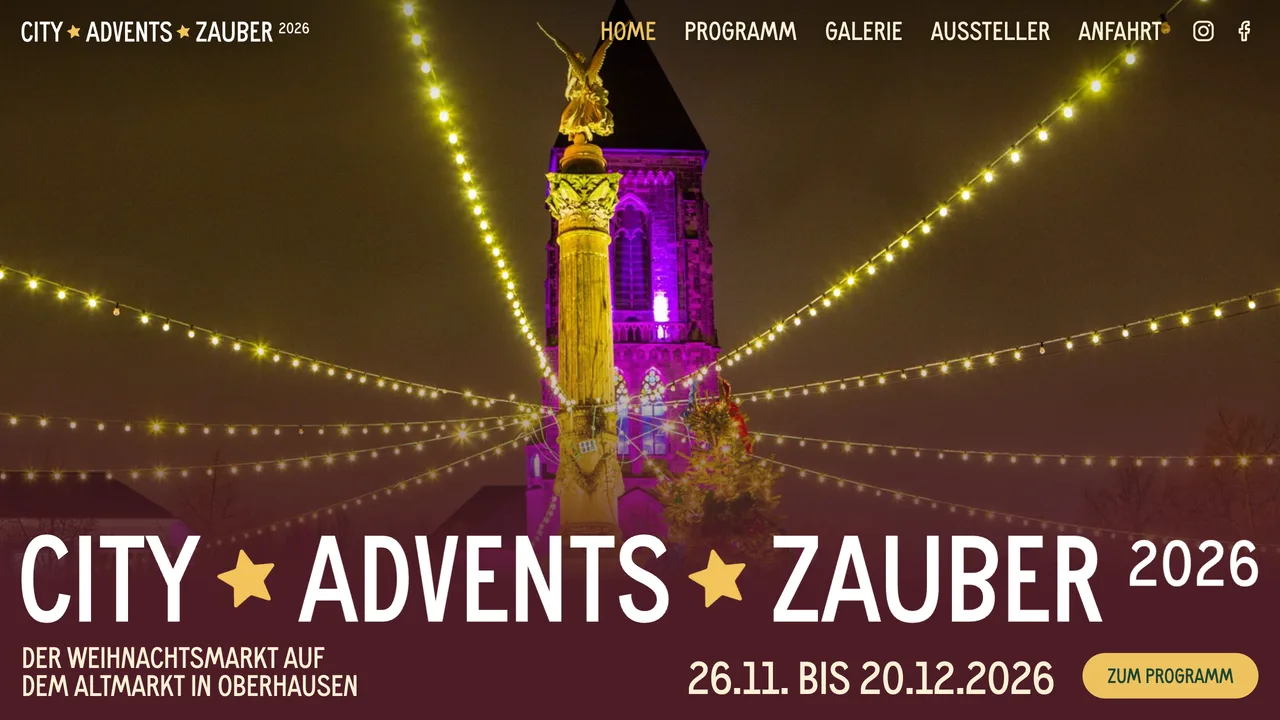
Check out city-adventszauber.de. It was built entirely with AI Mode by the talented @andrederbeiler.
Follow the complete workflow in the Gallery website tutorial.
The example website was built step by step with AI Mode.
Custom Design. Easy Content Management.
The Big Win:
You can create a complex custom design, while content management stays simple for your client.
They can edit exactly what they need through simple fields, without messing up the design. Pretty nice :)
Check out the available fields:


Design in Figma
Design the website, or just parts of it, in Figma. You can mix custom-built elements with normal Lay Theme layouts.
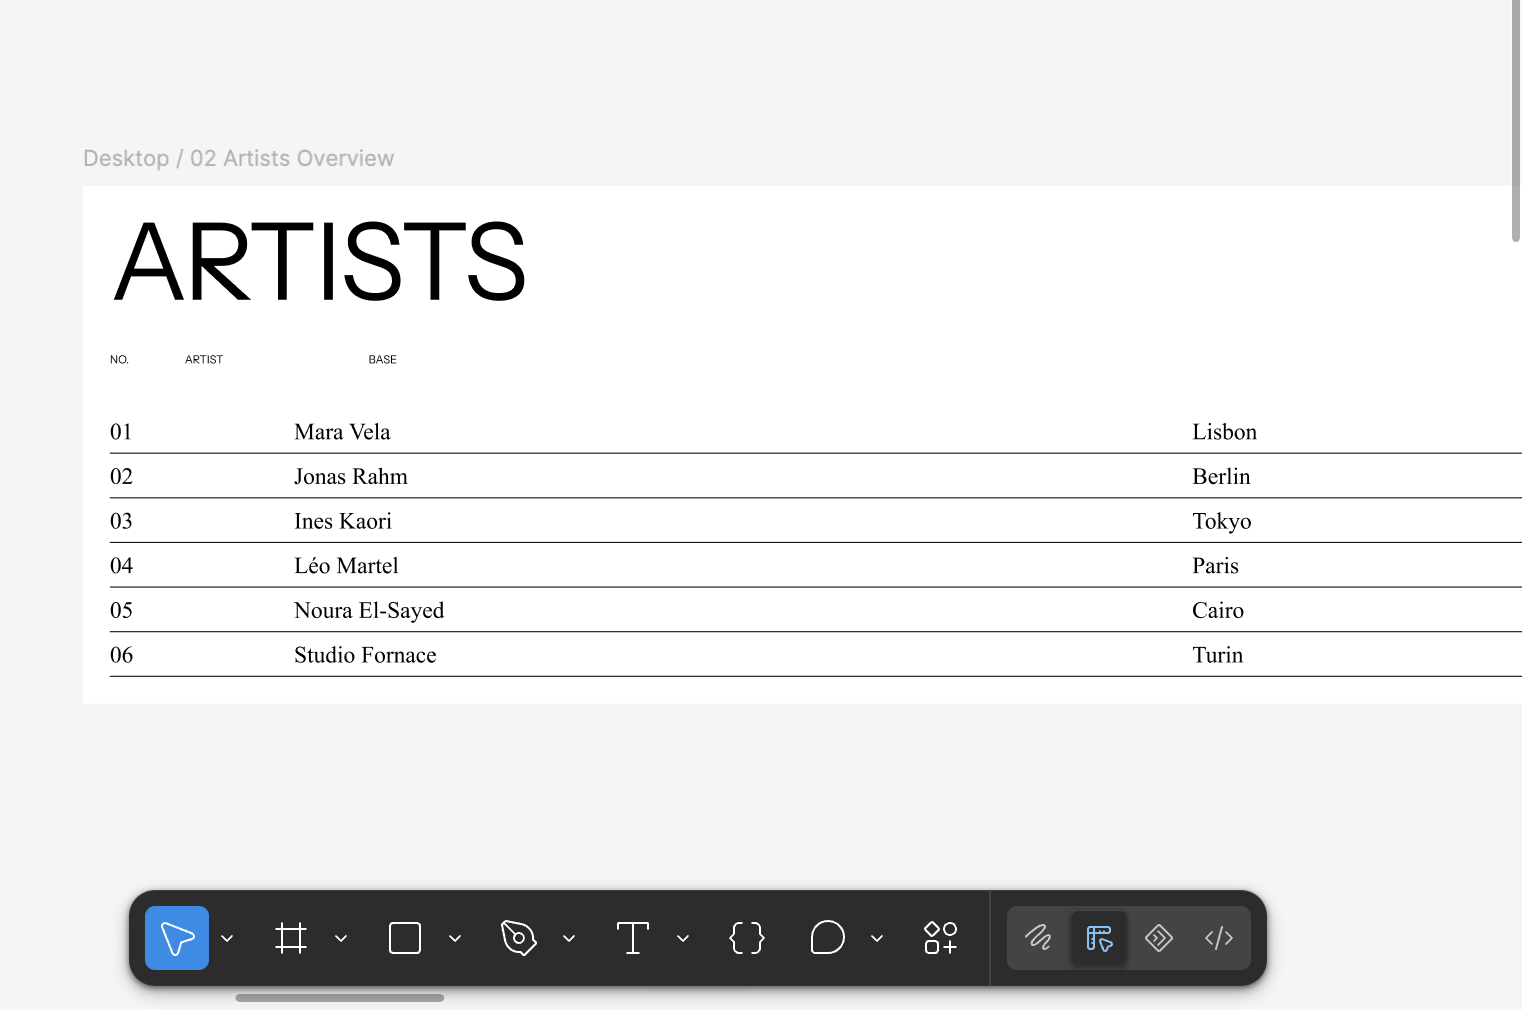
Open Figma Dev Mode
Click the Dev Mode button in the bottom right corner of Figma. This needs a Figma subscription.
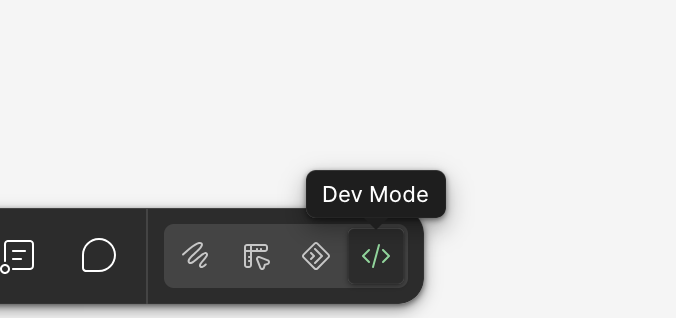
Select the part you want to build in Dev Mode.
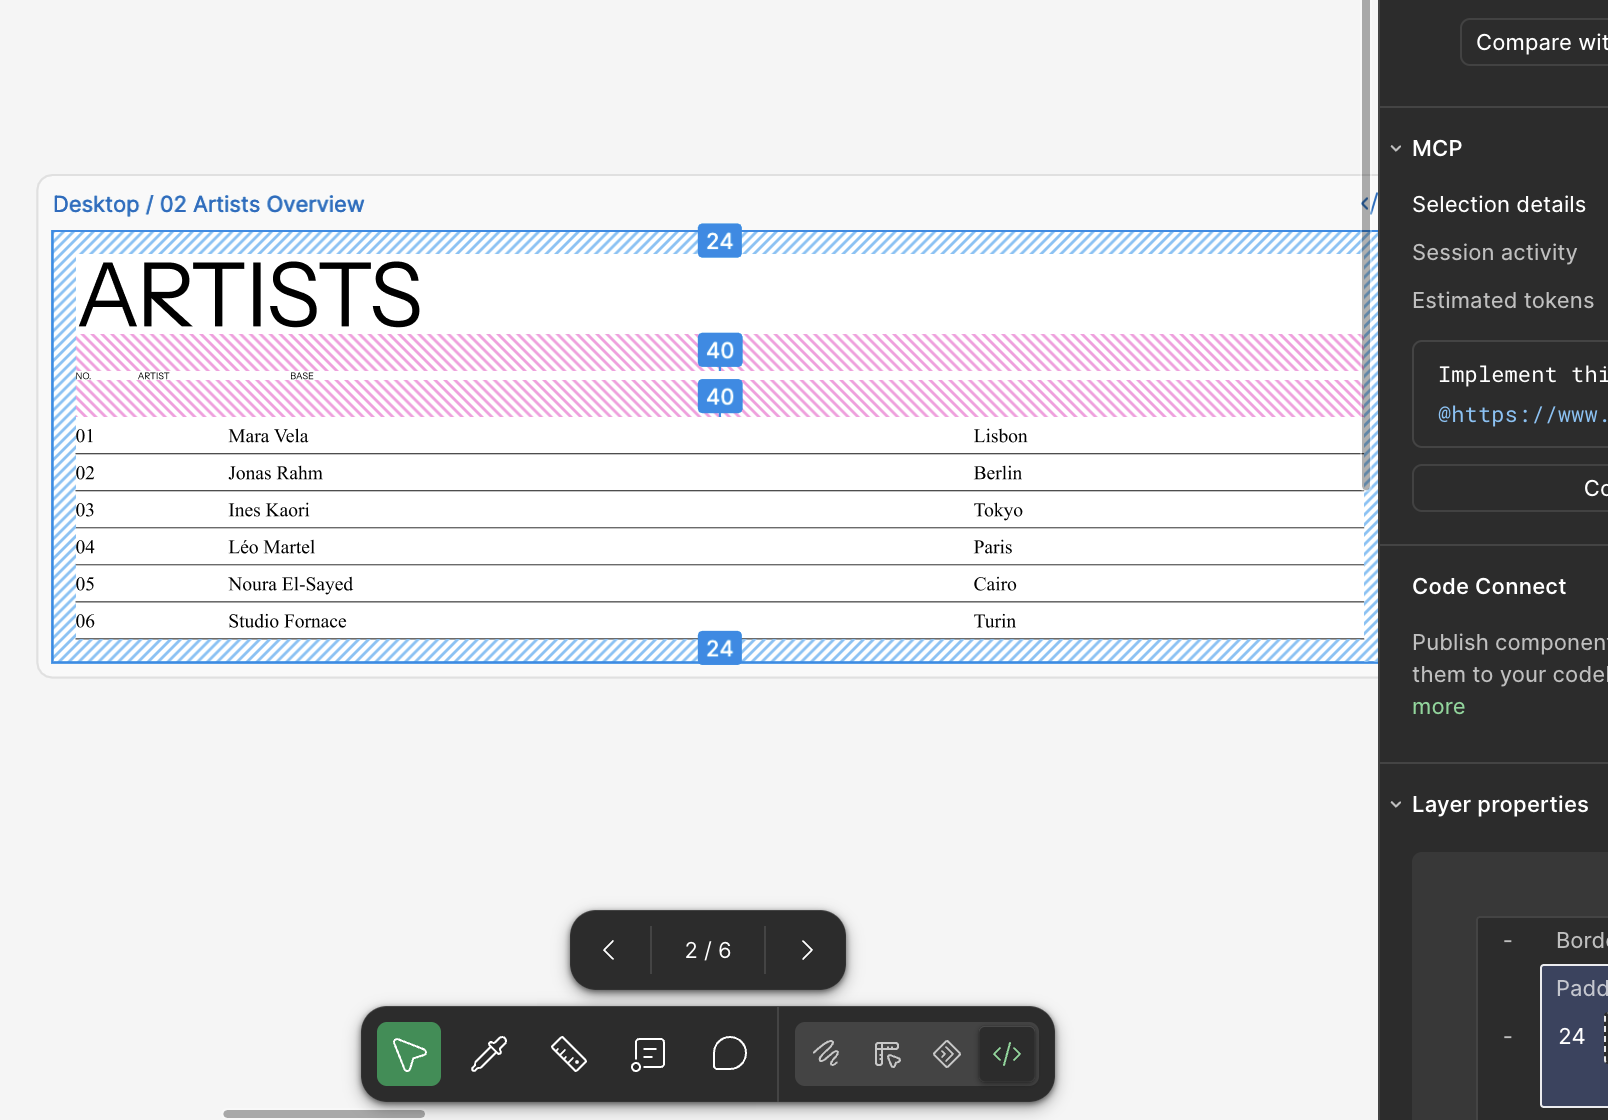
Copy the URL while you are in Dev Mode.
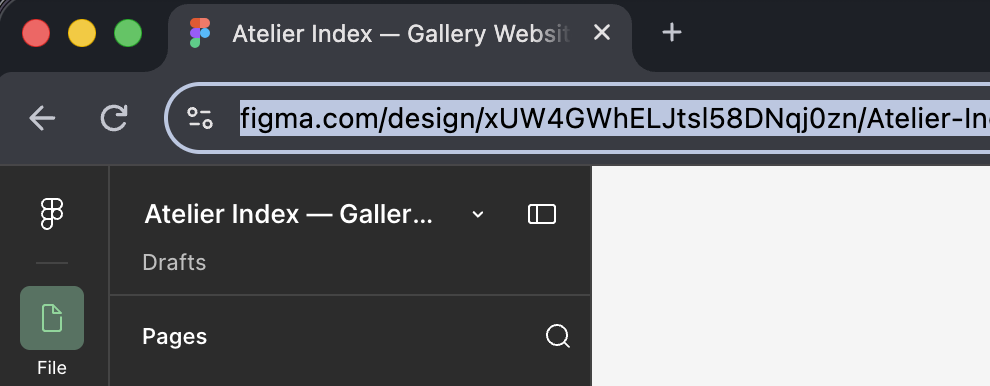
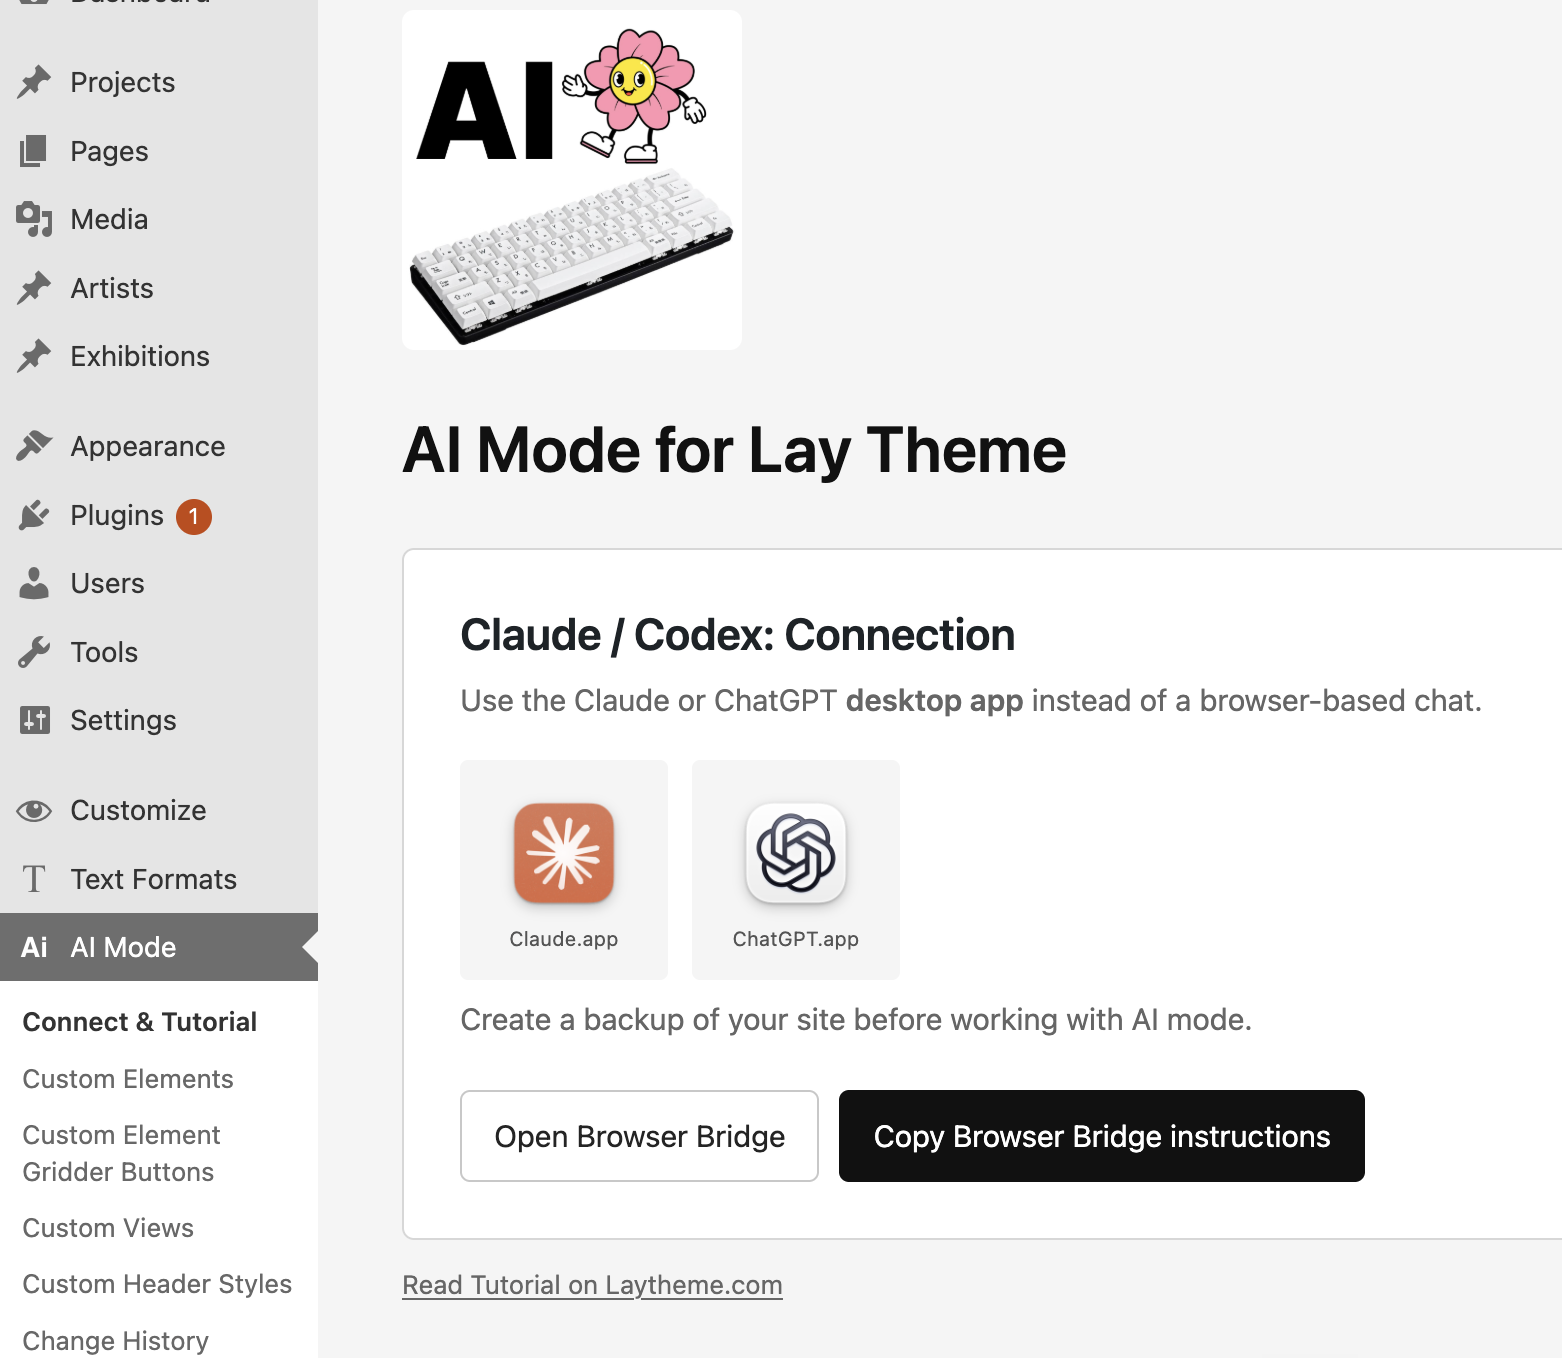
Connect Claude to Lay
Open the Claude or ChatGPT / Codex desktop app and connect it to your website through AI Mode. Here is how to connect it.
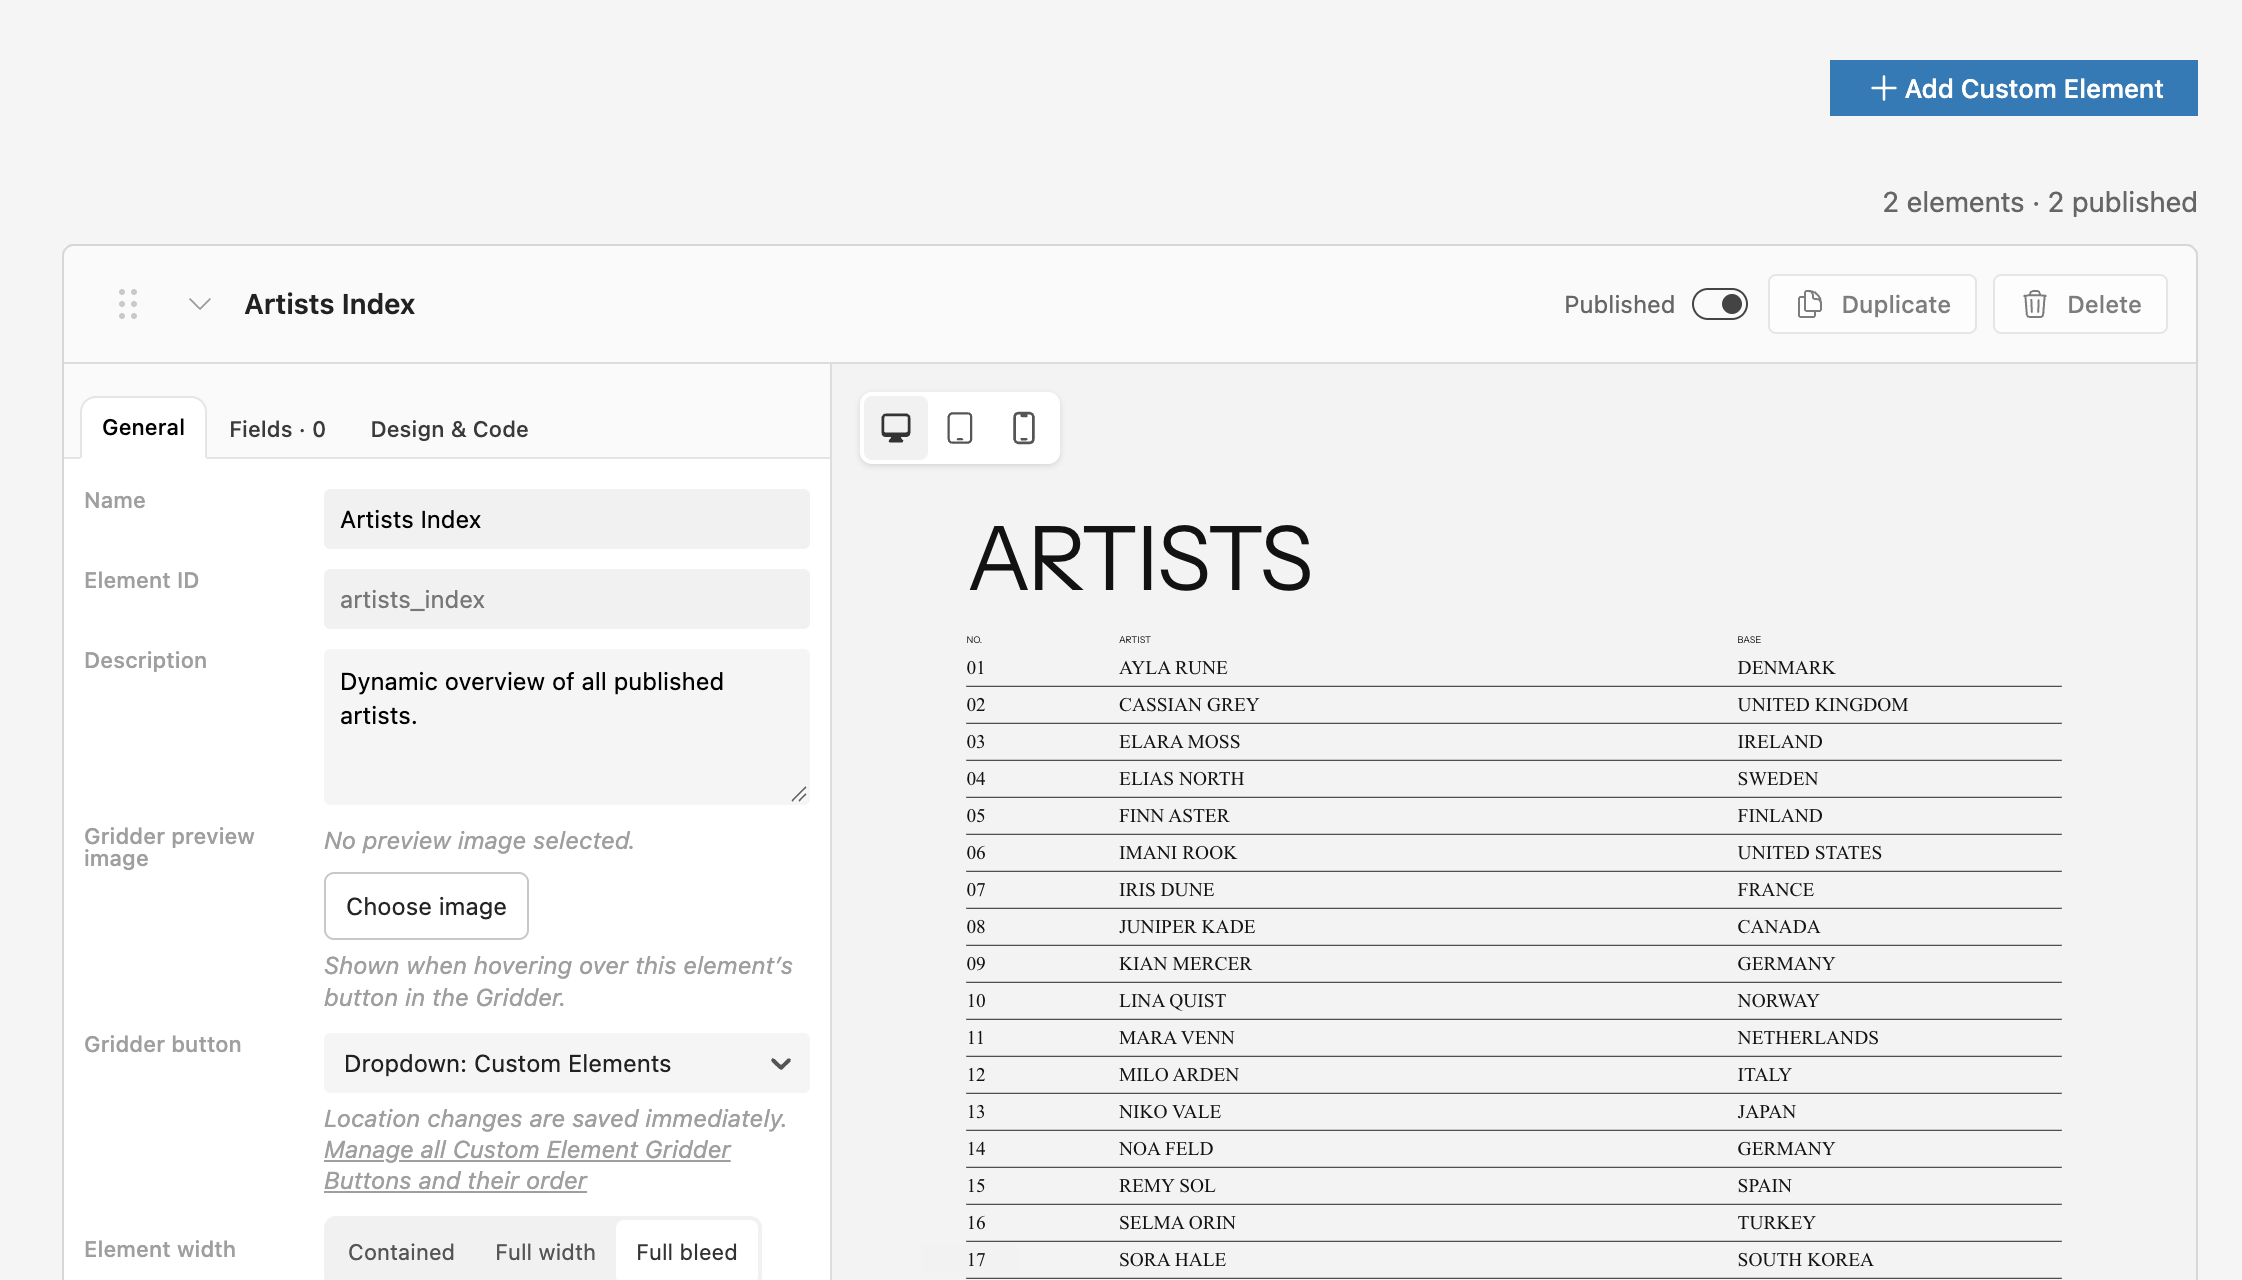
Let it build the Design
Give the AI your Figma Dev Mode link and describe how the element should work. Tell it which content should be editable. AI Mode creates the Custom Element, its fields and the code.
Use in Lay Theme
We can now insert this element into the Gridder.
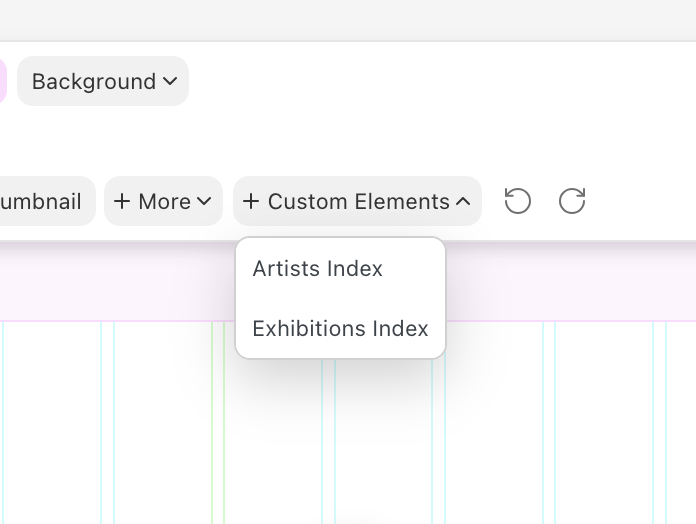
You can continue editing the content through its fields. The result stays connected to WordPress, just like the rest of your website. Pretty nice :)
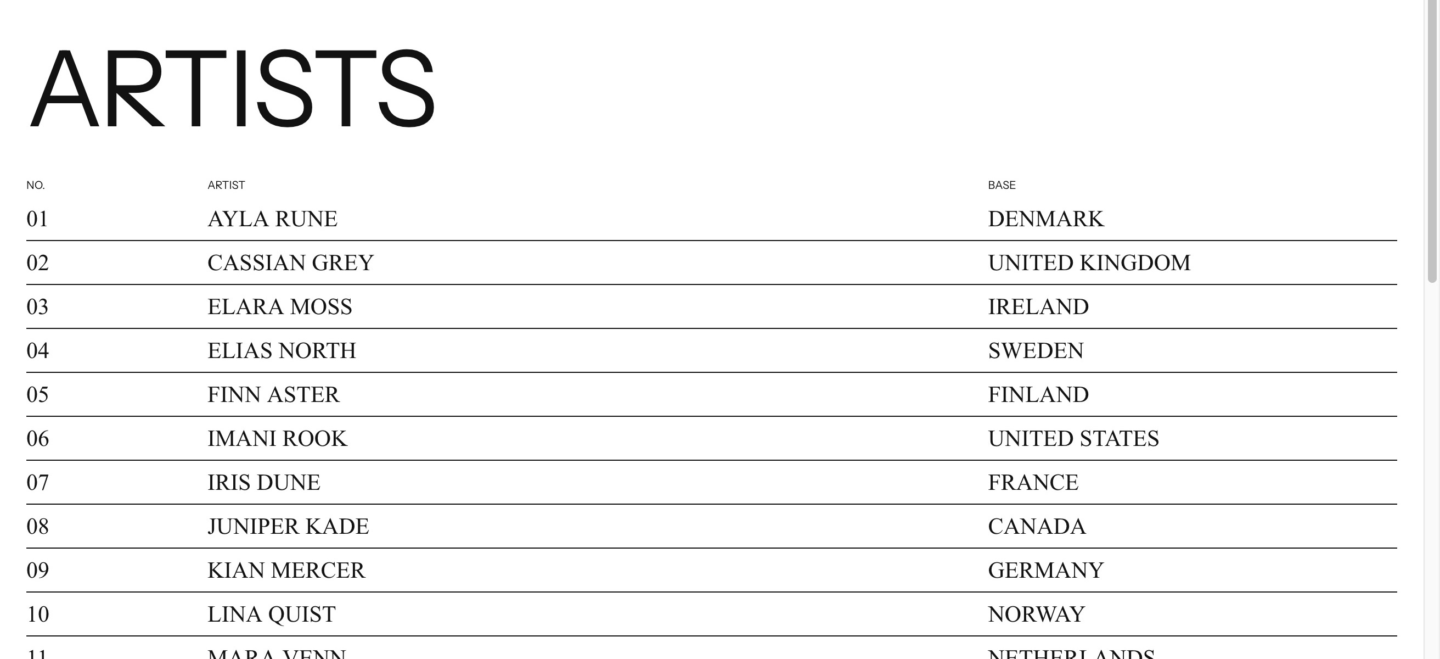
AI Mode is optional. Use this workflow when a project needs something more complex or tailored.
My Thoughts on AI Mode
- In my opinion it is far better to do your designs in Figma or Lay. Instead of letting AI do design work.
- Figma Dev Mode is the best way to create a design and have your AI code it pixel-perfect into your website.
- Use it to create Custom Elements, Custom Views and Custom Fields
- Use it to migrate data and do the hard and boring work
- Building a complex part of a website? To save AI usage, first finish a good prototype with HTML, JS and CSS. Then tell your AI to put it into Lay Theme.
- Don't one-shot things and expect good results. Build step by step.
- Simple settings are usually faster to do in Lay yourself instead of tasking the AI.
- AI Mode is optional. Use it when a project needs something more complex or tailored.
- More earning potential: With enough expertise, you can create more professional and tailored Lay websites and ask for a higher budget for client projects.
That's what AI Mode can help you with!
Enable AI Mode
Go to Lay Options and enable AI Mode!
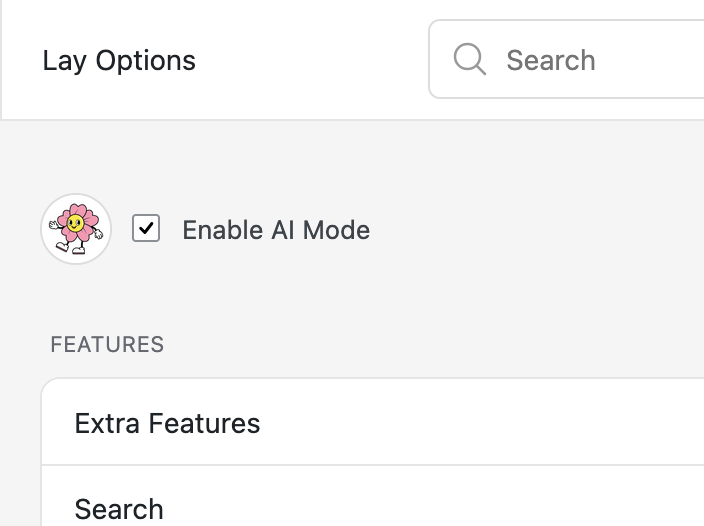
Yes, it's that easy
Connect to Claude / Codex
Use the Claude app or ChatGPT/Codex App! This won't work with the browser based ai chatbots.
Personally, I prefer ChatGPT/Codex cause for web-frontend work the built-in browser is better I think!
Go to "AI Mode". If you are working on a local website, click "Copy Browser Bridge instructions".
Paste these instructions into Claude or Codex. The Browser Bridge connects your AI app to your local Lay website without a key.
If your website is online, click "Create direct connection" instead. You will now see the secret key and another button:
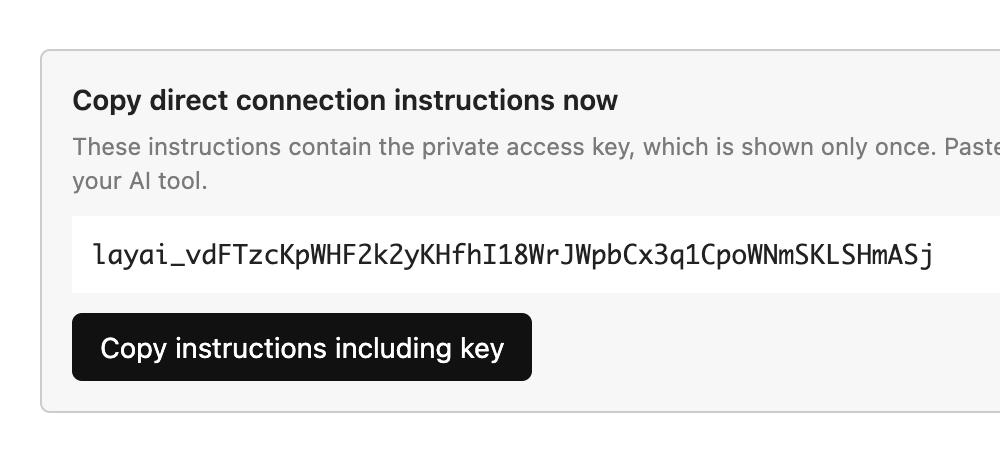
Click "Copy instructions including key".
Paste this into Claude/Codex.
Your AI app will connect to Lay and see everything it can do now!
If you don't want to put the secret key in the chat, you can also use the "Connect without key" button.
The secret key can always be revoked and expires automatically after 30 days.
Explore what it can do
Once connected, you can ask your AI:
What can you do now with Lay Theme based on this connection?
By asking your Claude / Codex, you can explore all the capabilities, even the ones that are not yet part of this tutorial.
Turn a Gridder Layout into an Edit Form
Remember how you built a layout in the Gridder.
And your client moved around everything and messed it up?
Well, those days are over.
Let's say we got this layout (just a simple example):
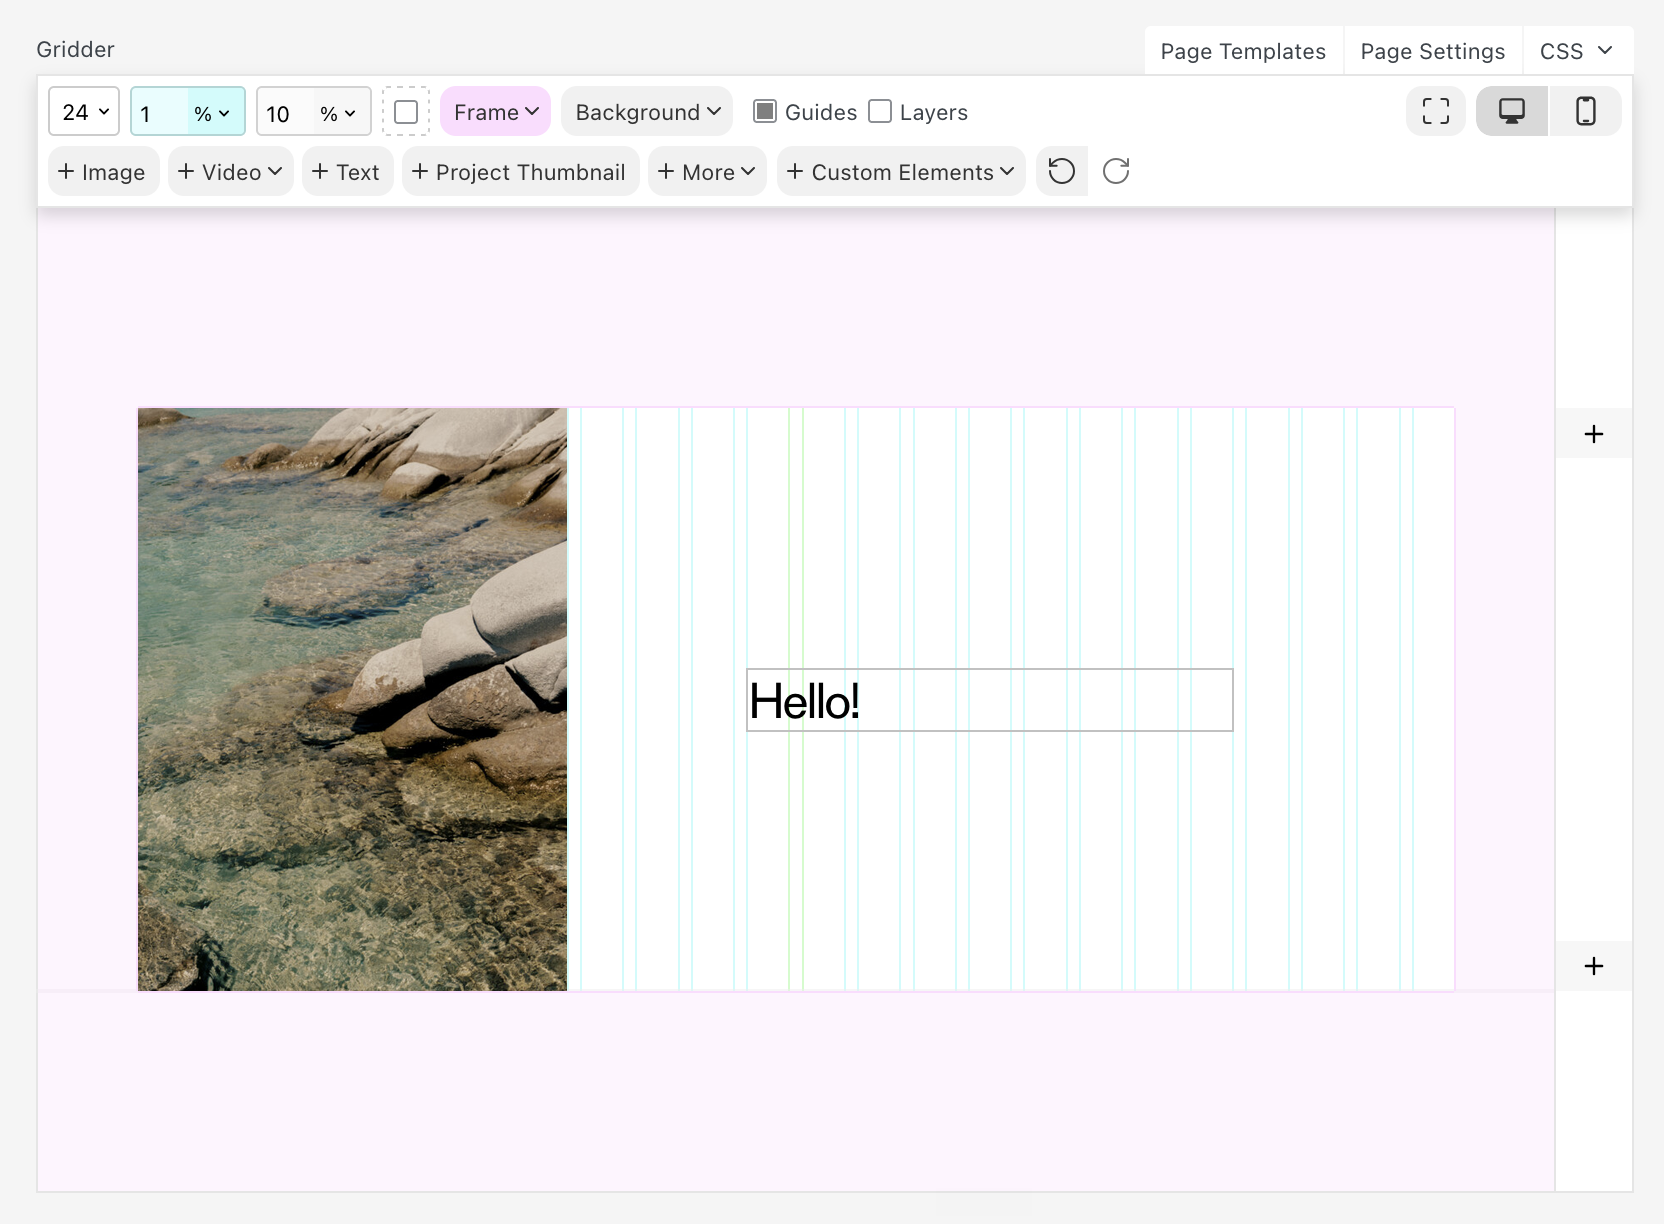
Now tell the AI:
For this page, hide the Gridder and create custom fields for the content of the Gridder.
Before it really does it, it will ask: "Should I do the changes?"
Say yes and you can even tell it: Don't ask me anymore, just always apply the changes.
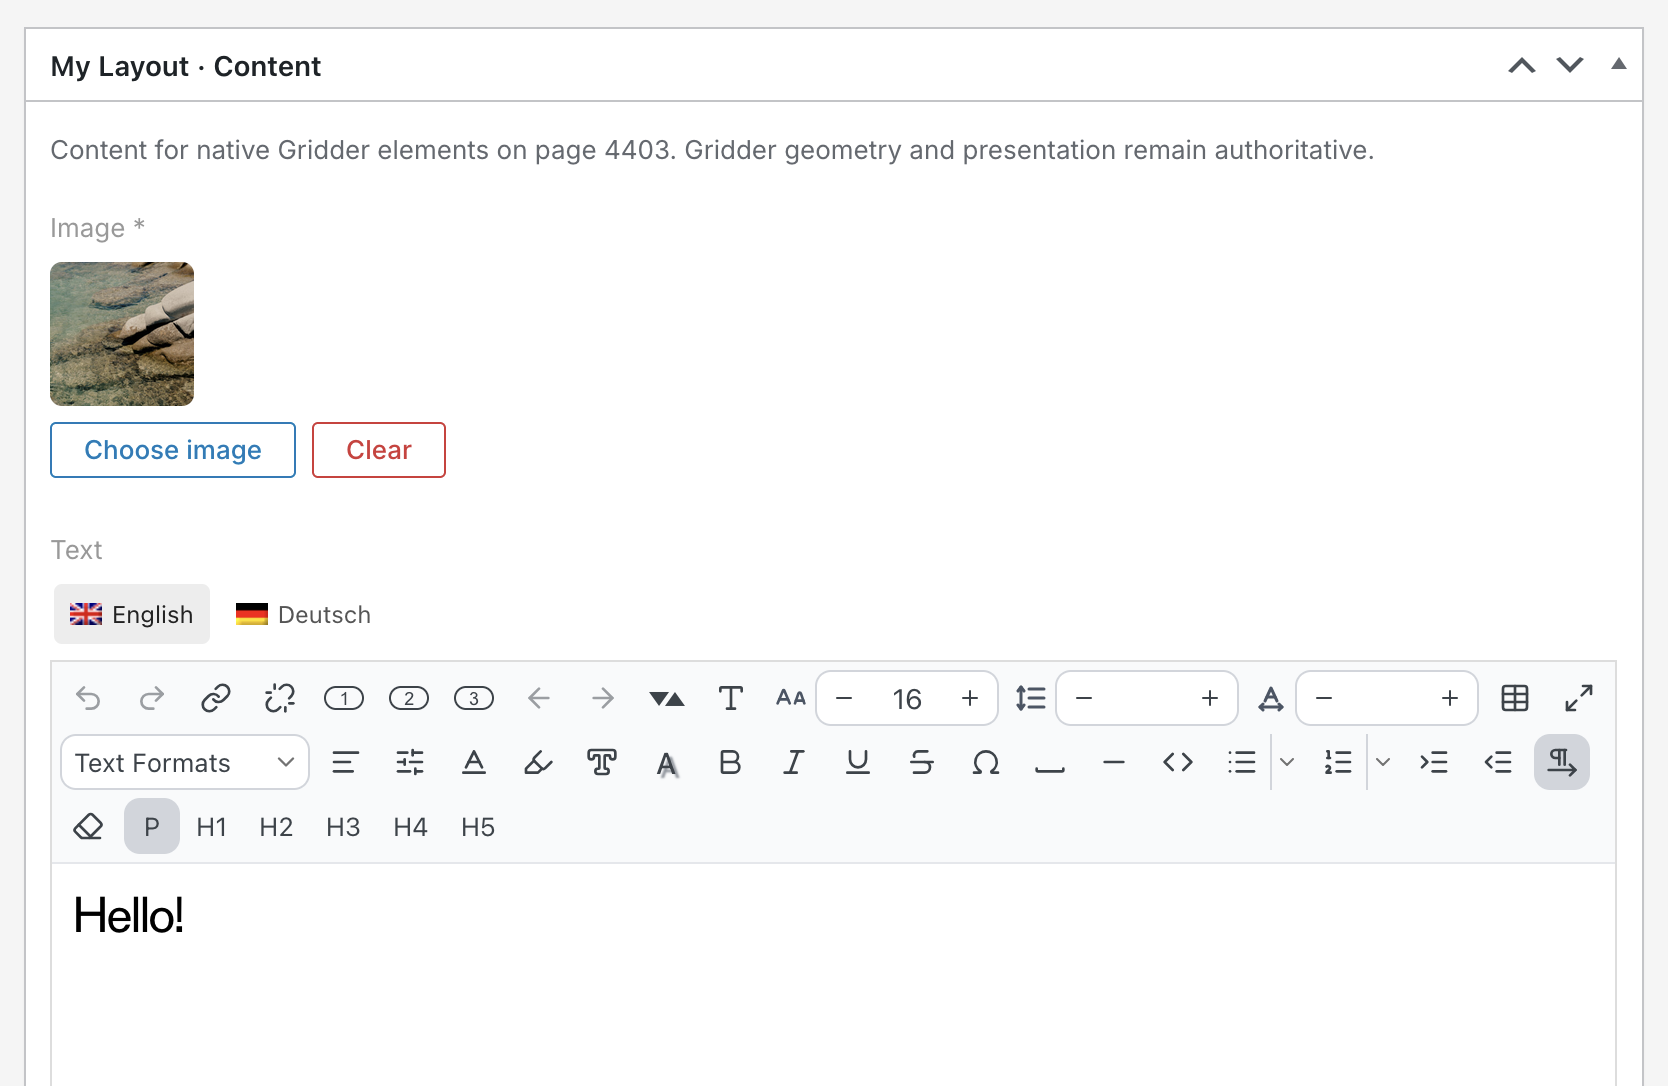
The AI created these fields: An image field and a WYSIWYG Texteditor.
The content of your layout is now tied to those fields instead of the Gridder.
Custom Field Types
Choose a field based on the kind of content an editor should enter. Here is an overview of every available field and the situations in which it is most useful.
Text and Numbers

Text A single-line field for short pieces of text. Best for titles, names, labels and other values that should stay on one line. When qTranslate-XT is active, multilingual input can be enabled or disabled separately for this field.

Textarea A multi-line field for plain text. Best for longer descriptions, summaries or notes that do not need formatting. When qTranslate-XT is active, multilingual input can be enabled or disabled separately for this field.

WYSIWYG A rich text editor for formatted content. Best for body text that needs paragraphs, links, headings or typography settings. When qTranslate-XT is active, multilingual input can be enabled or disabled separately for this field. When enabled, the language switcher lets you enter separate content for each language.

Code A larger plain-text field that preserves every character and line break. Useful when AI or a developer needs editable HTML, CSS, JavaScript or data snippets.

Number A field that only accepts numbers. Best for years, prices, quantities or measurements, especially when the content may later be sorted, filtered or calculated.

URL A field for a web address. Best for external links, project websites, social profiles or buttons that should lead to another page.

Email A field for an email address. Best for contact details or links that should open the visitor's email application.
Choices

Checkbox A single on-or-off option. Best for simple yes-or-no settings such as “Featured”, “Show caption” or “Open in a new tab”.

Select A compact list from which one option can be selected. Best when there are several choices but they do not need to be visible all the time.

Radio A visible list from which one option can be selected. Best for a small number of choices when the editor should see every available option immediately.

Multi Check A list in which multiple options can be selected. Best when several predefined choices may apply at the same time.
Color and Date

Color A color picker for selecting and storing a color. Best for backgrounds, text colors, accents or other editable design values.

Date A calendar date without a specific time. Best for publication dates, event days, deadlines or project dates.

Time A time of day without a specific date. Best for opening hours, start times or recurring schedules.

Date & Time A date and an exact time combined in one field. Best for events, appointments, launches or deadlines.

Timezone A field for selecting a timezone. Best when dates or times need to work correctly for visitors in different parts of the world. It is usually used together with a Date & Time field.
Media and Embeds

Image A field for selecting a single image from the Media Library. Best for thumbnails, portraits, cover images or other individually editable visuals.

Gallery A field for selecting and arranging multiple images. Best for slideshows, portfolios, image collections or project documentation.

File A field for selecting a downloadable file from the Media Library. Best for PDFs, press kits, documents, audio files or other downloads.

oEmbed Paste a link from YouTube, Vimeo, SoundCloud or another supported platform to display its media automatically.
Content Relations

Post Choose one existing page, project or post. Useful when one specific piece of existing content should appear or be referenced here.

Relationship Choose and arrange several existing pages, projects or posts. Useful for related projects, featured work, team selections or other hand-picked lists.

Category Choose one existing category. Useful for a source category, an archive category or another single category reference. The field can also use tags or a custom taxonomy.

Categories Choose several existing categories and drag them into the order you want. Useful for curated category filters, topic selections and ordered navigation. The field can also use tags or a custom taxonomy.
Structured Fields

Group A fixed collection of related fields. Here, one Group represents one person with a portrait, name, email address and role.

Repeater A repeatable collection of fields. Here, each row represents one person, making it easy to add, remove or reorder team members.
Content migration
In your admin panel you usually create pages and project posts manually.
Imagine you need to rebuild a site.
The existing old site has 100 projects.
Instead of re-creating them manually, you can tell your AI:
Layout & Page Creation
You can even tell it to build layouts based on existing layouts you did:
But it is advisable to first do a test run with just one or two pages before telling your AI to do a hundred.
Building Complex Websites with AI Mode
Lay Theme has always been good at creating straightforward portfolio websites, and it still is. At the same time, Claude and ChatGPT now make it possible to create a simple website by describing what you want without using Lay Theme at all. For some small websites, that may be the easiest way to start.
The real strength of AI Mode becomes clearer when a website is larger, more individual and needs to stay manageable for a client.
Complex websites are systems
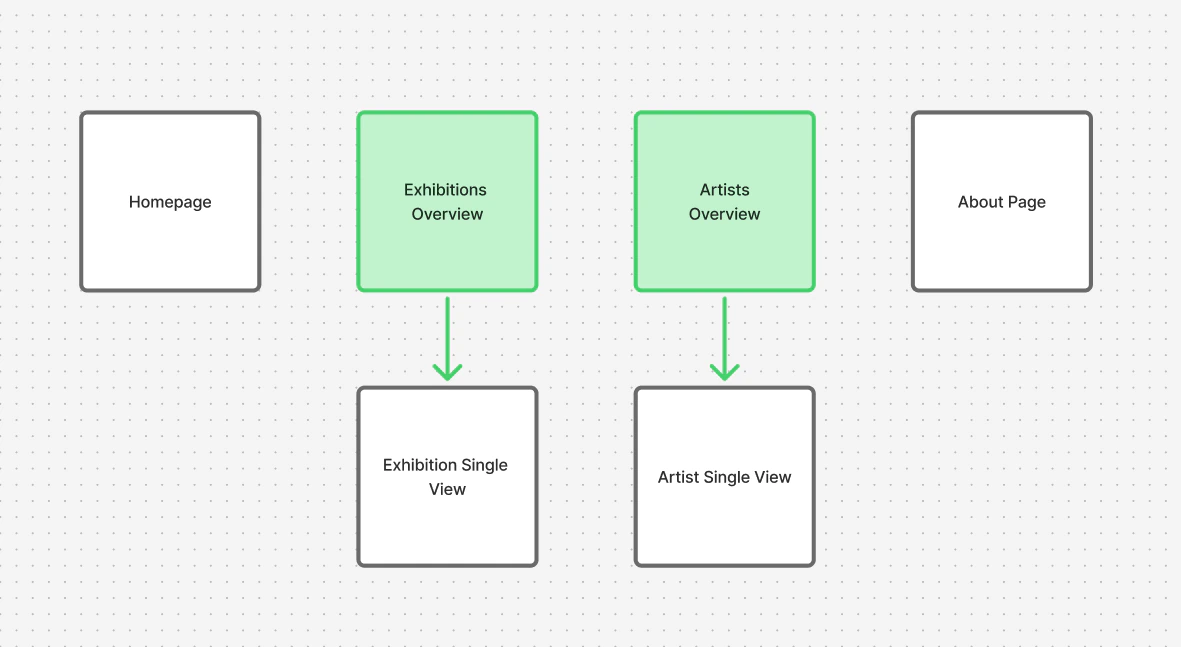
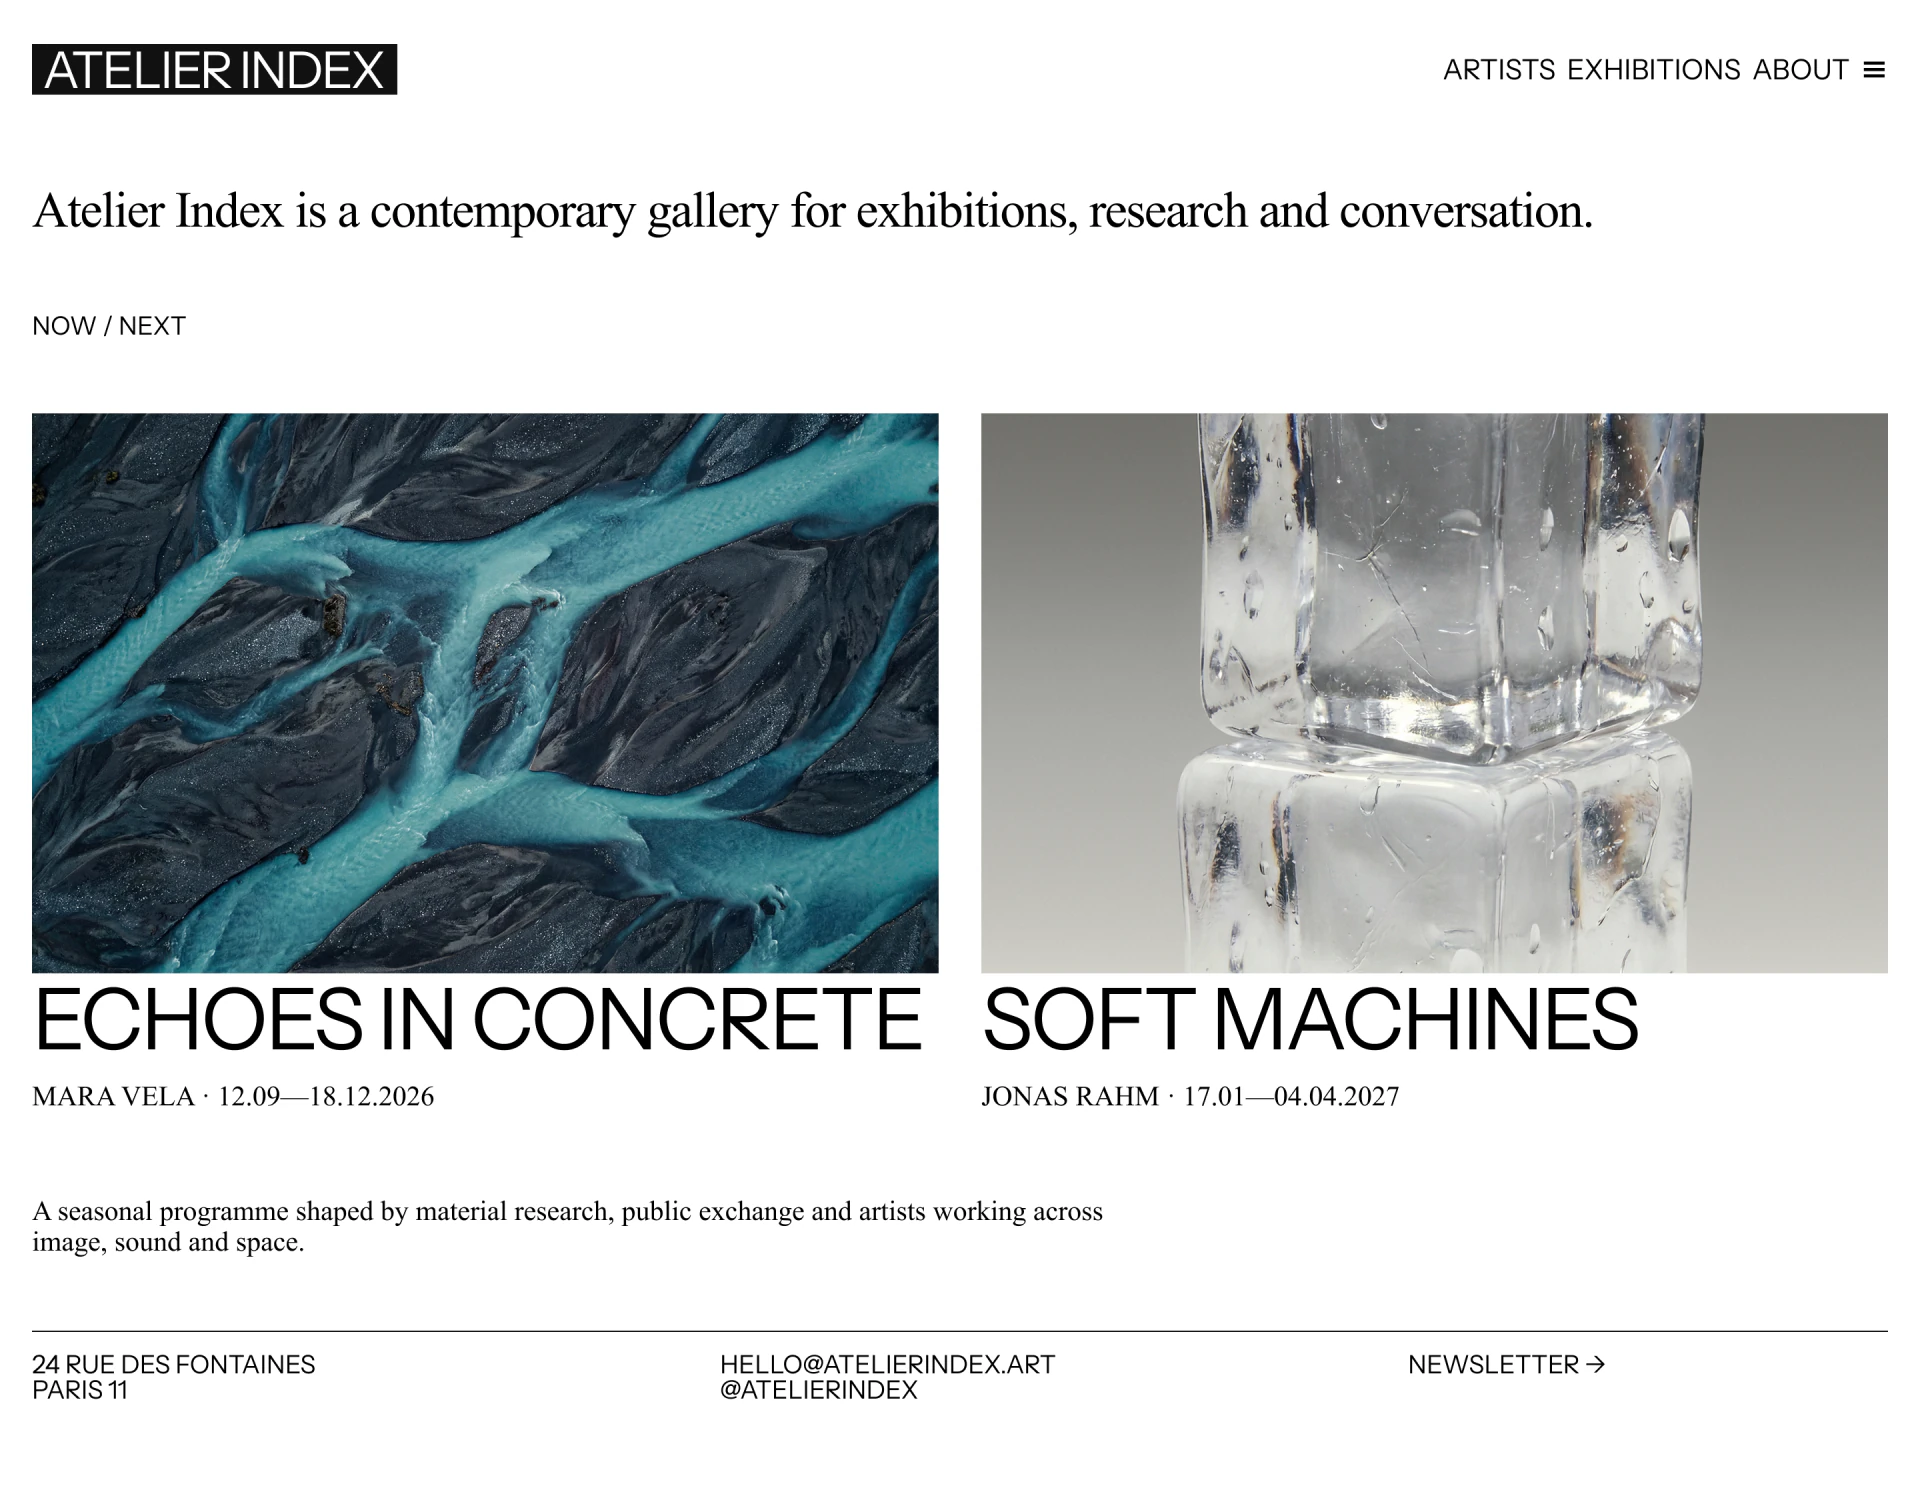
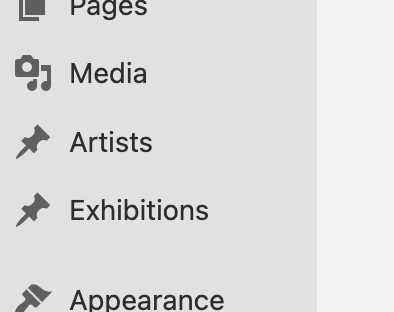
Gallery, museum or cultural institution. The website might have Artists, Exhibitions and Artworks, with overview pages and relationships between all of them. A client needs to add an exhibition, select its artists, enter its dates and upload its images while the design stays intact.
Event, festival or conference. The website might have a Program, individual Program Items, Exhibitors, Speakers and Venues. A program item can be connected to its speakers, exhibitors, time and location. Change the time once and it updates wherever that program item appears. A shop or ticketing system can exist alongside this structured content.
Online magazine and shop. The website might have Articles, Authors, Issues, Topics and Products. Every author can have a dedicated page that automatically lists their articles. Editorial content can connect to products, and the shop can live alongside the magazine within the same website.
The same approach works for architecture websites, research platforms, directories, universities and film festivals. Each project can have its own content types, fields, taxonomies and relationships.
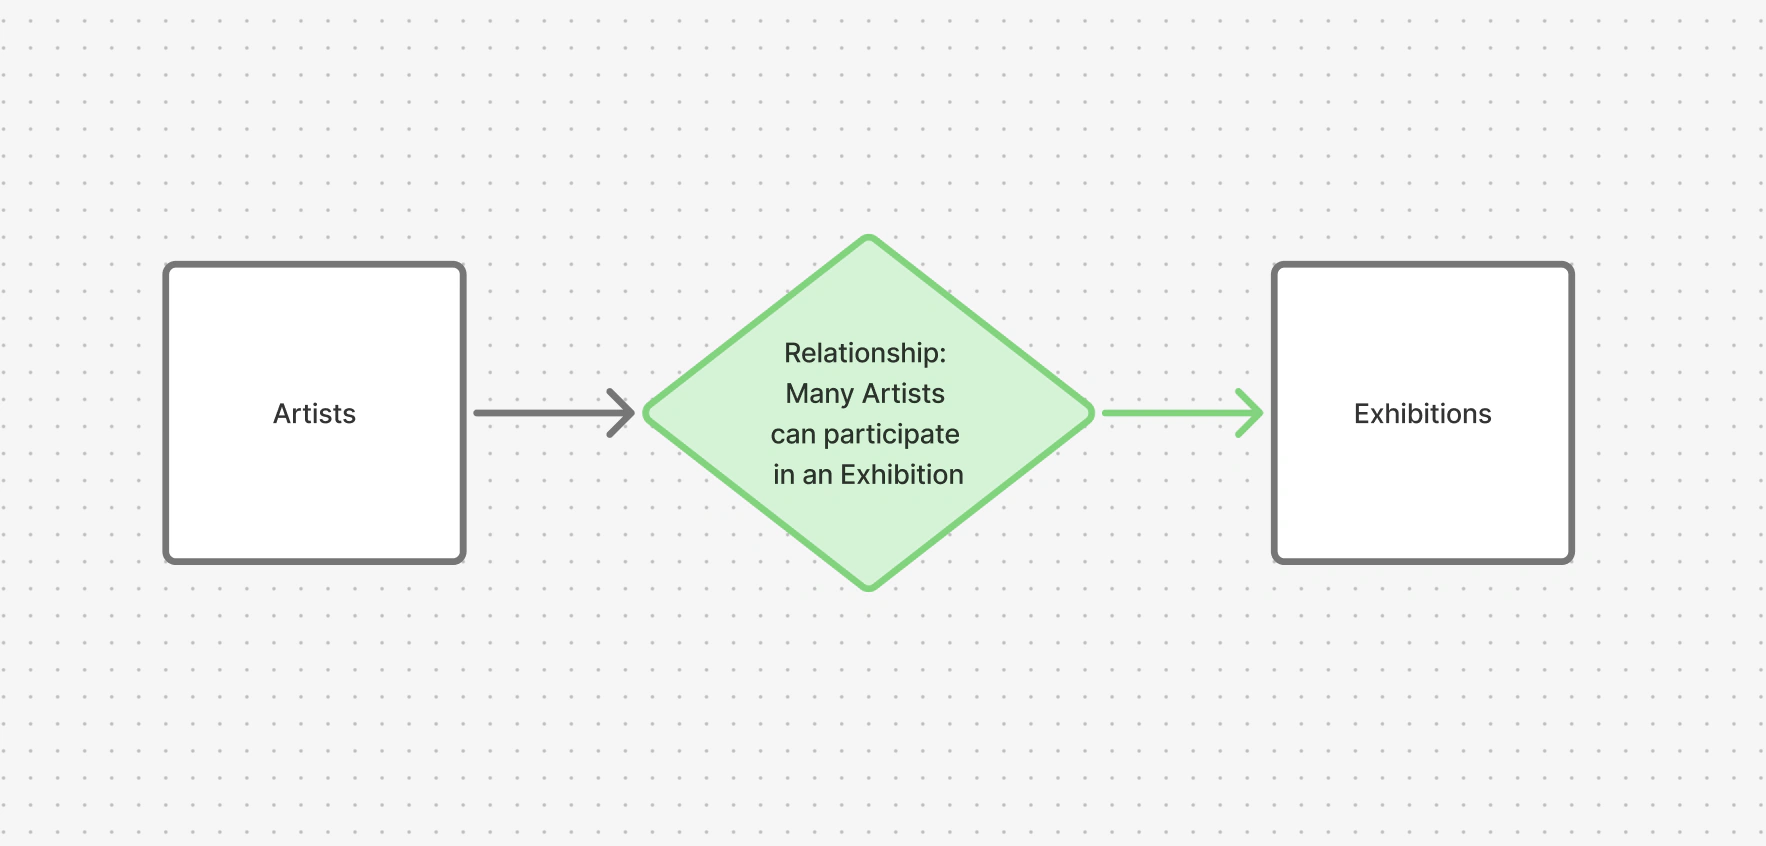
AI Mode can create separate Custom Post Types for these different kinds of content. A Custom Post Type is simply its own kind of content in WordPress, with its own section in the admin. Custom Fields then define exactly what editors can enter for each kind of content.
Larger teams can also use WordPress users and roles so that different people maintain different parts of the website. For example, an event team might manage the program while exhibitors maintain their own profiles. The exact permissions depend on how the WordPress user roles are configured.
And voilá:
What is a taxonomy?
You already know two WordPress taxonomies: Categories and Tags. A taxonomy is just a named way of grouping content.
Projects often need additional ways to categorize content. Artworks could have a separate taxonomy called Medium, with terms such as Painting, Photography, Sculpture and Video. An event could use taxonomies such as Format, Topic or Venue. A magazine could use Subject, Region or Issue. Think of them as a third, fourth or fifth category system, each created for one clear purpose.
Because these values are structured, they remain consistent and can be used to build filters, archives and automatic overview pages.
From Figma to a website a client can manage
You can design components and page systems in Figma, then use AI Mode to turn them into reusable Custom Elements and Custom Views. The AI can connect these designs to Custom Fields, Custom Post Types and Custom Taxonomies, and it can help migrate content from an old website into the new structure.
This makes websites possible that previously needed a professional frontend developer. The result combines a custom frontend with a WordPress admin that the client can understand and maintain.
Designers are becoming frontend developers
I think one current trend is that AI lets designers take on more of the frontend developer's role. You can create responsive components, interactions and data-driven pages while AI handles parts of the code.
That also means designers need to think beyond how the frontend looks. You need to understand how information should be structured, named, related and edited. A complete design includes a clear frontend and a clear admin panel.
Before building, ask: Which things need their own content type? Which values should be Custom Fields? Which values should be reusable taxonomies? How are the different records related? What should the client be able to change while the design stays intact?
Build on an established CMS
Vibe-coding a complete website from scratch also involves the database, media handling, permissions and admin interface. AI Mode starts with WordPress and Lay Theme as an established foundation. The AI adapts the content structure and frontend to the project.
That is the larger idea behind AI Mode: more freedom for designers, more complex custom websites through an AI-assisted frontend workflow, and a clear editing experience for the people who will actually maintain the website.
For a compact explanation of these concepts, see Why AI Mode. For the complete technical reference, see AI Mode Capabilities.
Planning Complex Websites
Larger websites often involve larger organizations, several editors, more content, external services and bigger budgets. Decisions made during development can affect many people and shape how the client works with the website for years.
Technical feasibility is therefore an important part of the planning phase. Define the information structure and the required workflows before production starts. Check how every important feature will be implemented and test the parts with the most technical uncertainty early.
Create a technical plan
A useful plan can map the Custom Post Types, Custom Fields, Taxonomies and Relationships. It can also cover user roles, editorial workflows, Custom Elements, Custom Views, shops or ticketing systems, external integrations and content migration.
This gives the designer and client a shared understanding of the project. It also shows which Lay Theme feature should handle each requirement and where custom development may be needed.
Planning and consulting
You can hire me to help plan a larger Lay Theme project. I can review the brief or Figma design, check the technical feasibility, create diagrams for the content structure and recommend which Lay Theme and WordPress features to use for each part.
See Building Complex WordPress Websites with AI for a complete content-model example. For consulting and project planning, email me at info@laytheme.com.
A Real-World Example
The sections above give you an overview of the main concepts behind AI Mode and complex websites.
If you want to see how these ideas work together in a real workflow, read How I Build €10,000 Gallery Websites with AI. It shows how to plan and build a structured, editable gallery website with Custom Post Types, Custom Fields, Relationships, Figma designs, automatic overview pages and responsive layouts.