Custom Phone Layouts
With “Custom Phone Layouts” you can switch between desktop and phone layouts in the Gridder. For your phone layout you could just change the order of your elements or even create a different layout with different content.
Activate Custom Phone Layouts
Activate “Custom Phone Layouts” in “Lay Options” → “Activate custom phone layouts”.
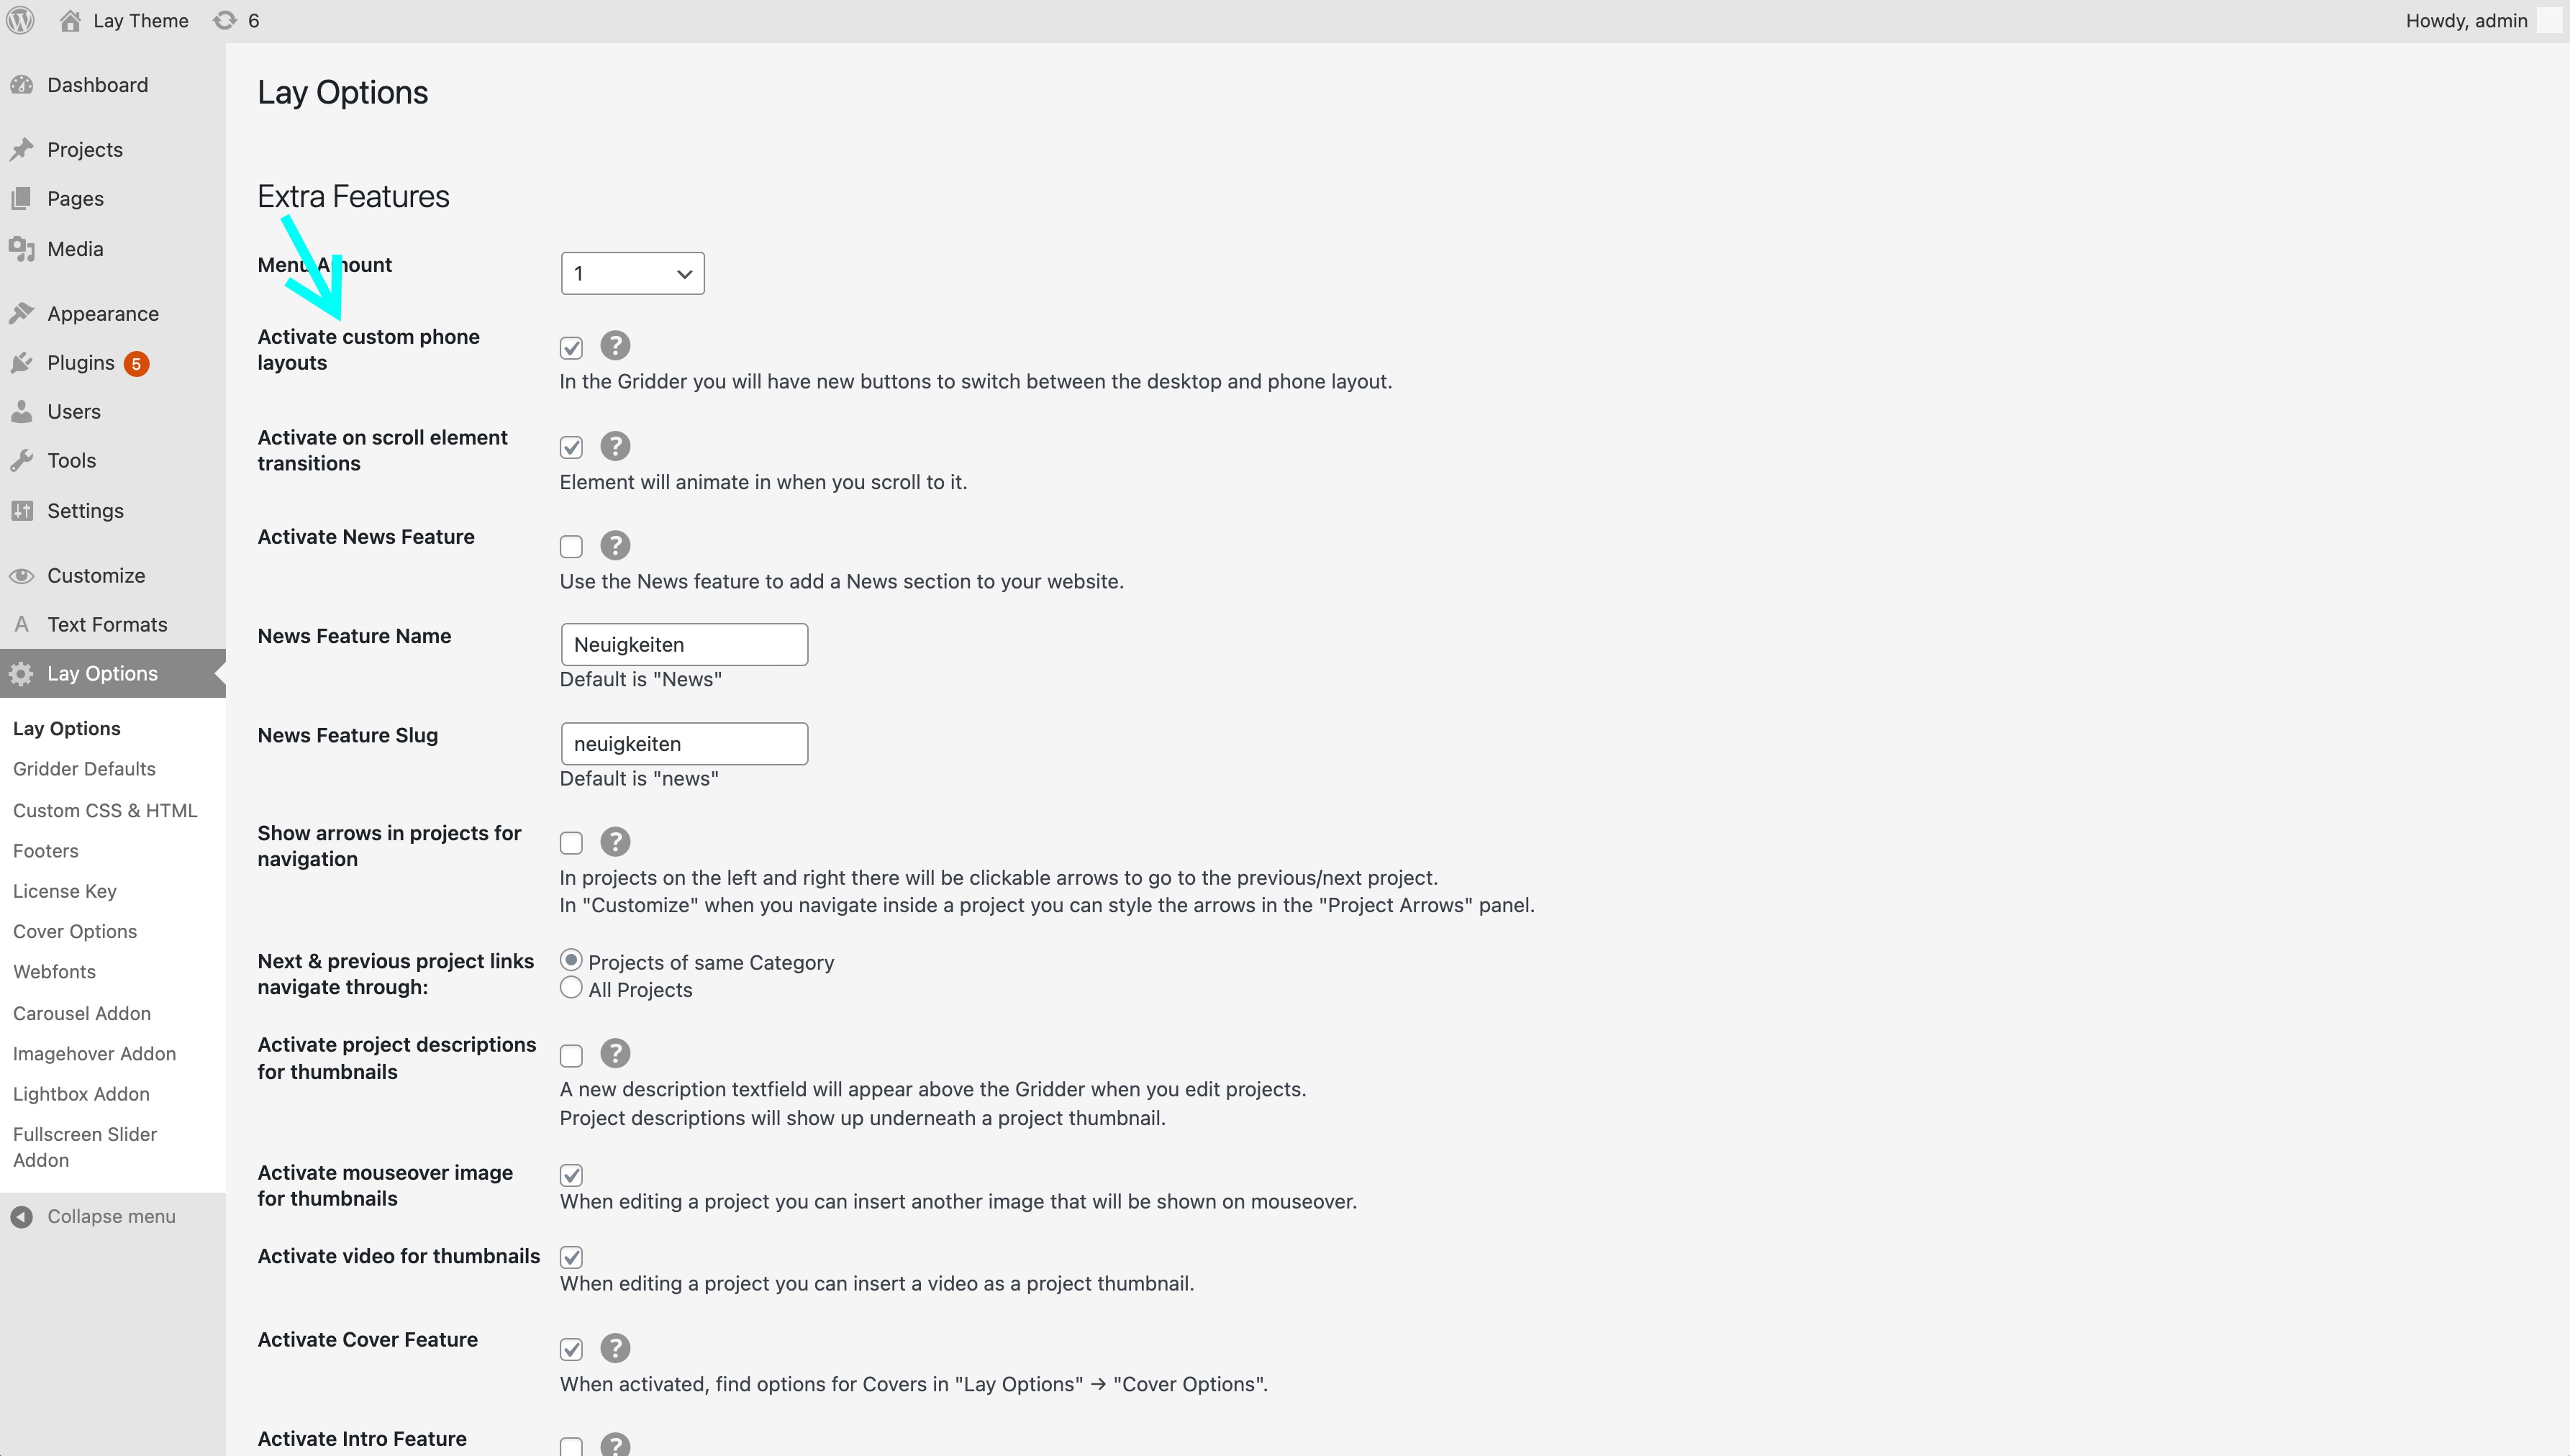
Activate Custom Phone Layouts
In your Gridder, new buttons appear for switching between phone and desktop layouts.
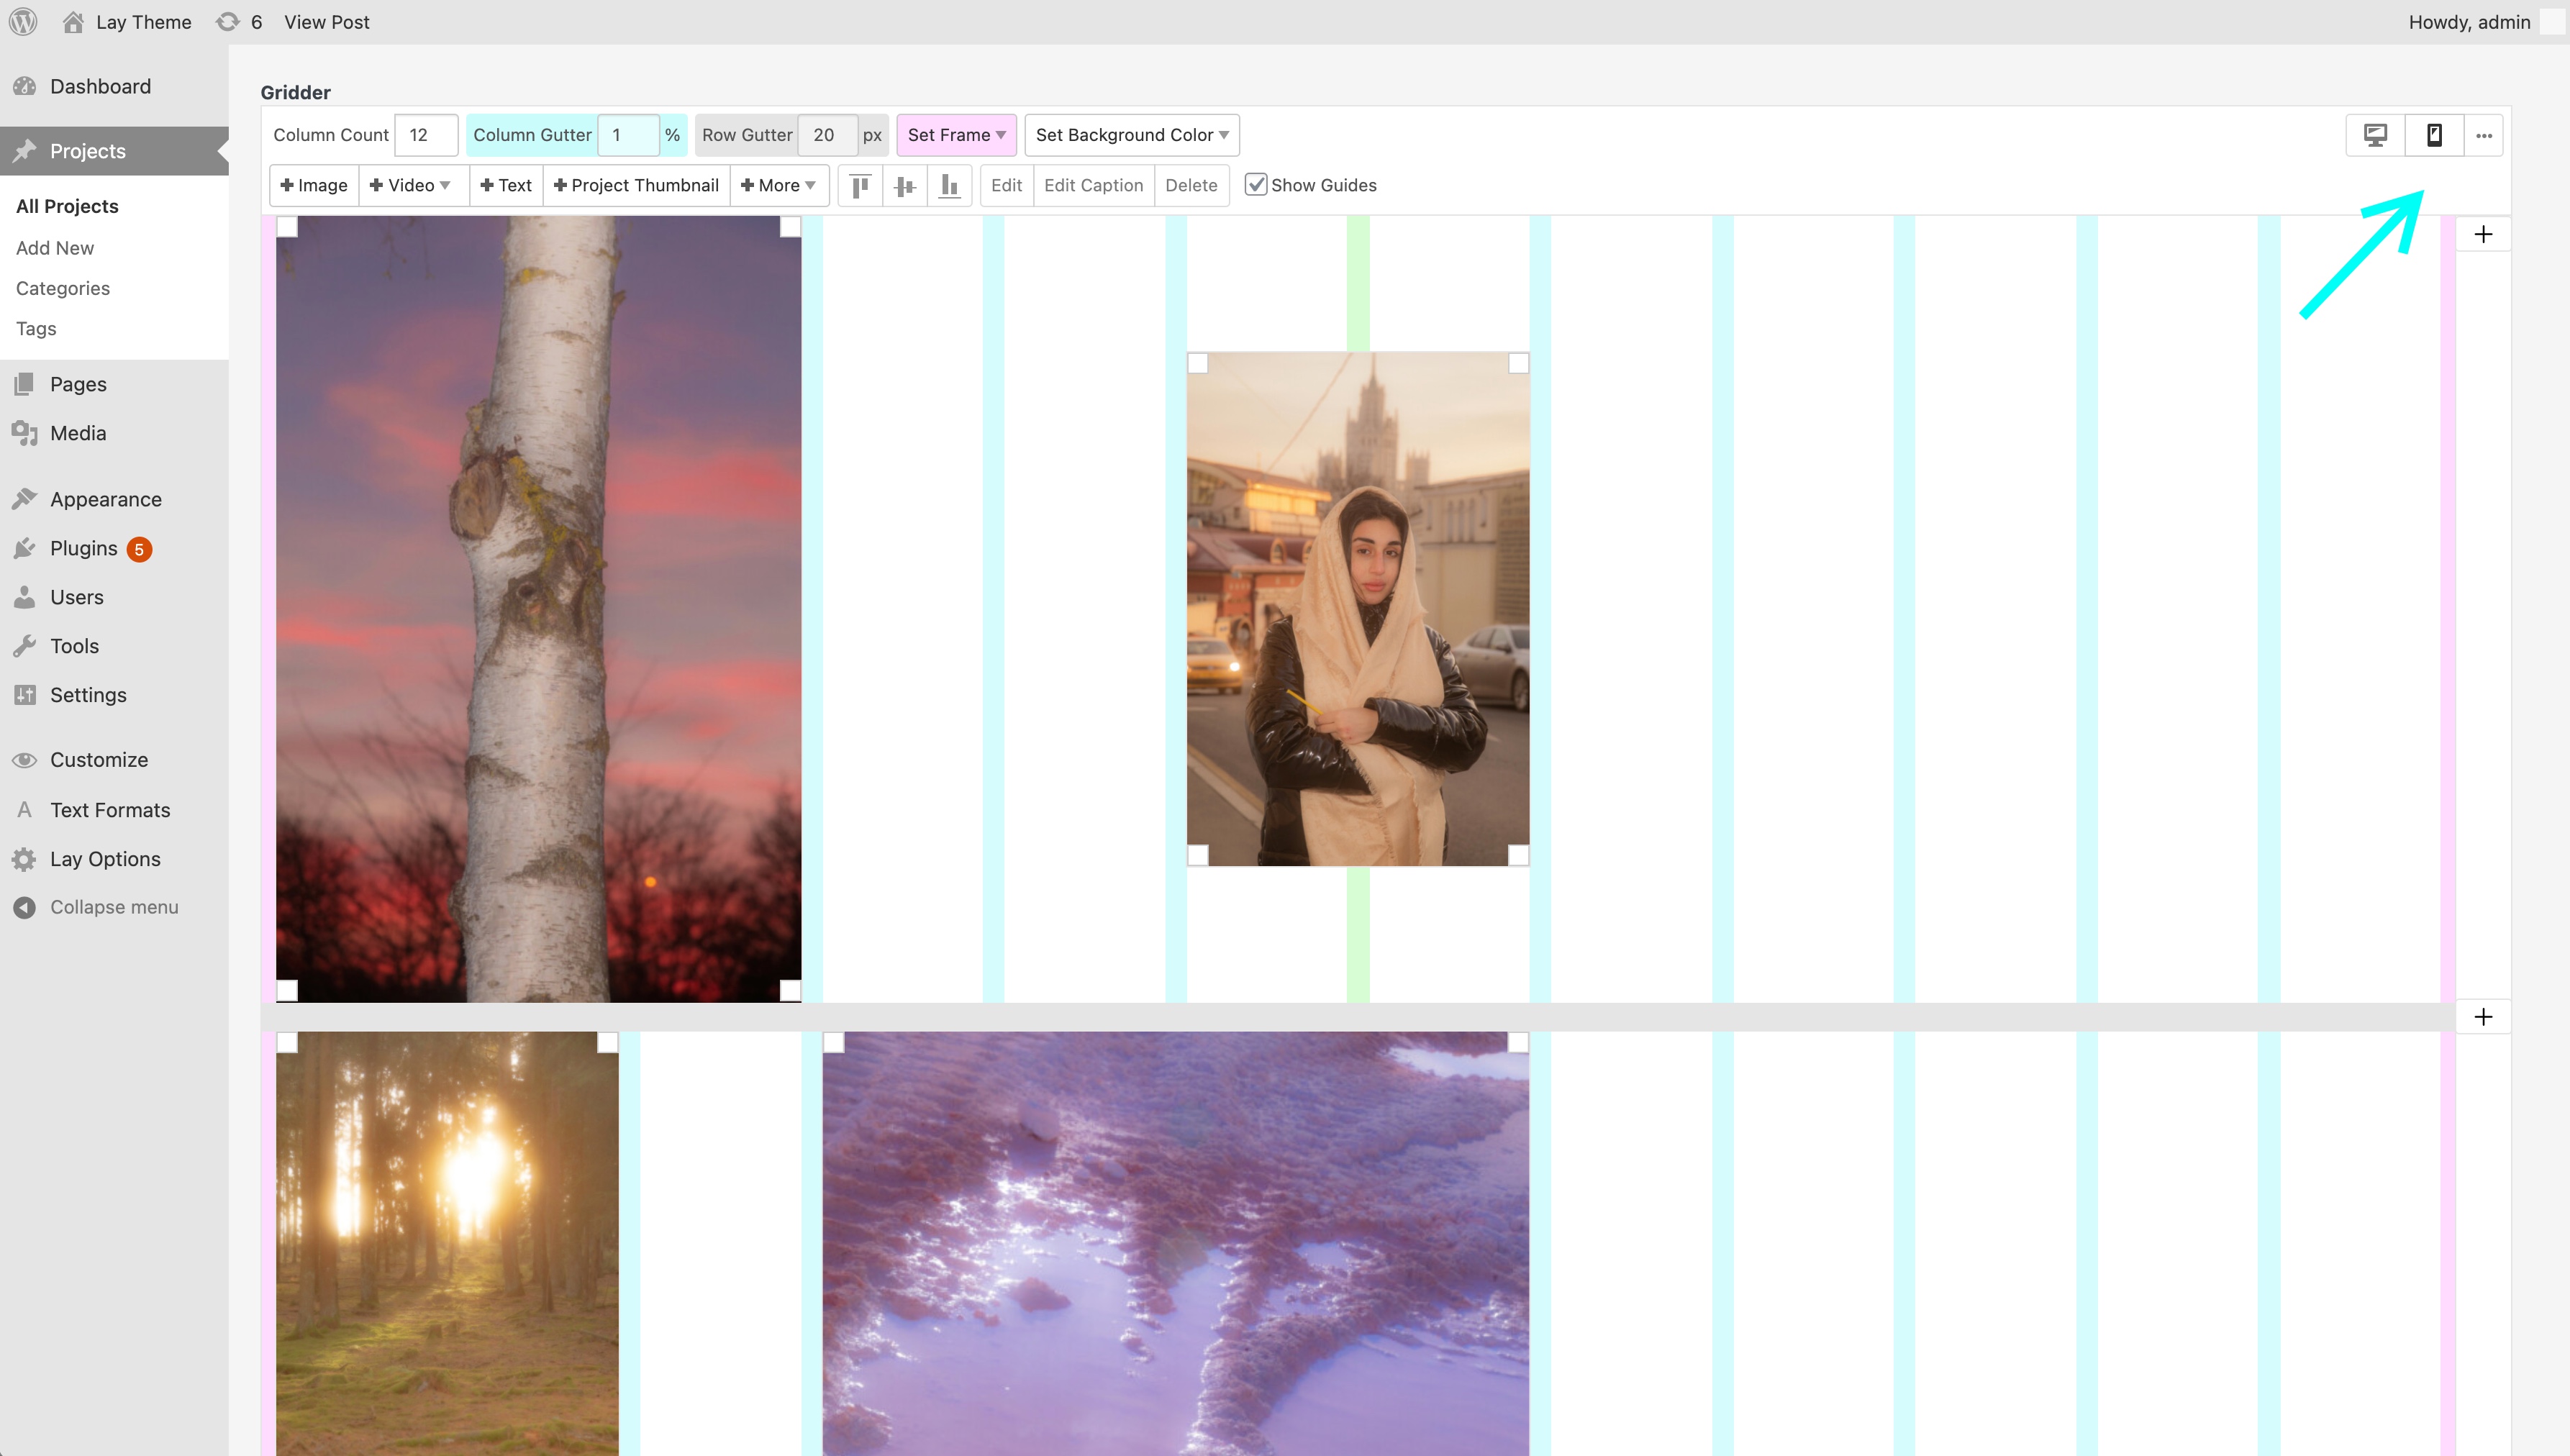
Find three new buttons at the top right: “Desktop”, “Phone” and “Delete phone layout” hidden inside the “…” button
Create a Custom Phone Layout
Click the “Phone”  button.
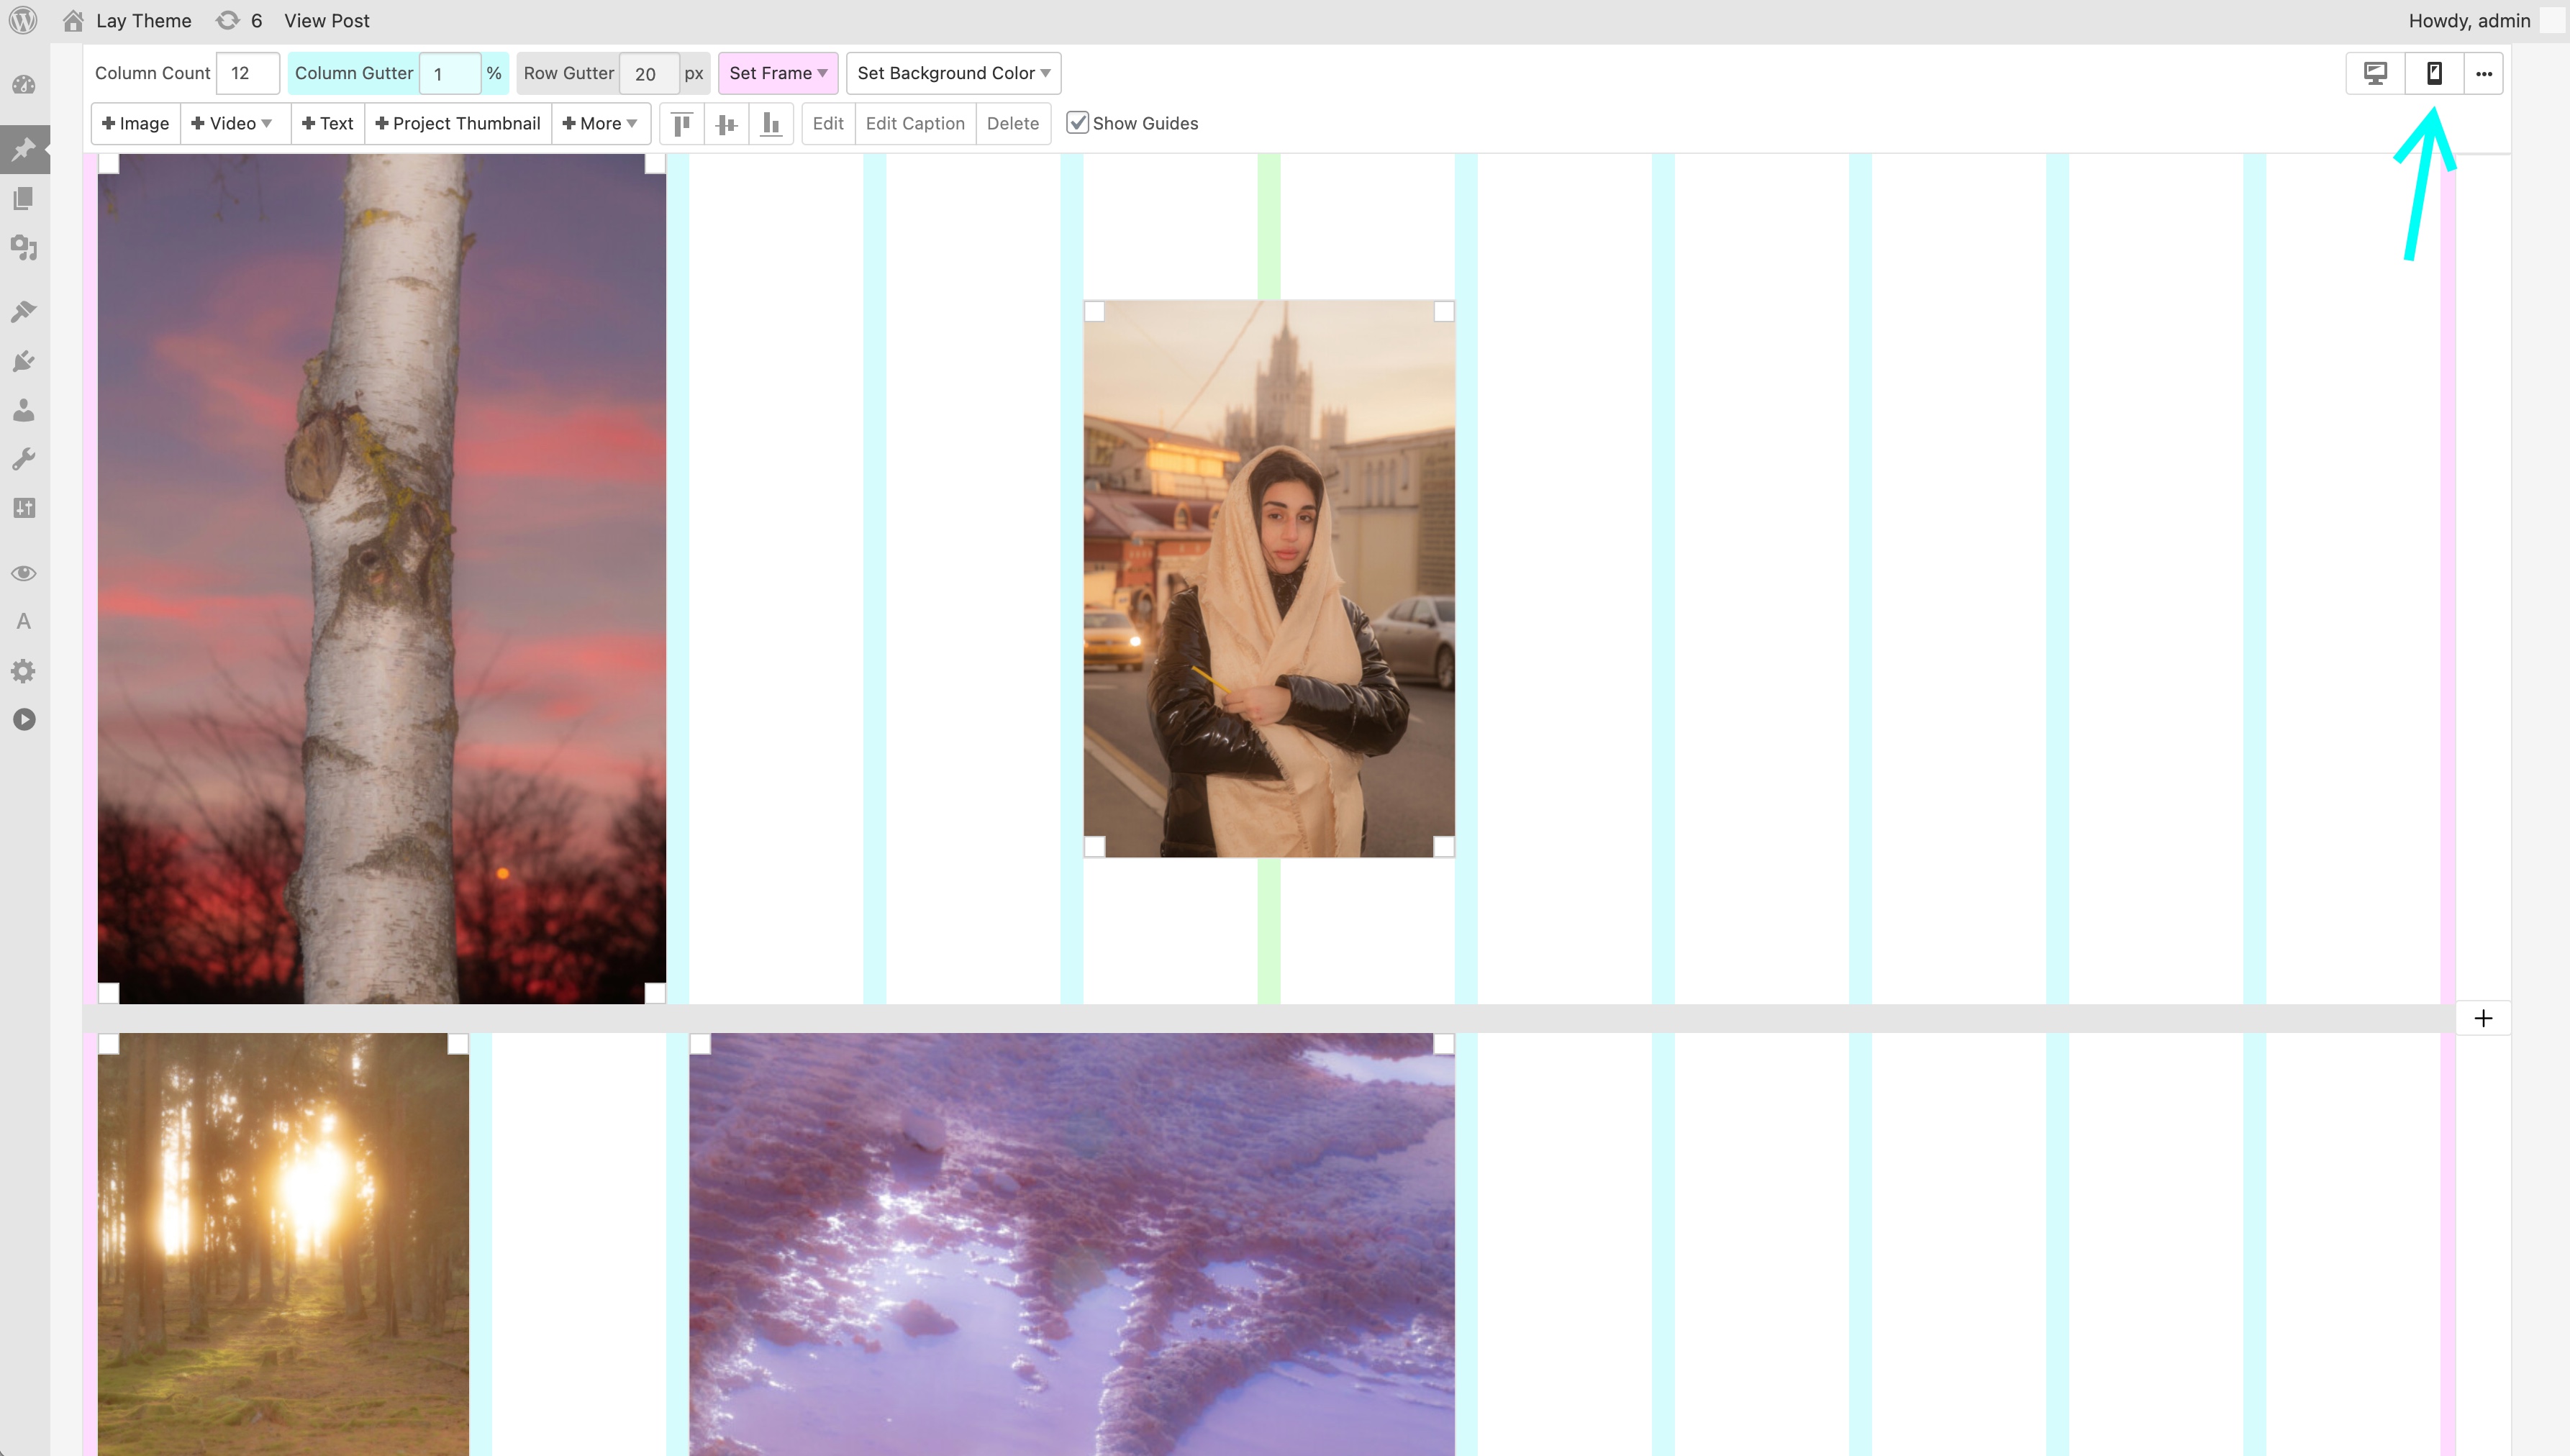
The phone button on the top right
A modal appears with three options to start your custom phone layout: “Stack elements on top of each other”, “Copy same layout” and “Start with empty layout”.
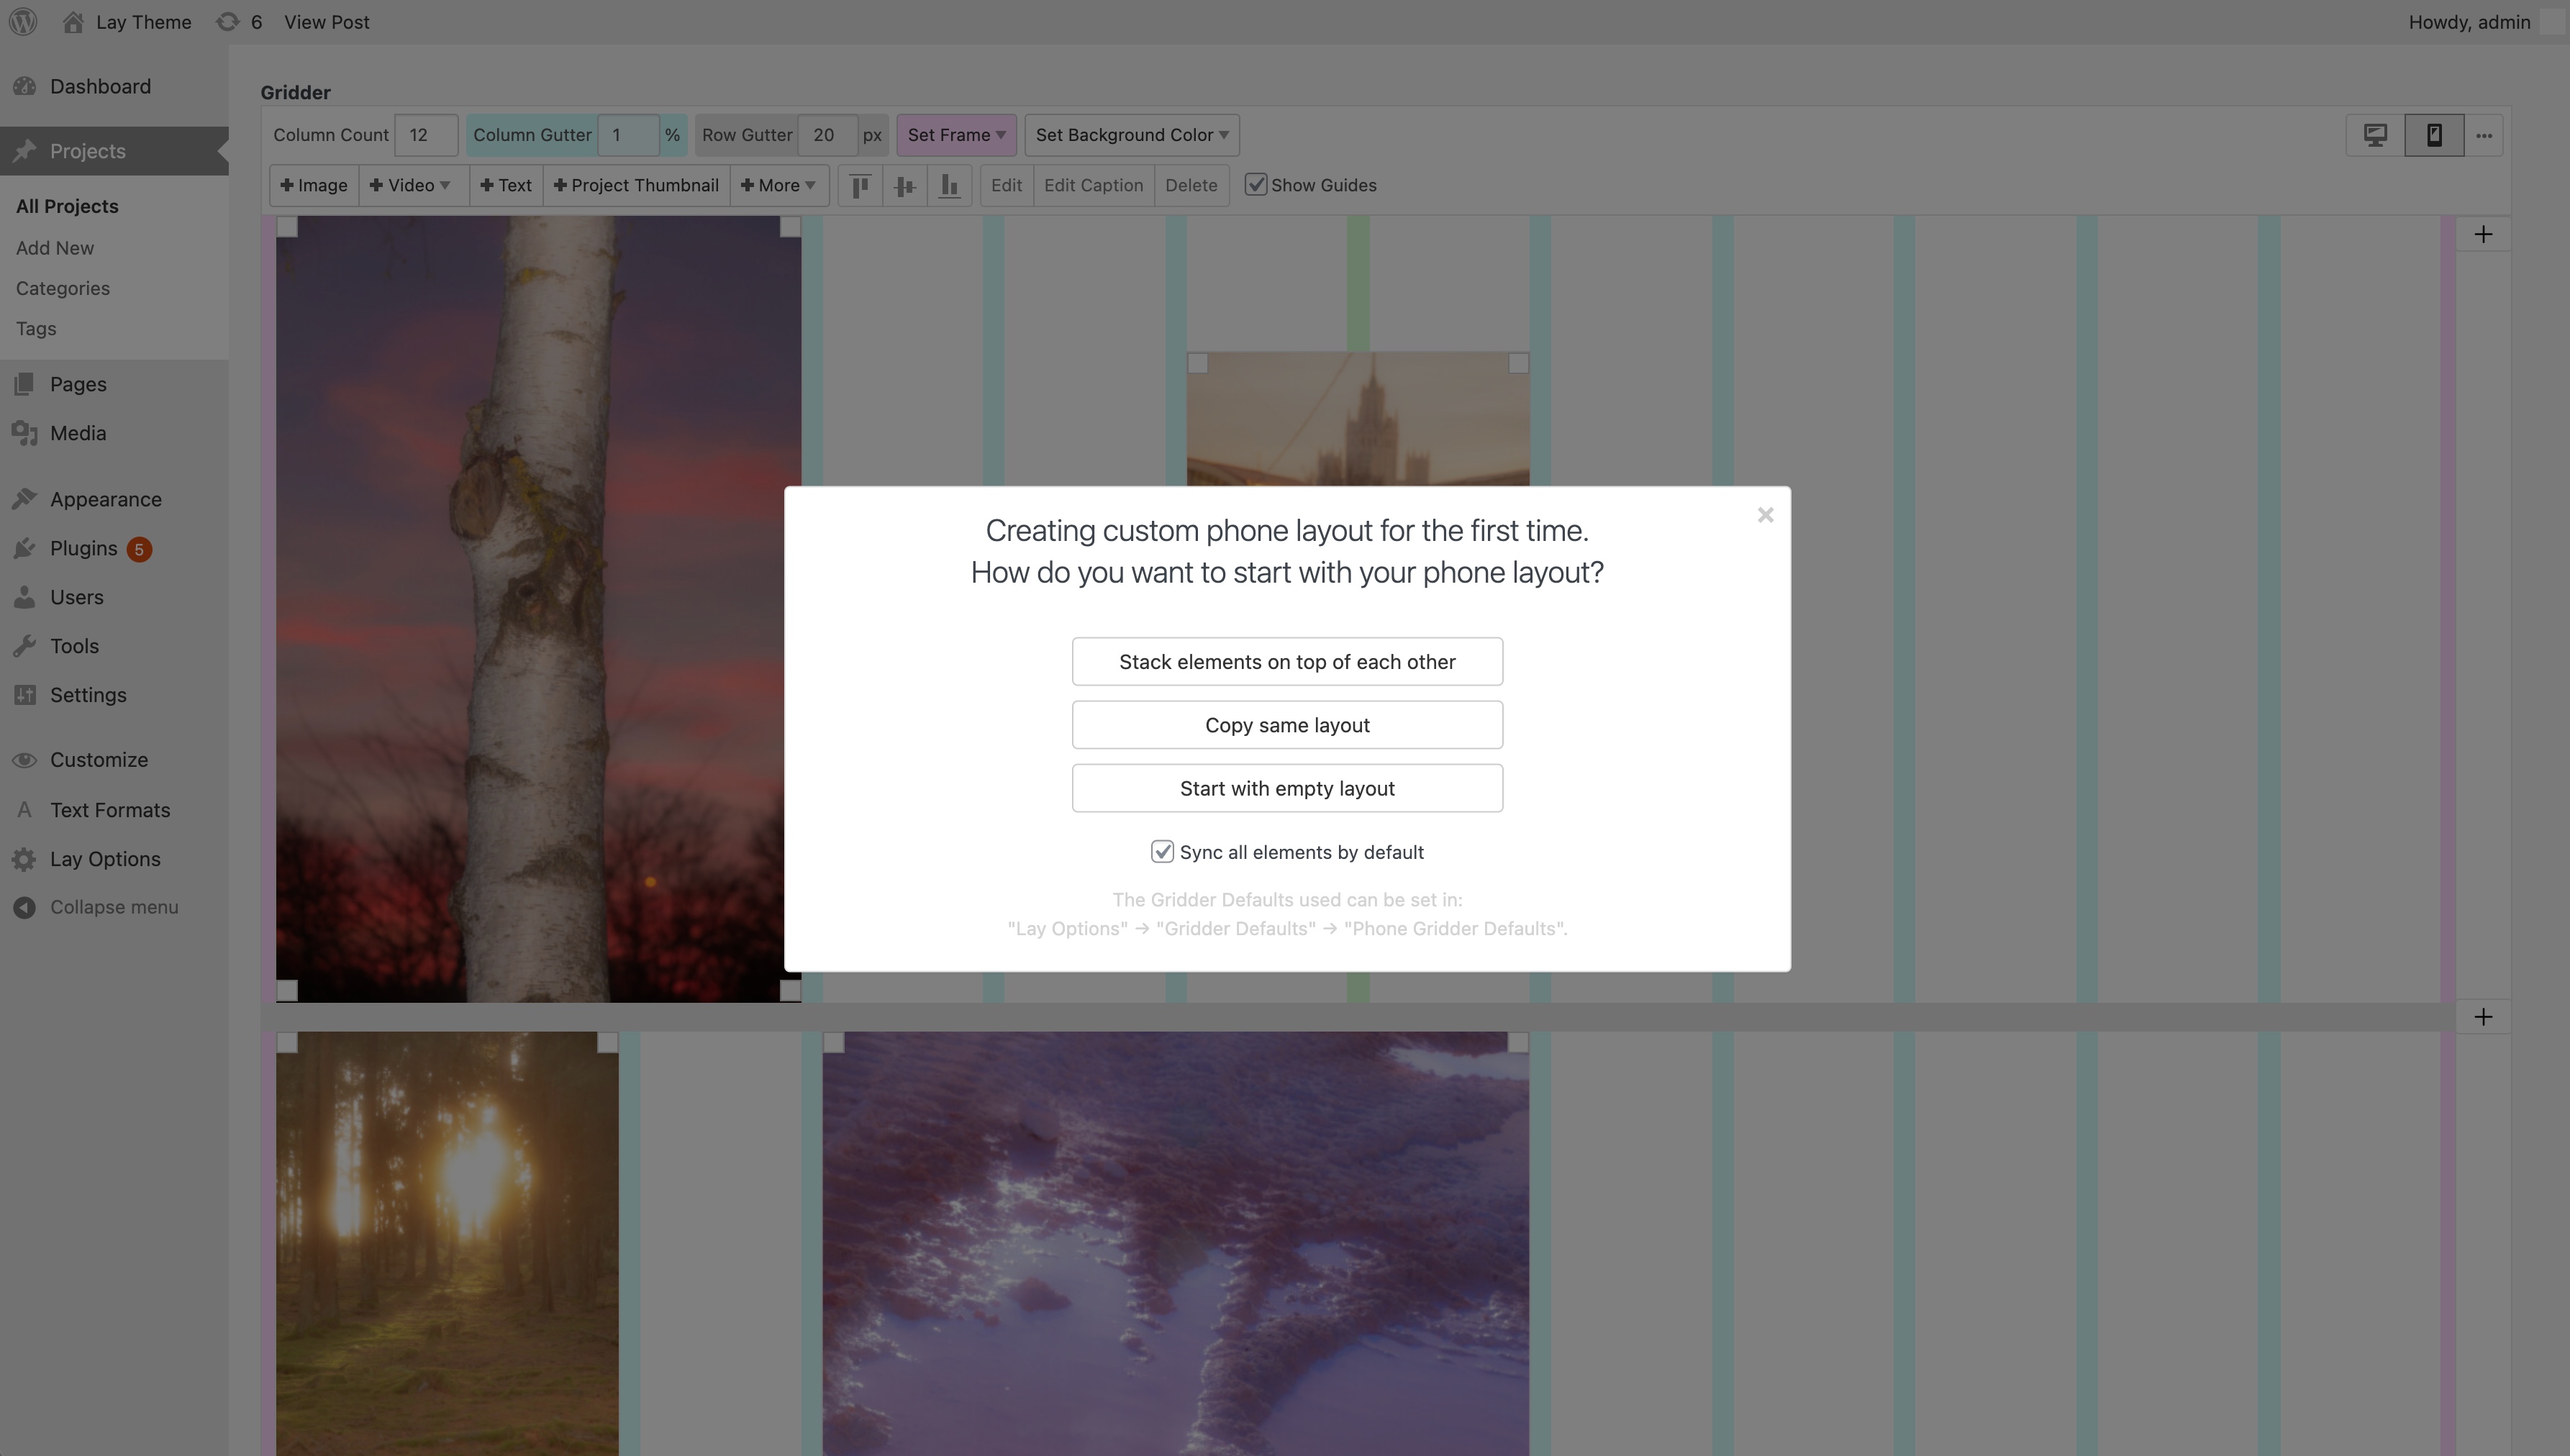
Creating a custom phone layout for the first time
How syncing (synchronizing) works
By default your elements are synchronized between the desktop and phone layout. This means when you edit an element or delete it in one layout, it will also be edited or deleted for the other layout.
This is useful for texts. You change a text for your desktop layout and the phone layout's text will be updated accordingly.
If you want your elements to not sync, you can select them, right-click them and click “Sync element” to toggle whether they are synced or not.
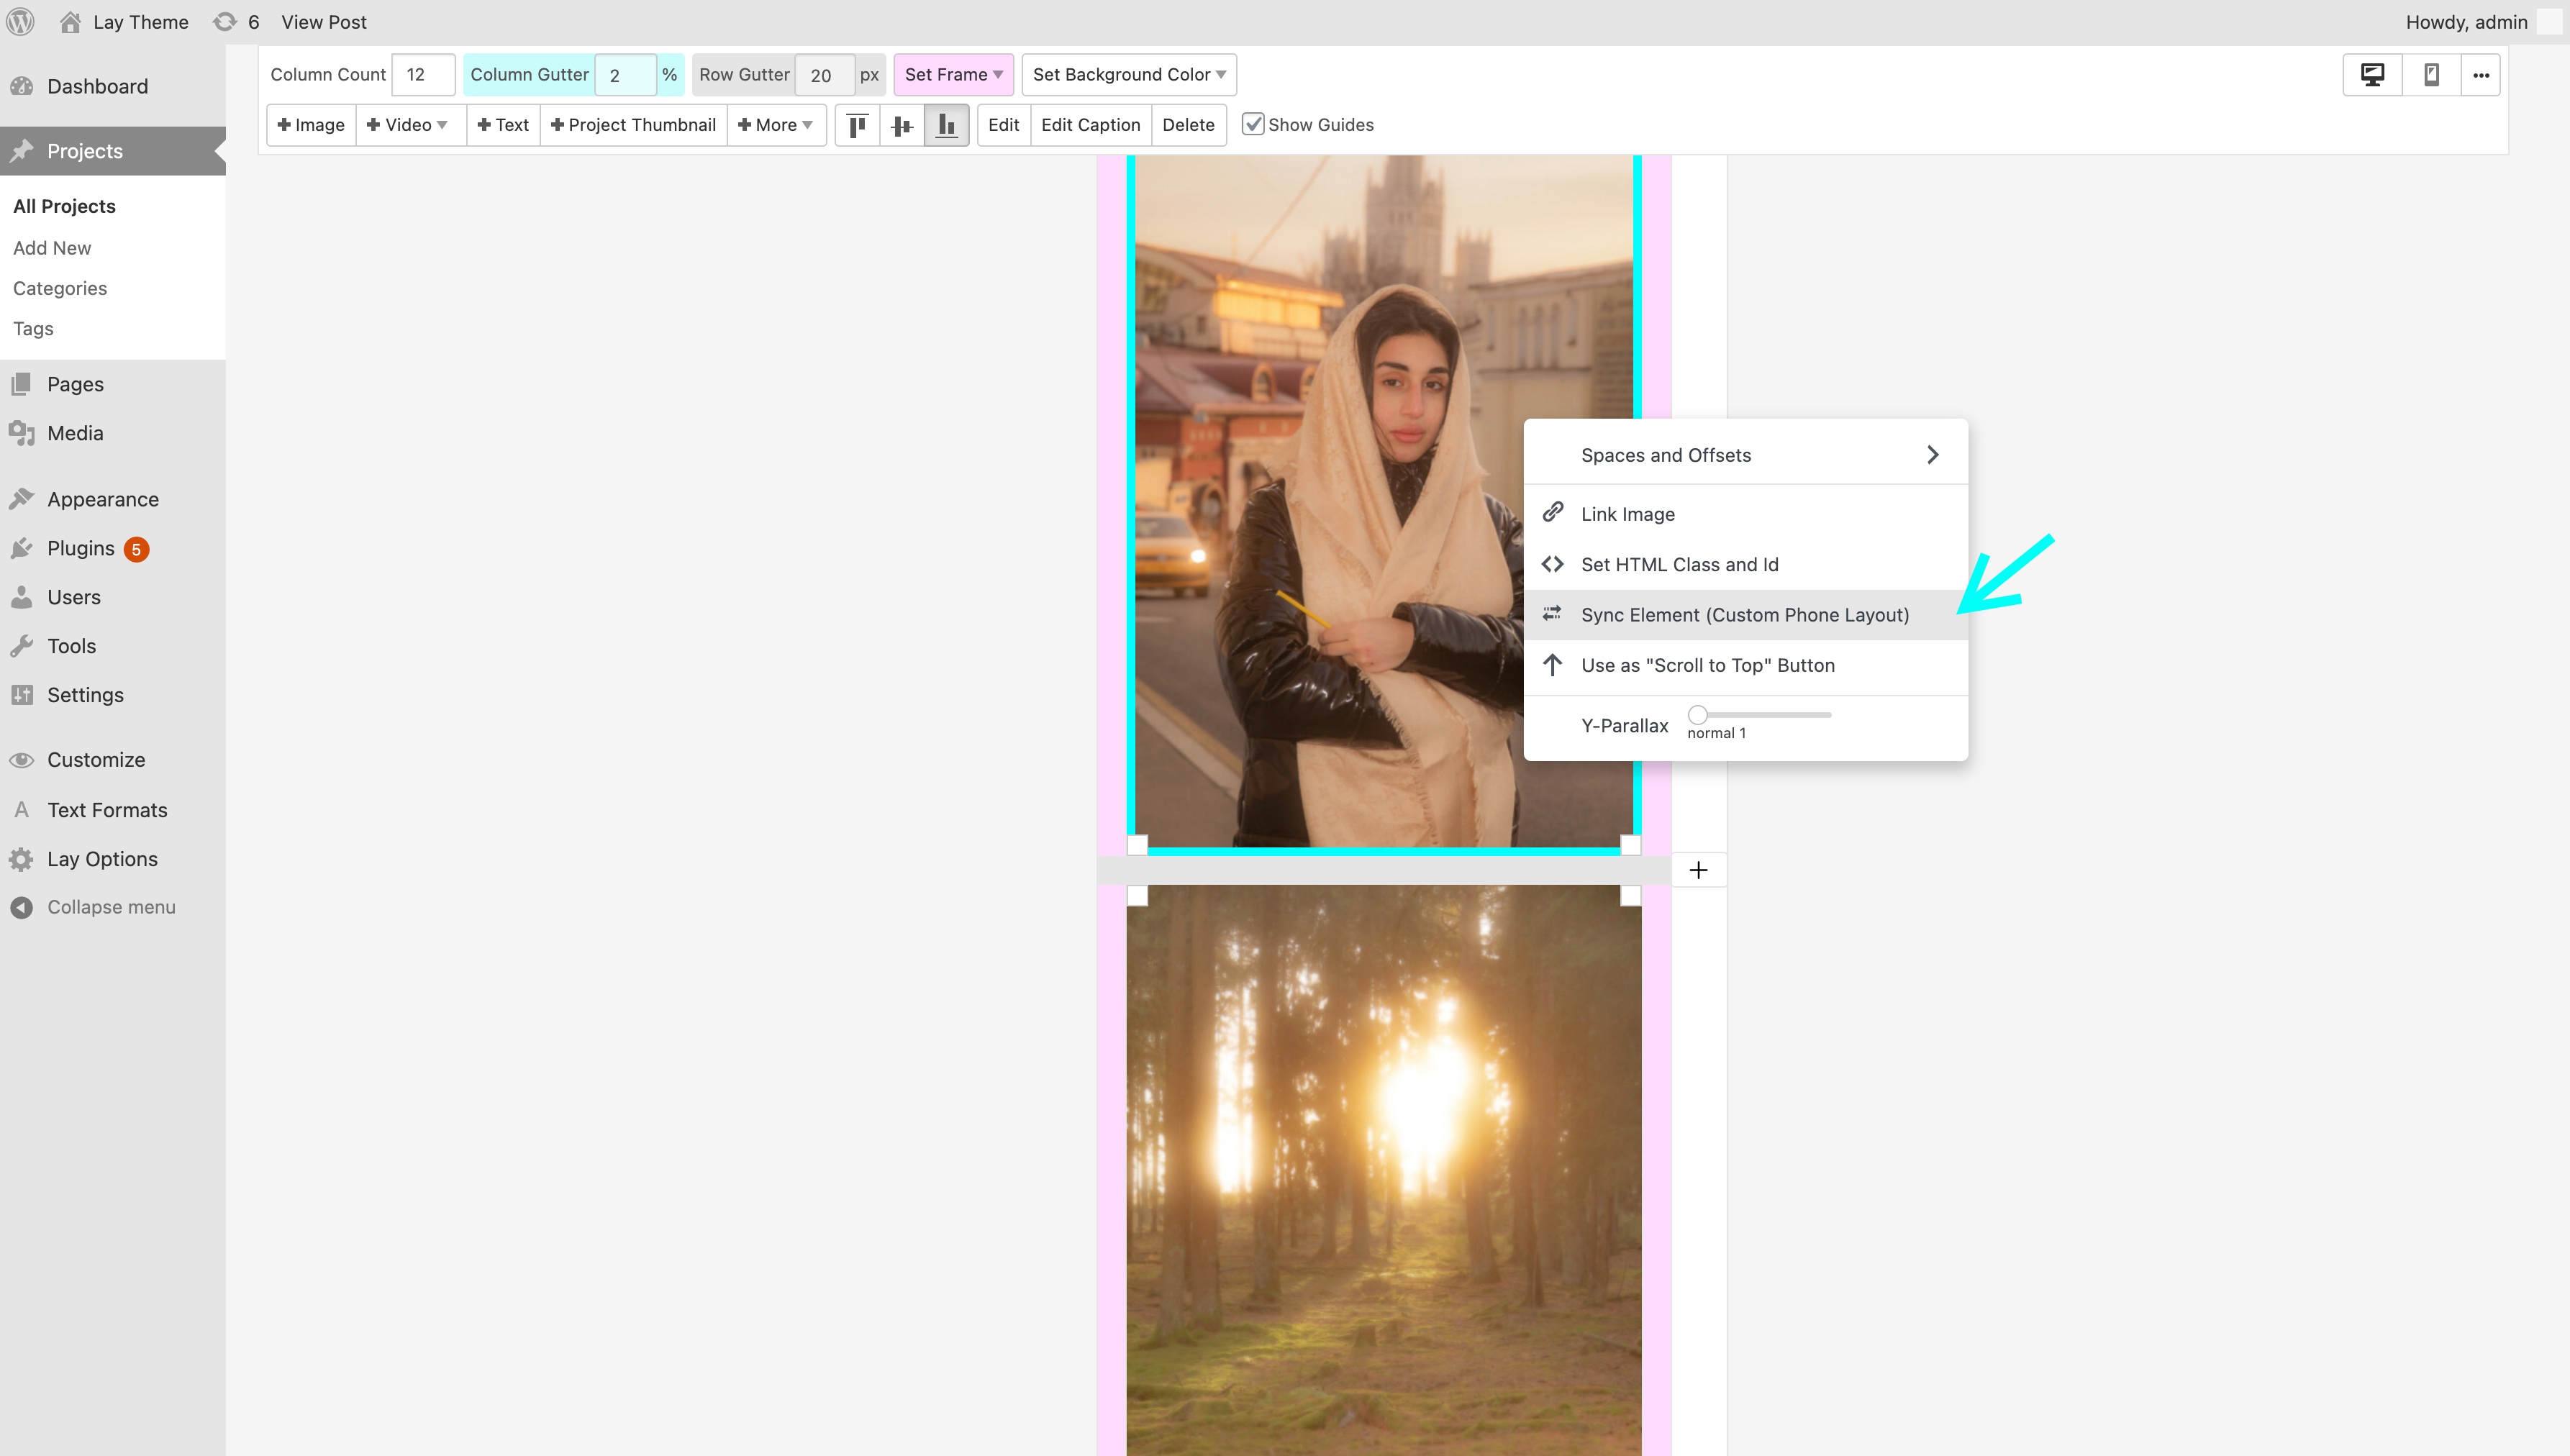
Unsyncing and syncing an element
Add synced elements to desktop and phone layouts
When you insert new elements into a layout, you can select them, right click them and choose “Insert x elements into desktop/phone layout”. When adding new elements this way they are synced.
You only need to do this if you want to add elements and make them synced.
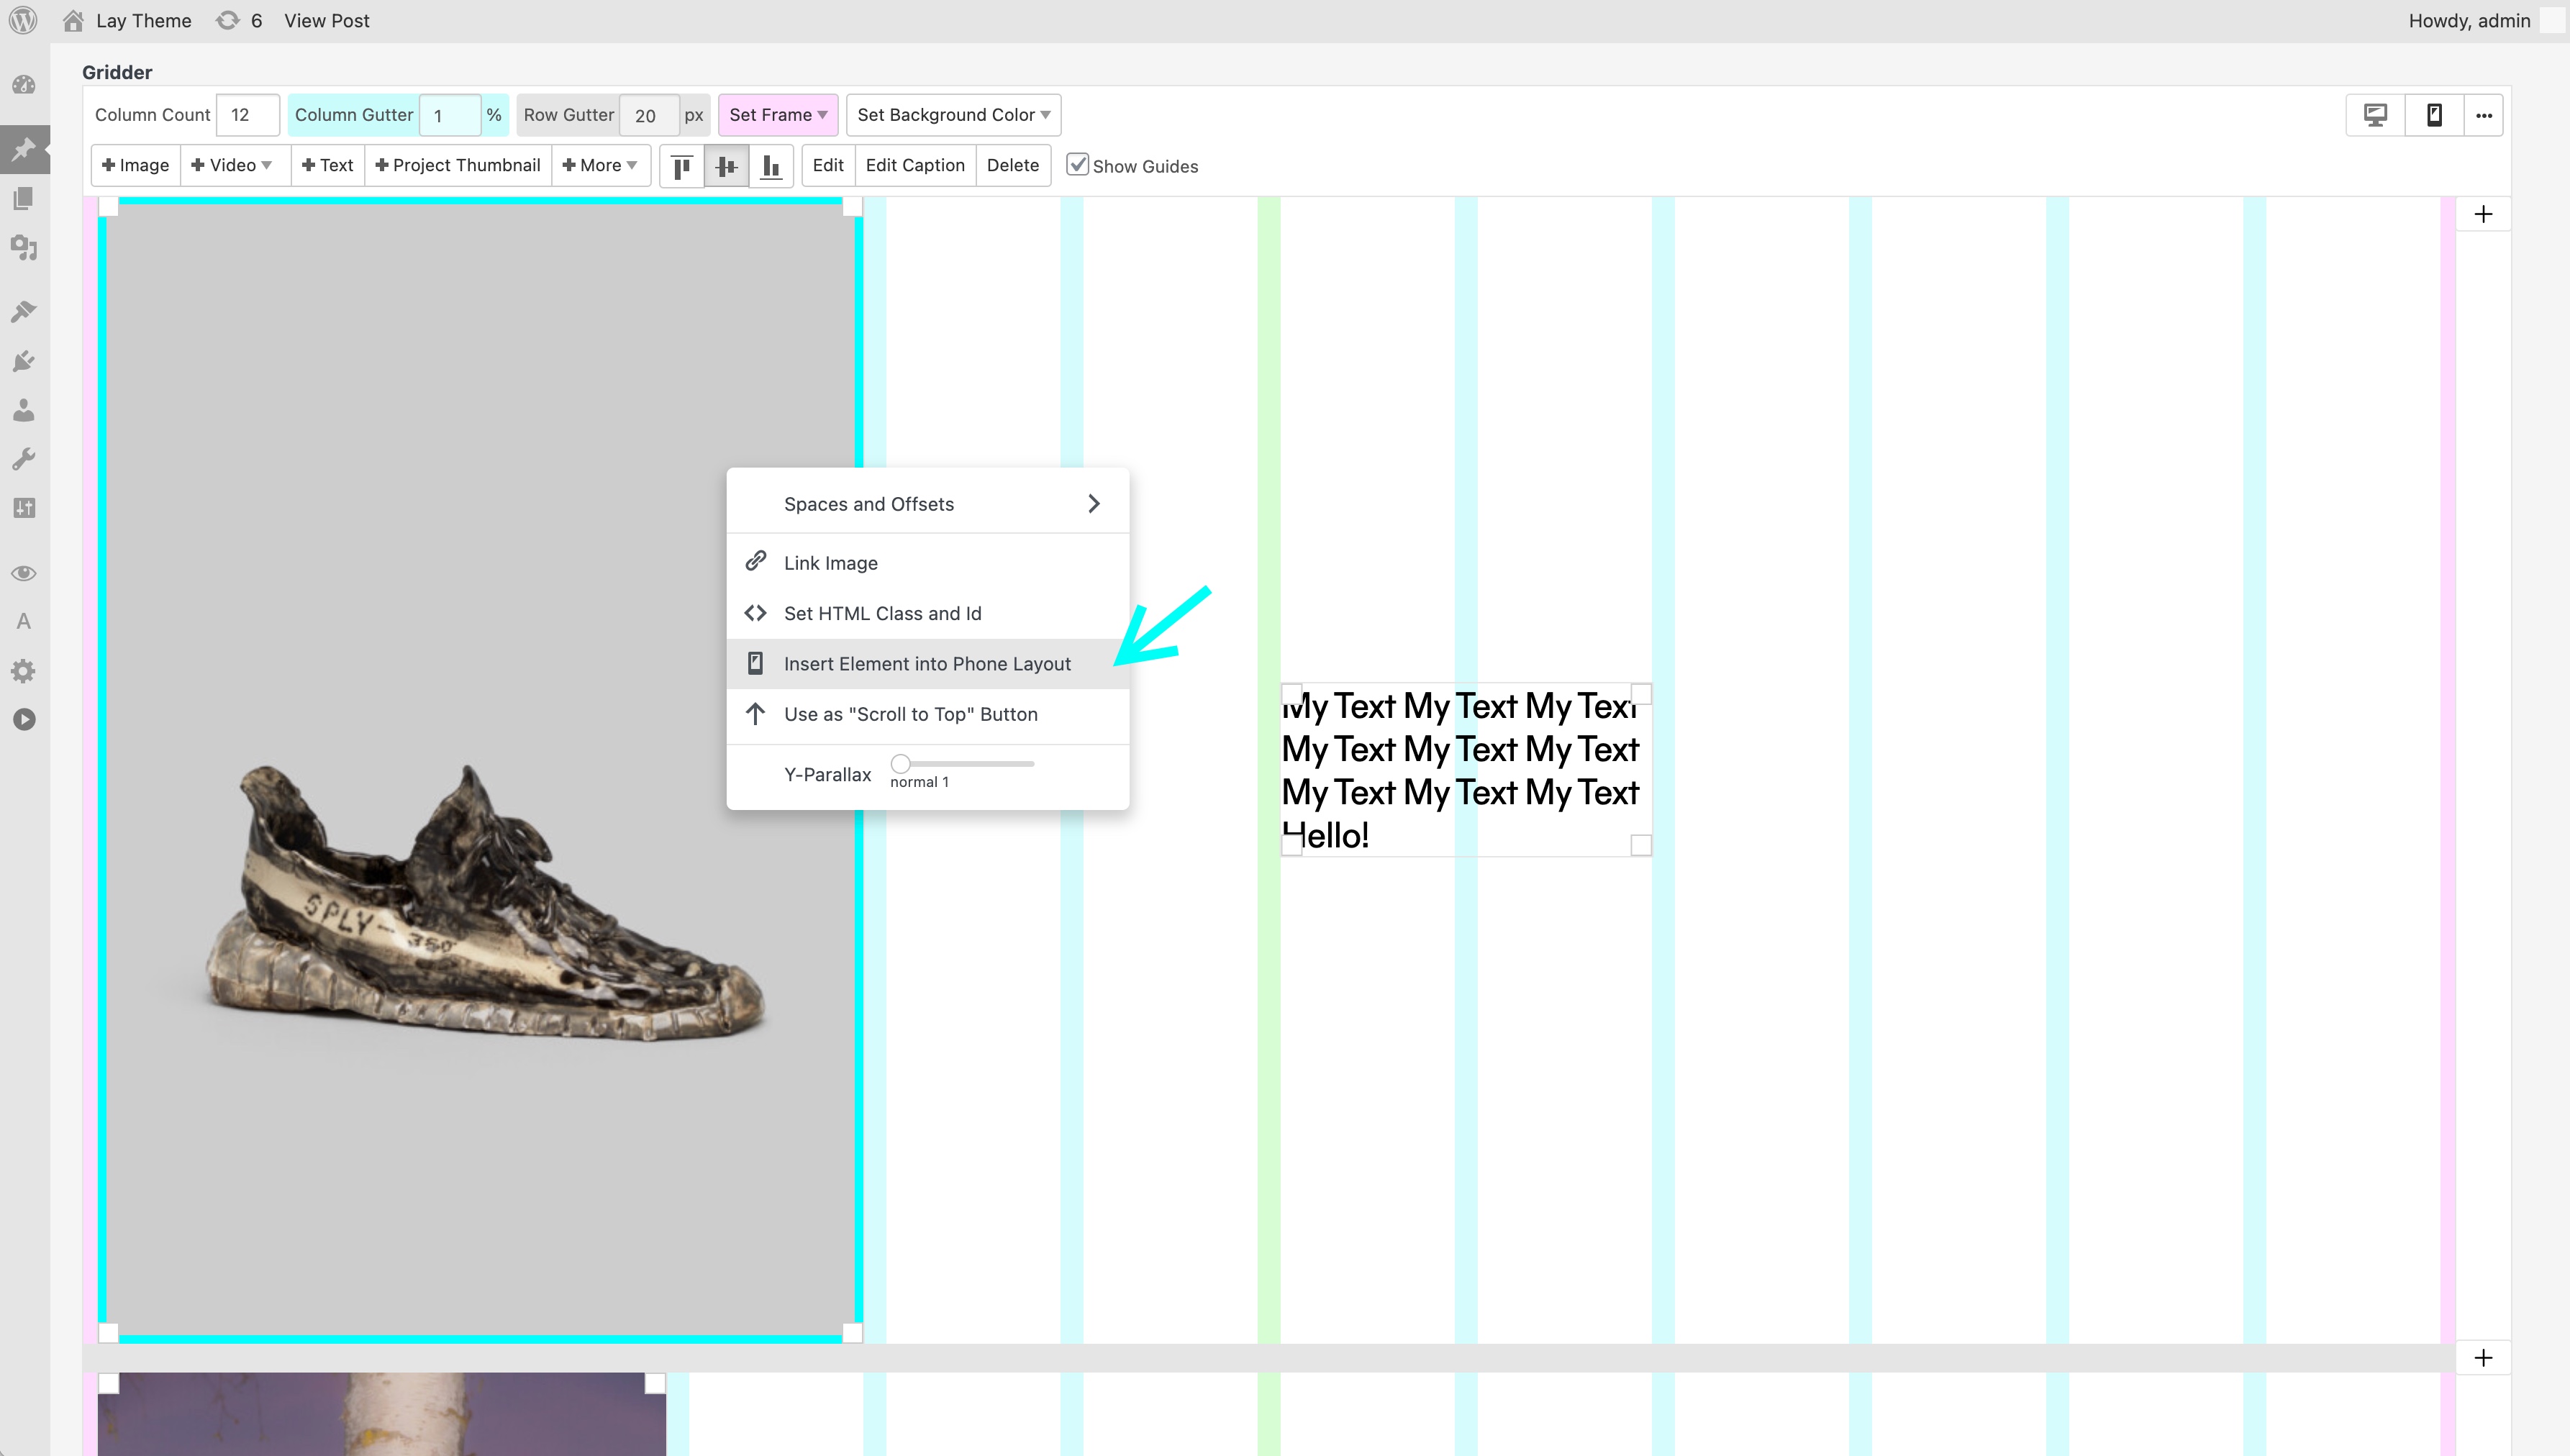
Insert elements into both layouts this way to make them synced