Menus
Menus can link to your contact page, your project overview or any important page that needs to always be accessible.
Menus are really important for website navigation.
Creating a Menu
Go to "Appearance" → "Menus".
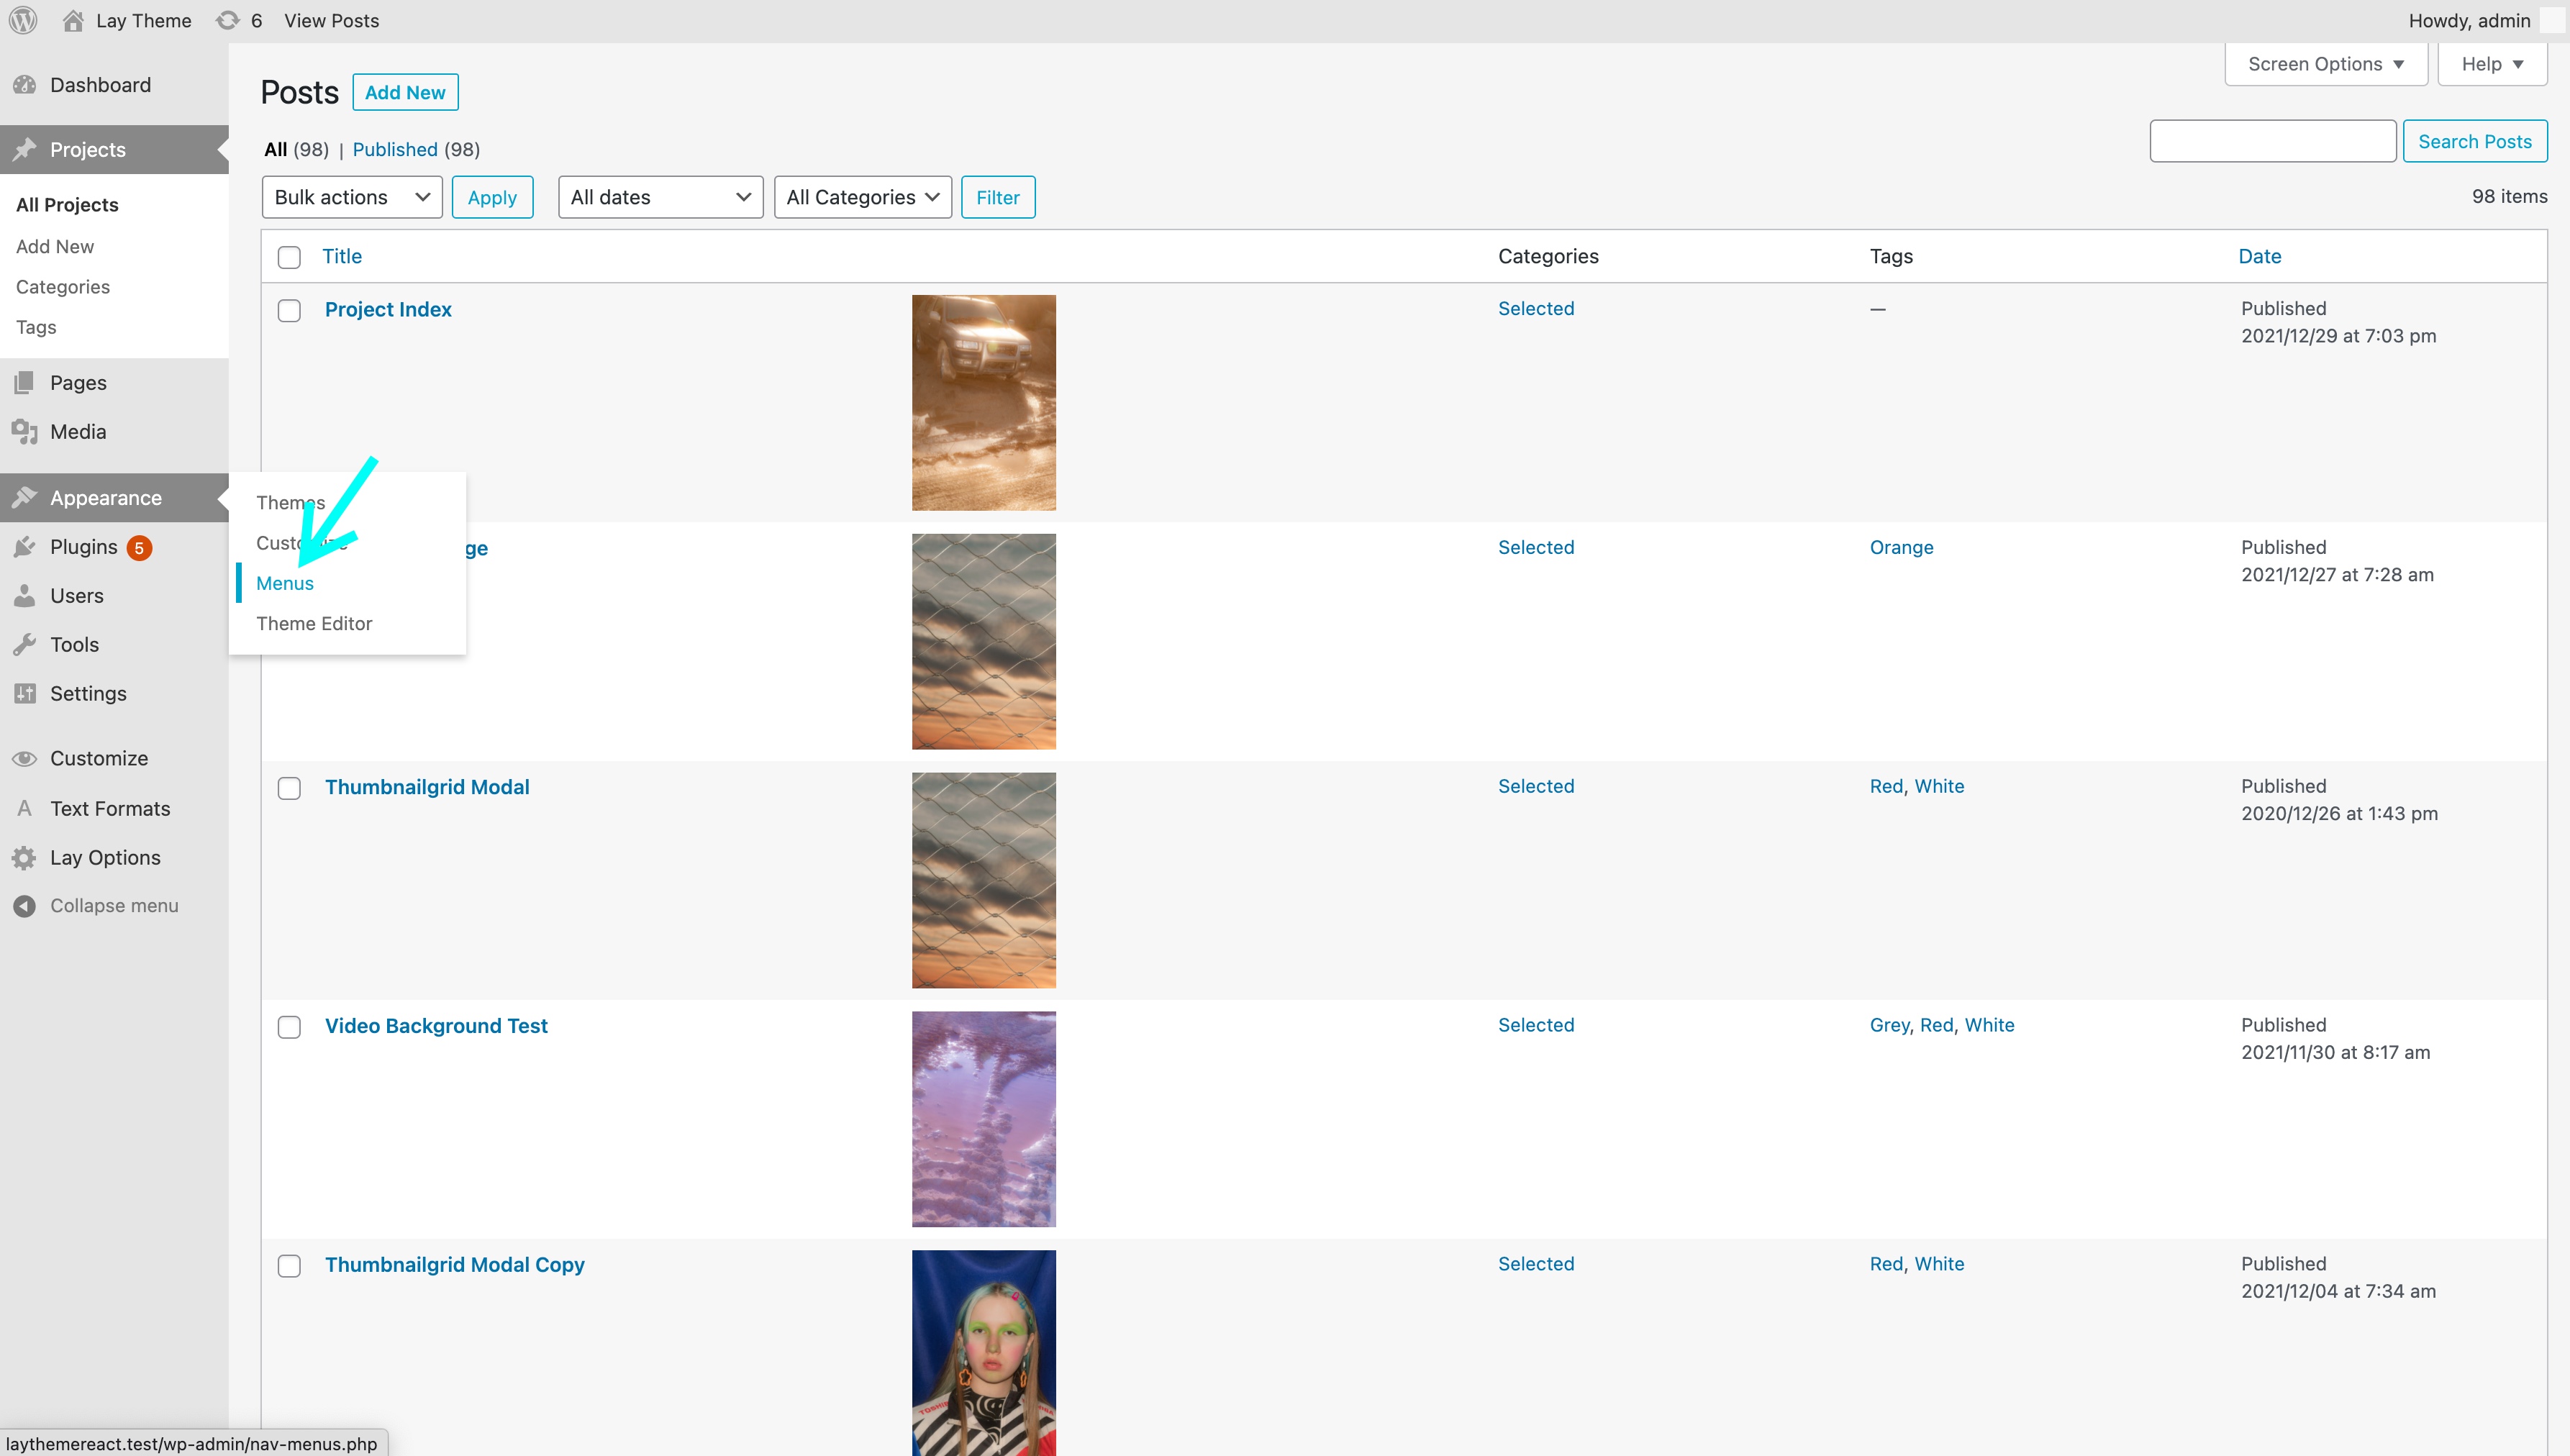
The Menus button
Now enter a name for your menu, check "Primary Menu" as display location and hit "Create Menu".
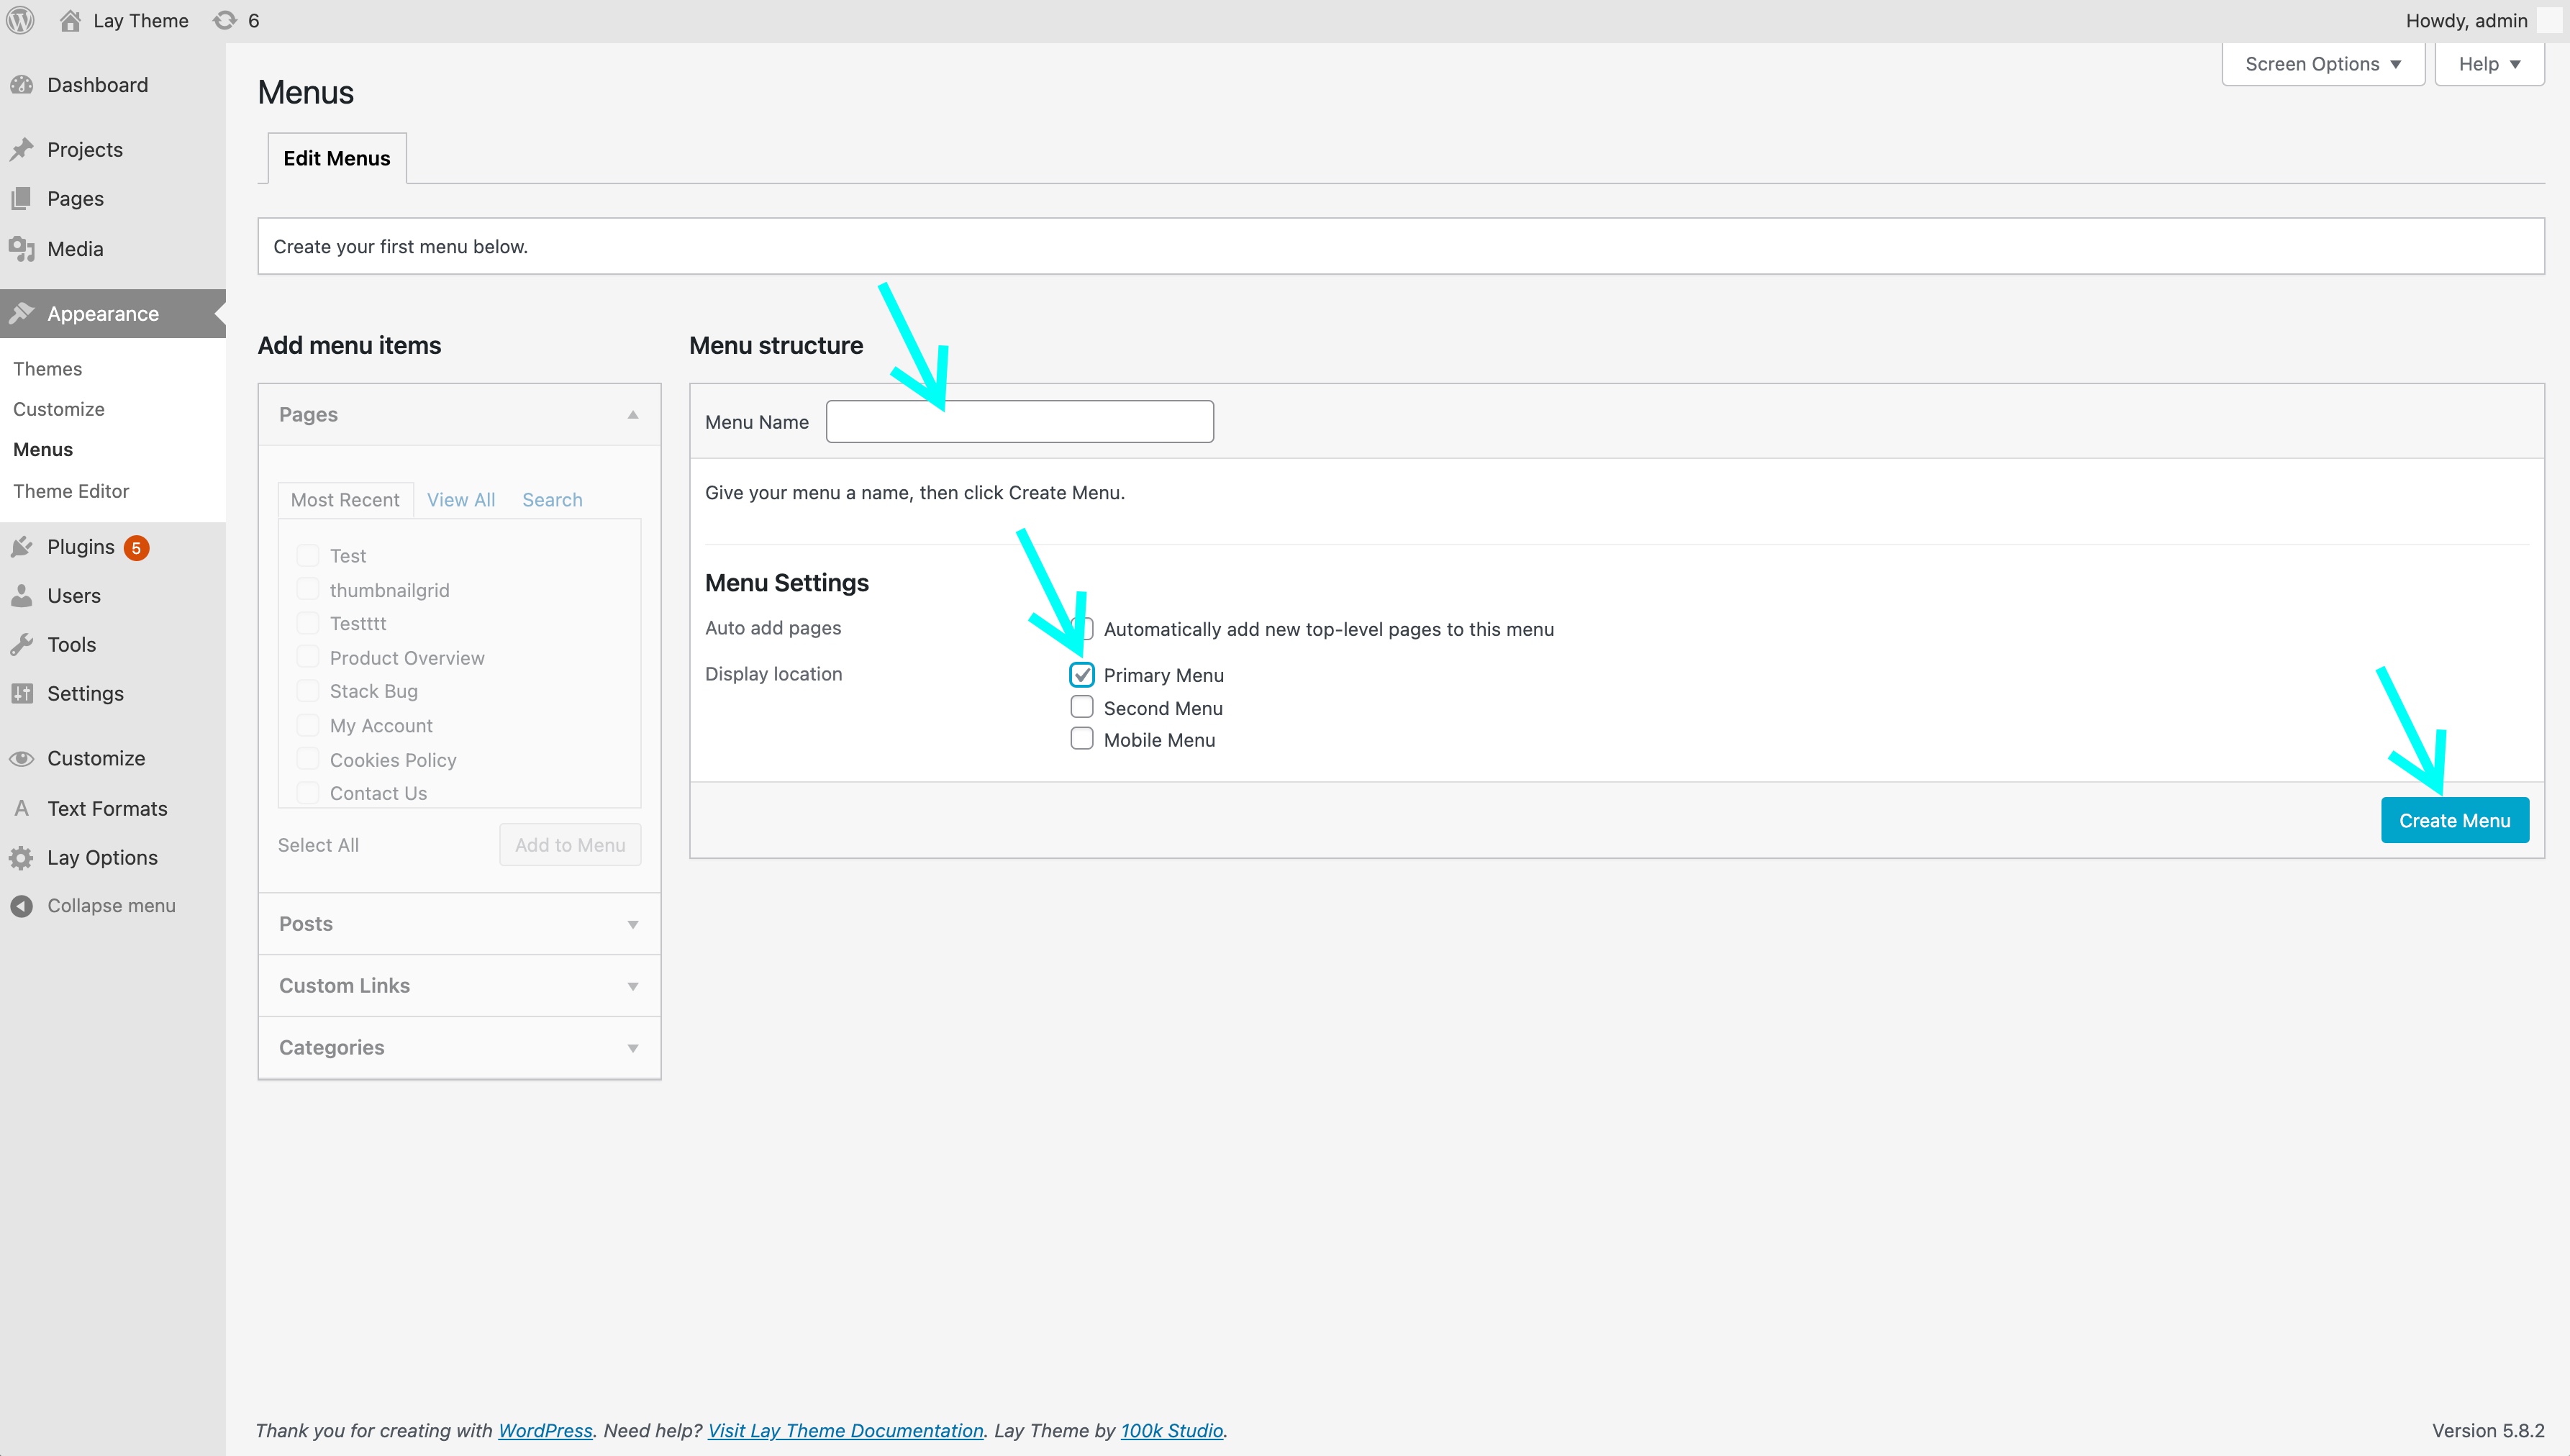
This is where you create your menus
Now just choose Pages or Posts (Projects) or anything from the left and add them to your menu and click "Save Menu".
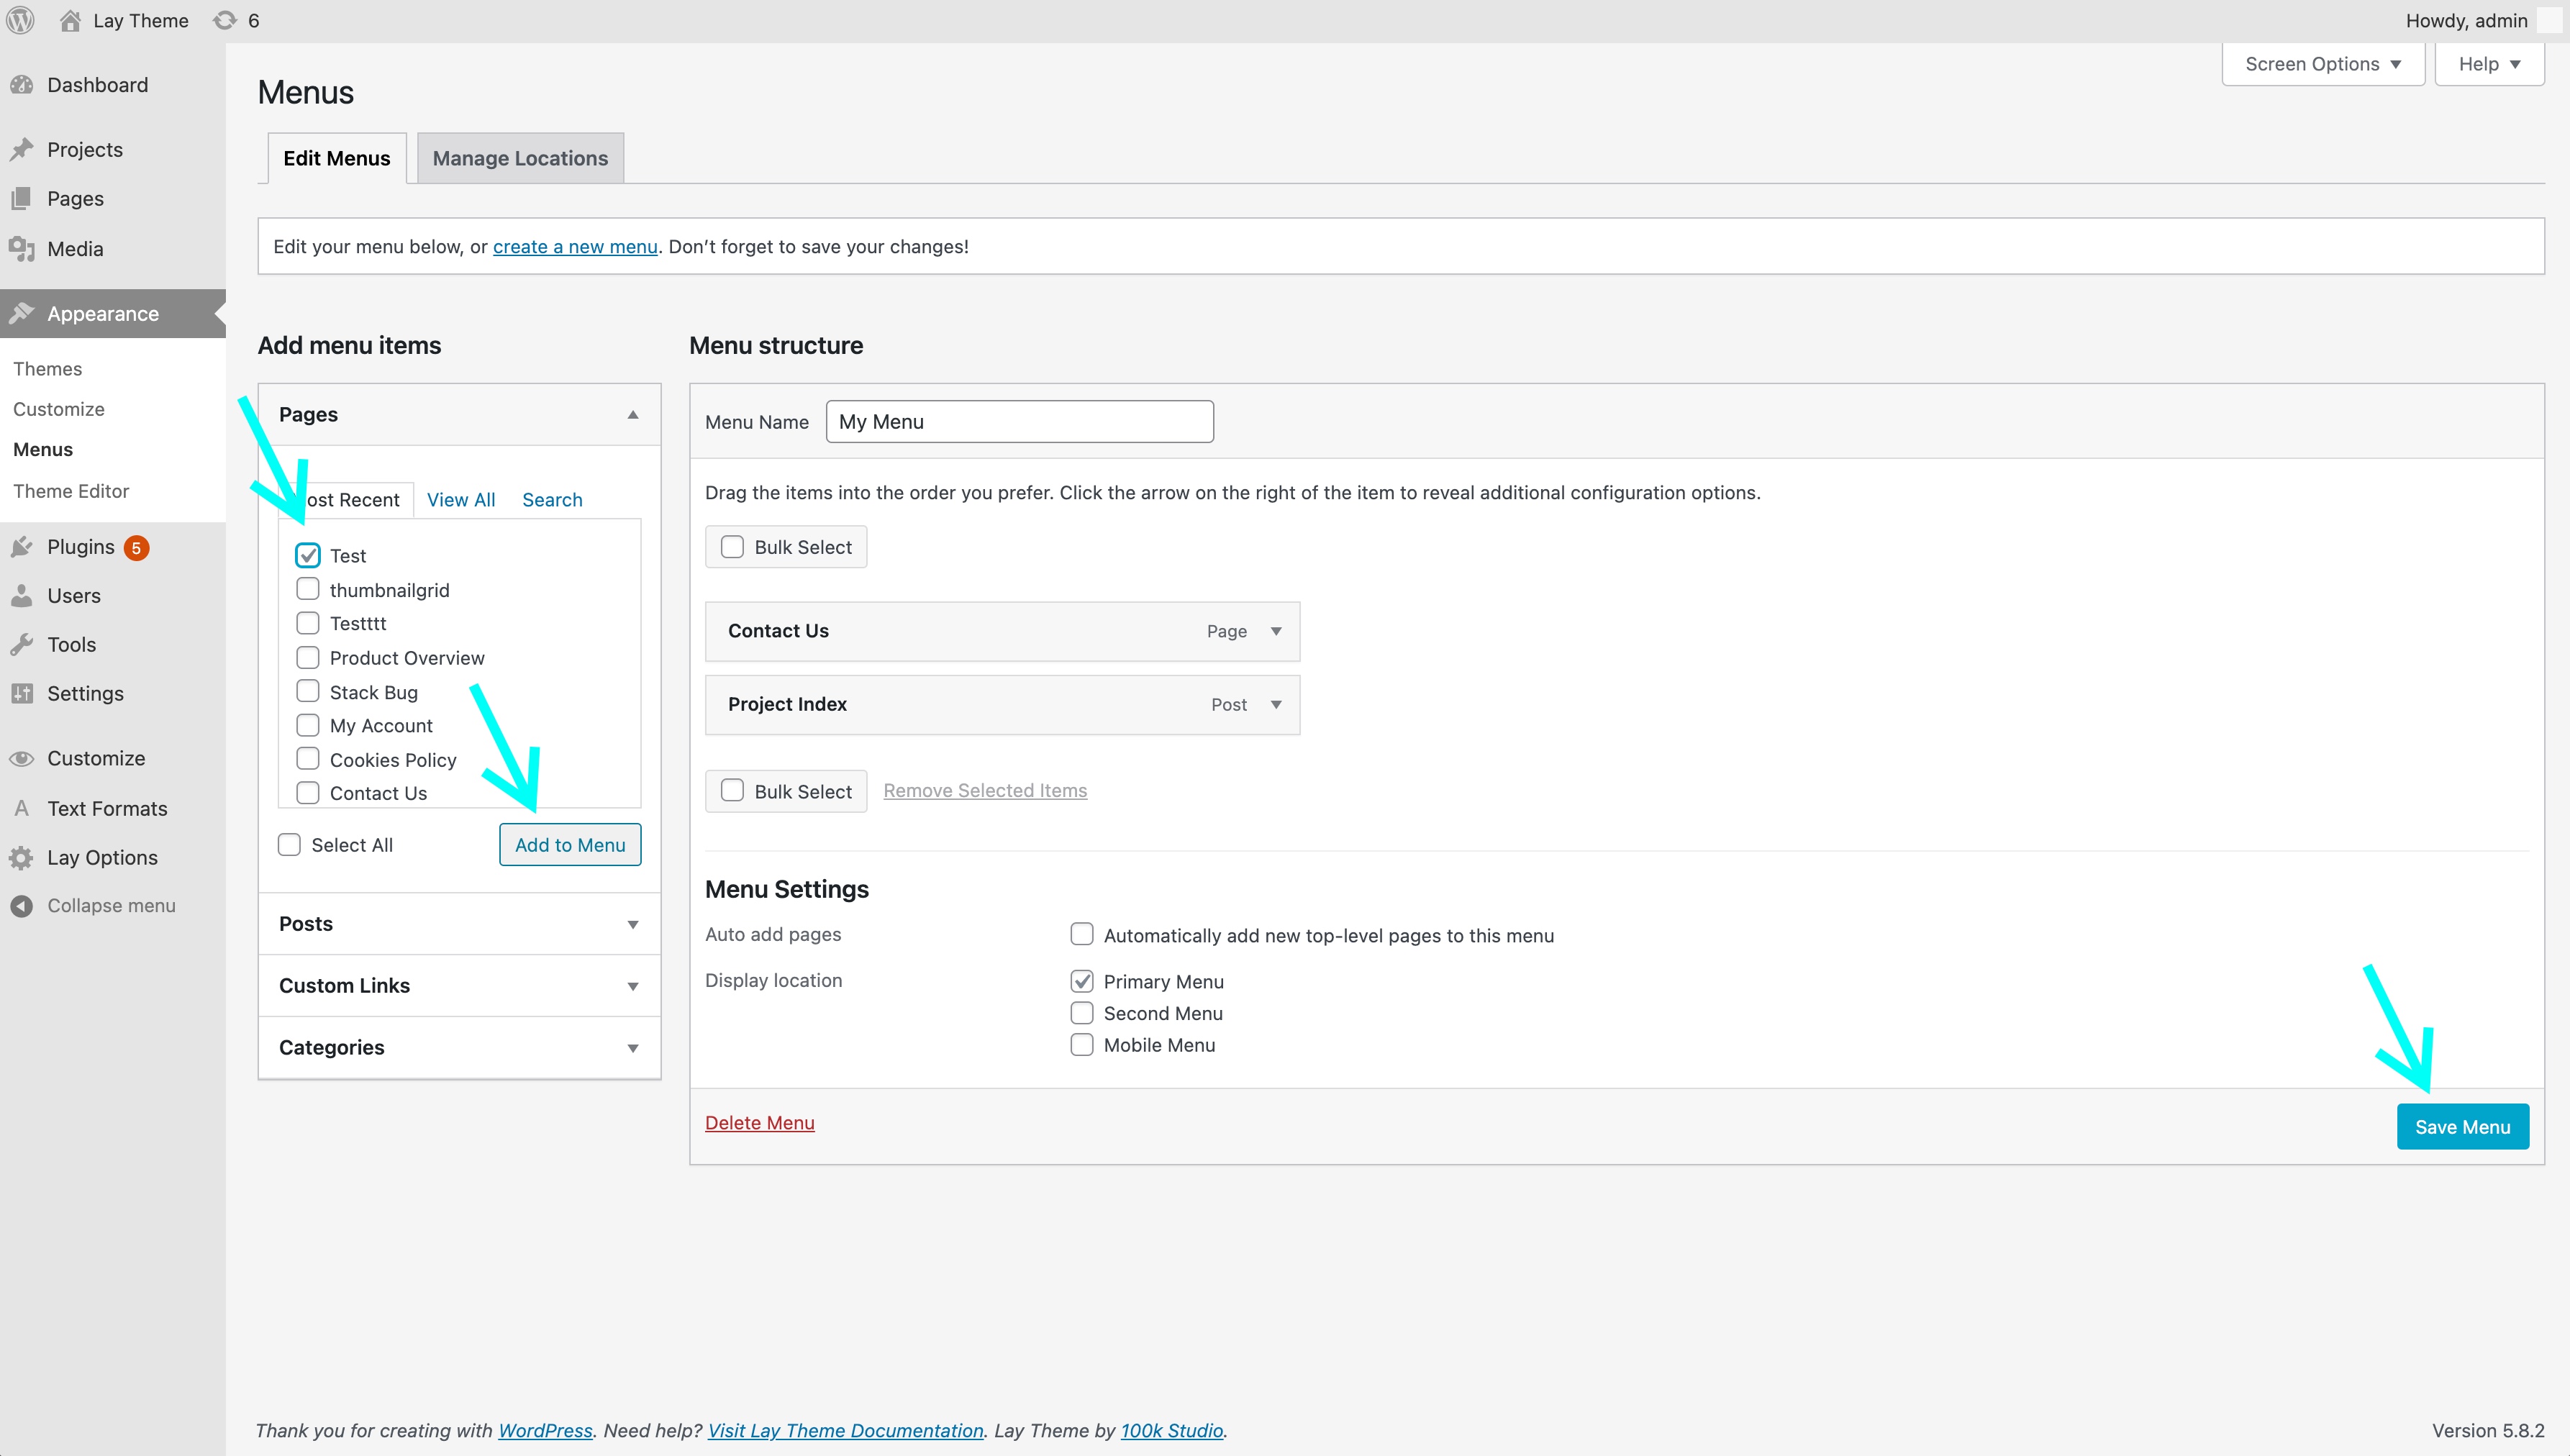
Adding menu points
Submenus
Just drag and drop a menu item to the right, underneath another menu item.
Multiple Menus
You can have up to 4 menus. For example you could put a menu into every corner of your website.
Go to "Lay Options" and use the setting "Menu Amount".
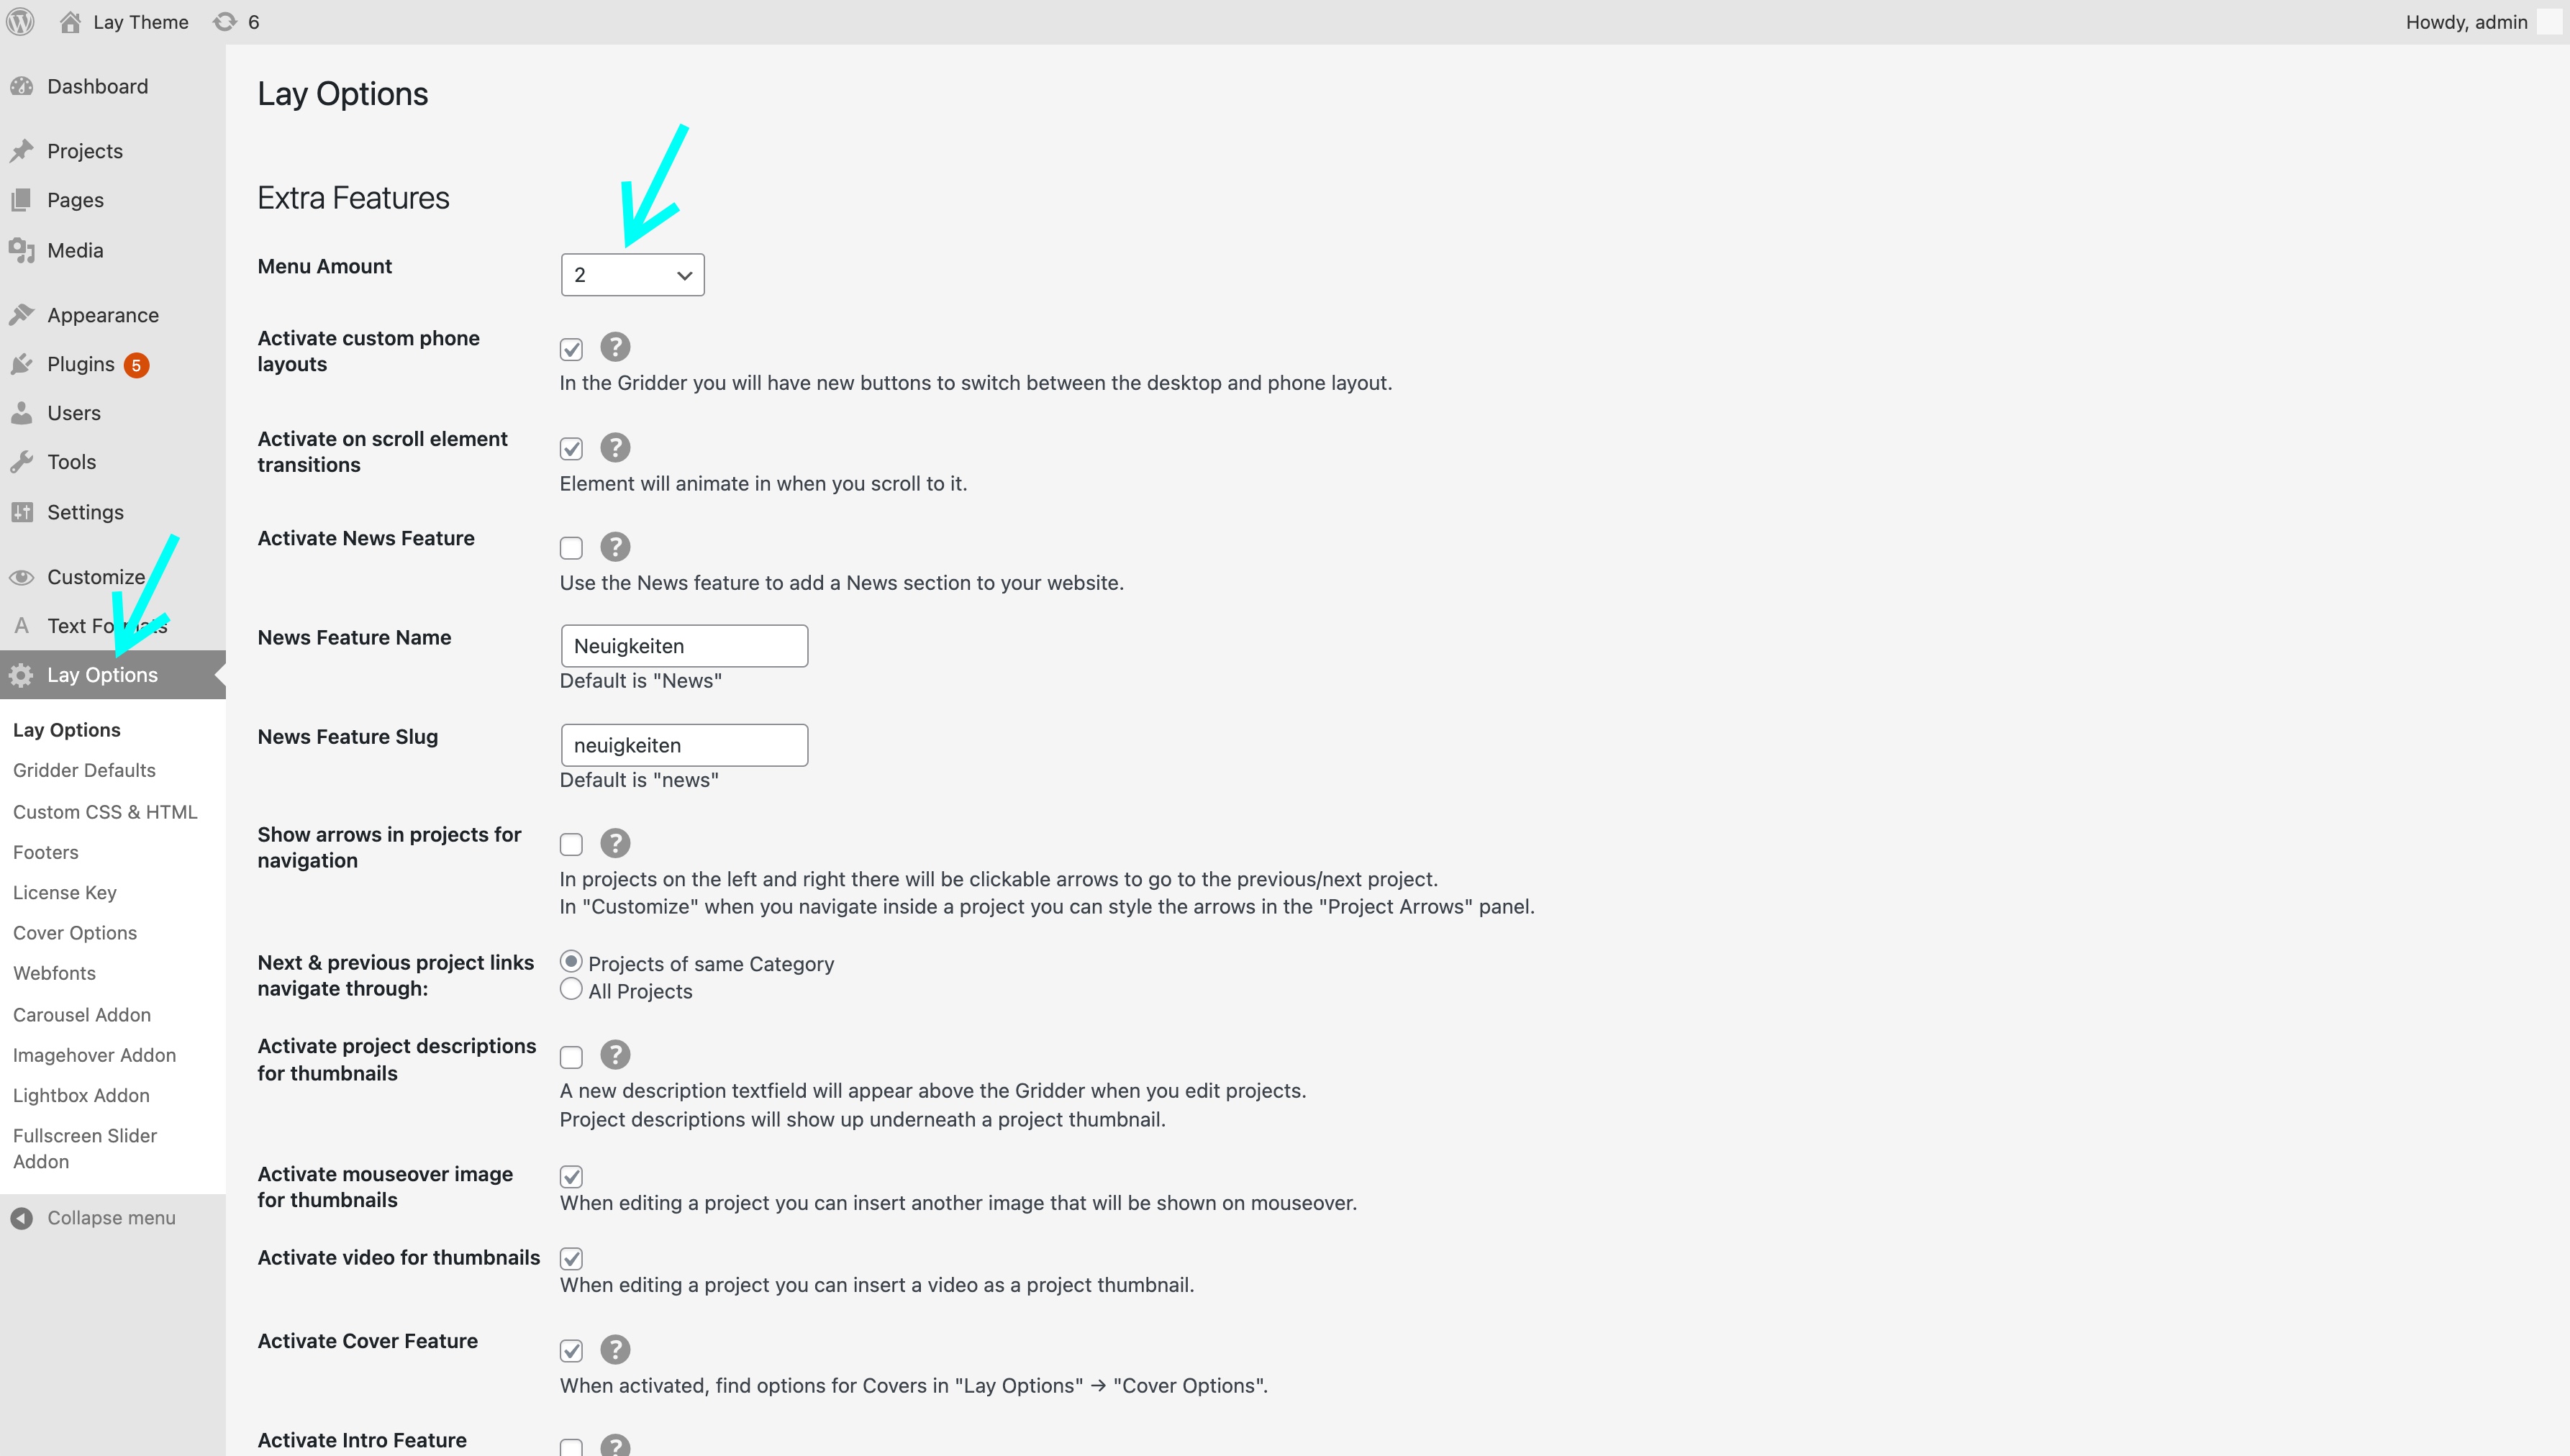
The "Menu Amount" setting
Now go to "Appearance" → "Menus". You'll find new "Display Locations". Here, I have four: Primary Menu, Second Menu, Third Menu, and Fourth Menu.
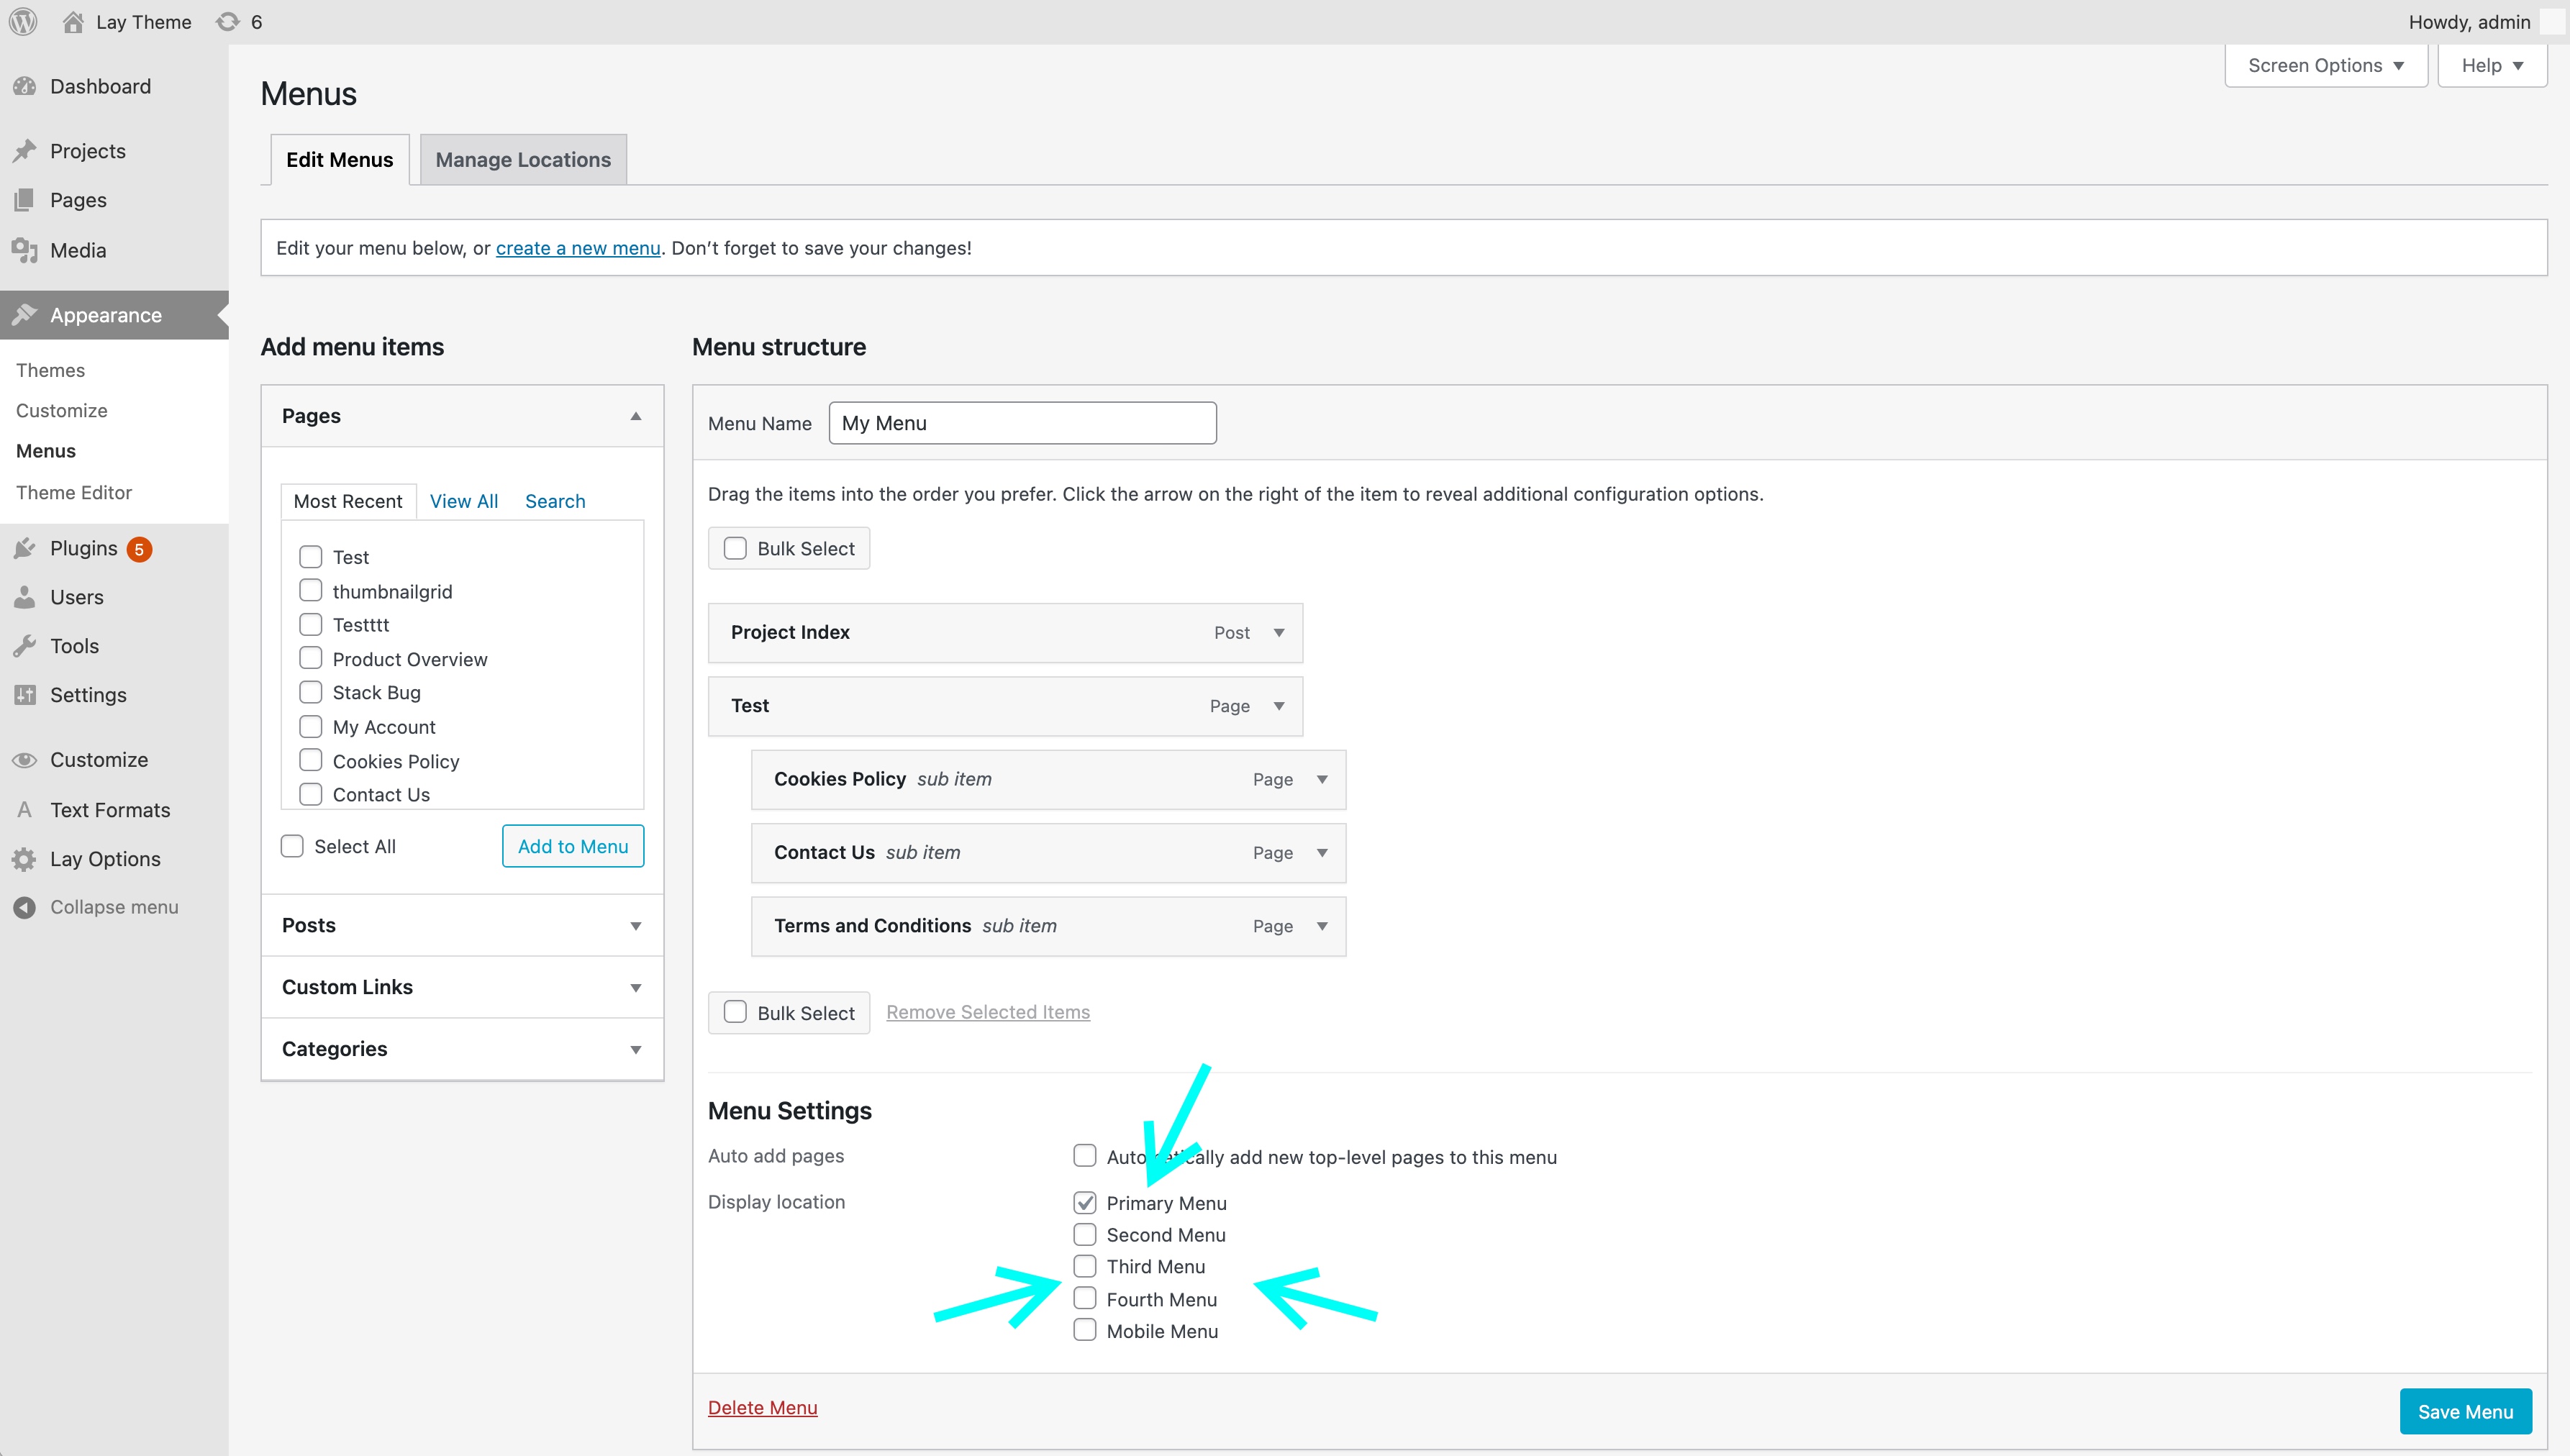
Find your new display locations here
Now you can create four different menus and assign them to their respective display locations.
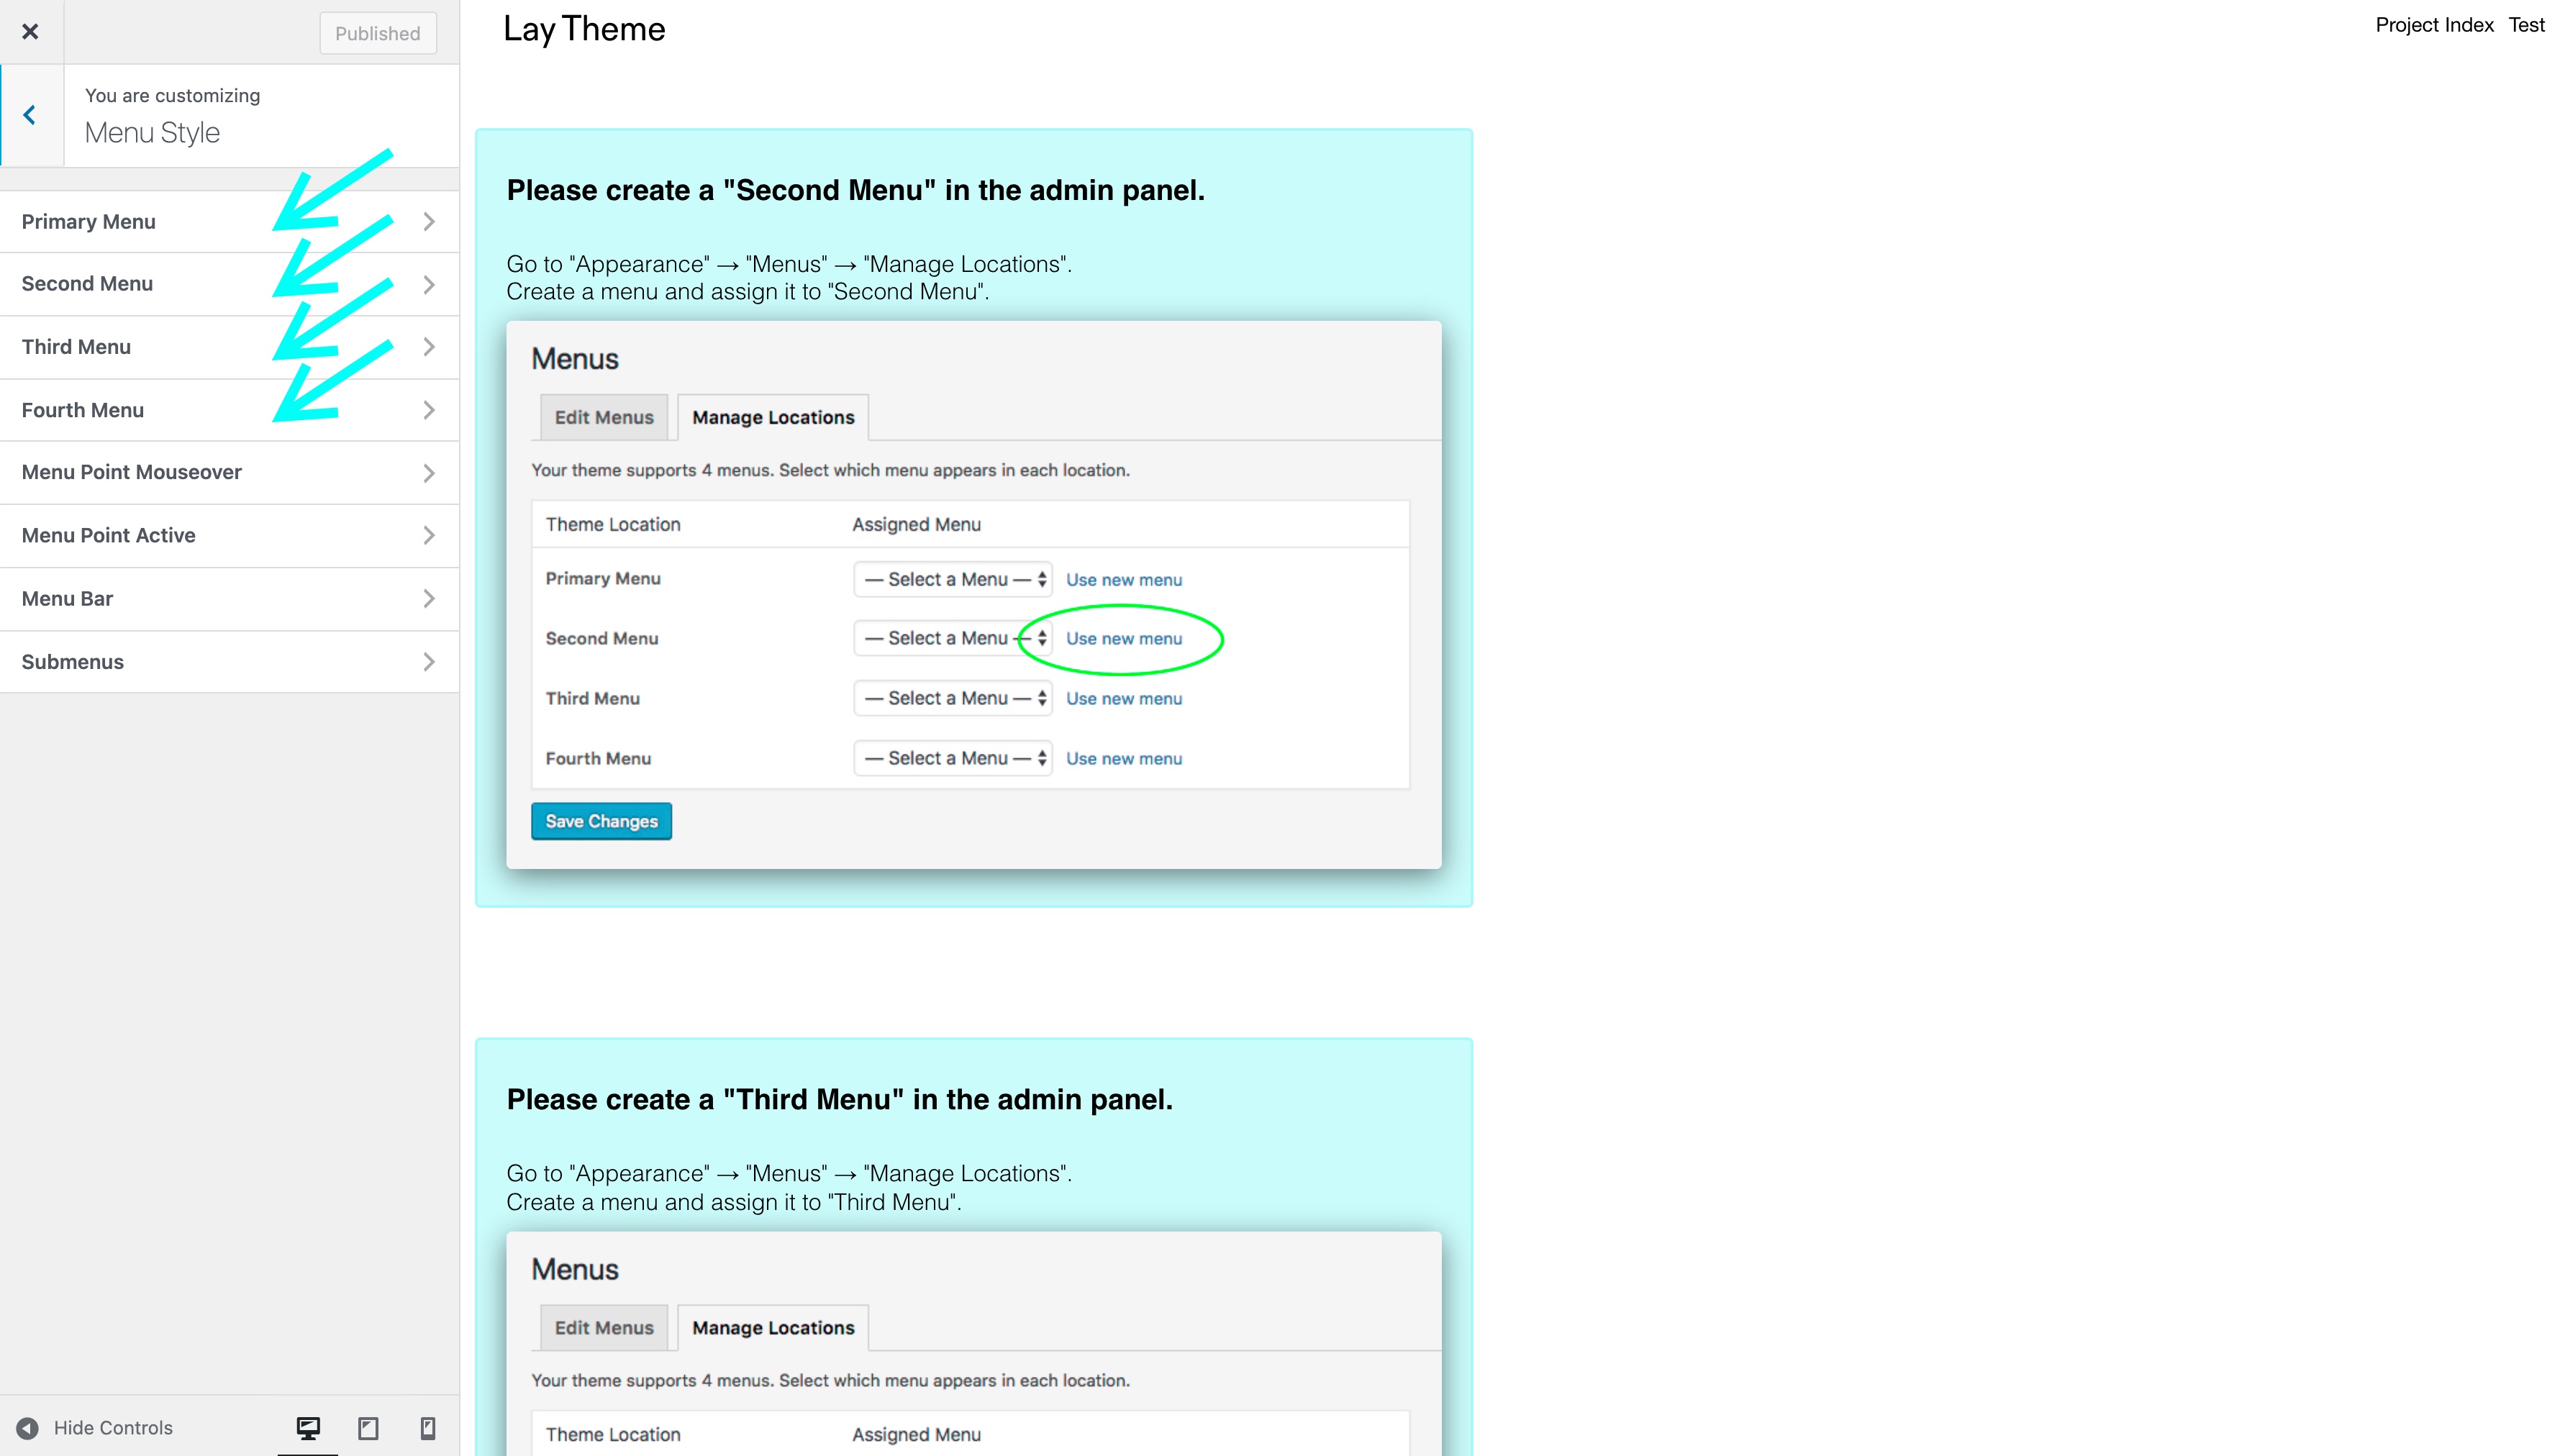
Go to "Customize" → "Menu Style". Every menu has their own styling section:
Mobile Menu
Usually, your desktop menu links will be in your mobile menu. But you can create your own mobile menu.
Go to "Appearance" → "Menus", create a menu and as your "display location" choose "Mobile Menu".
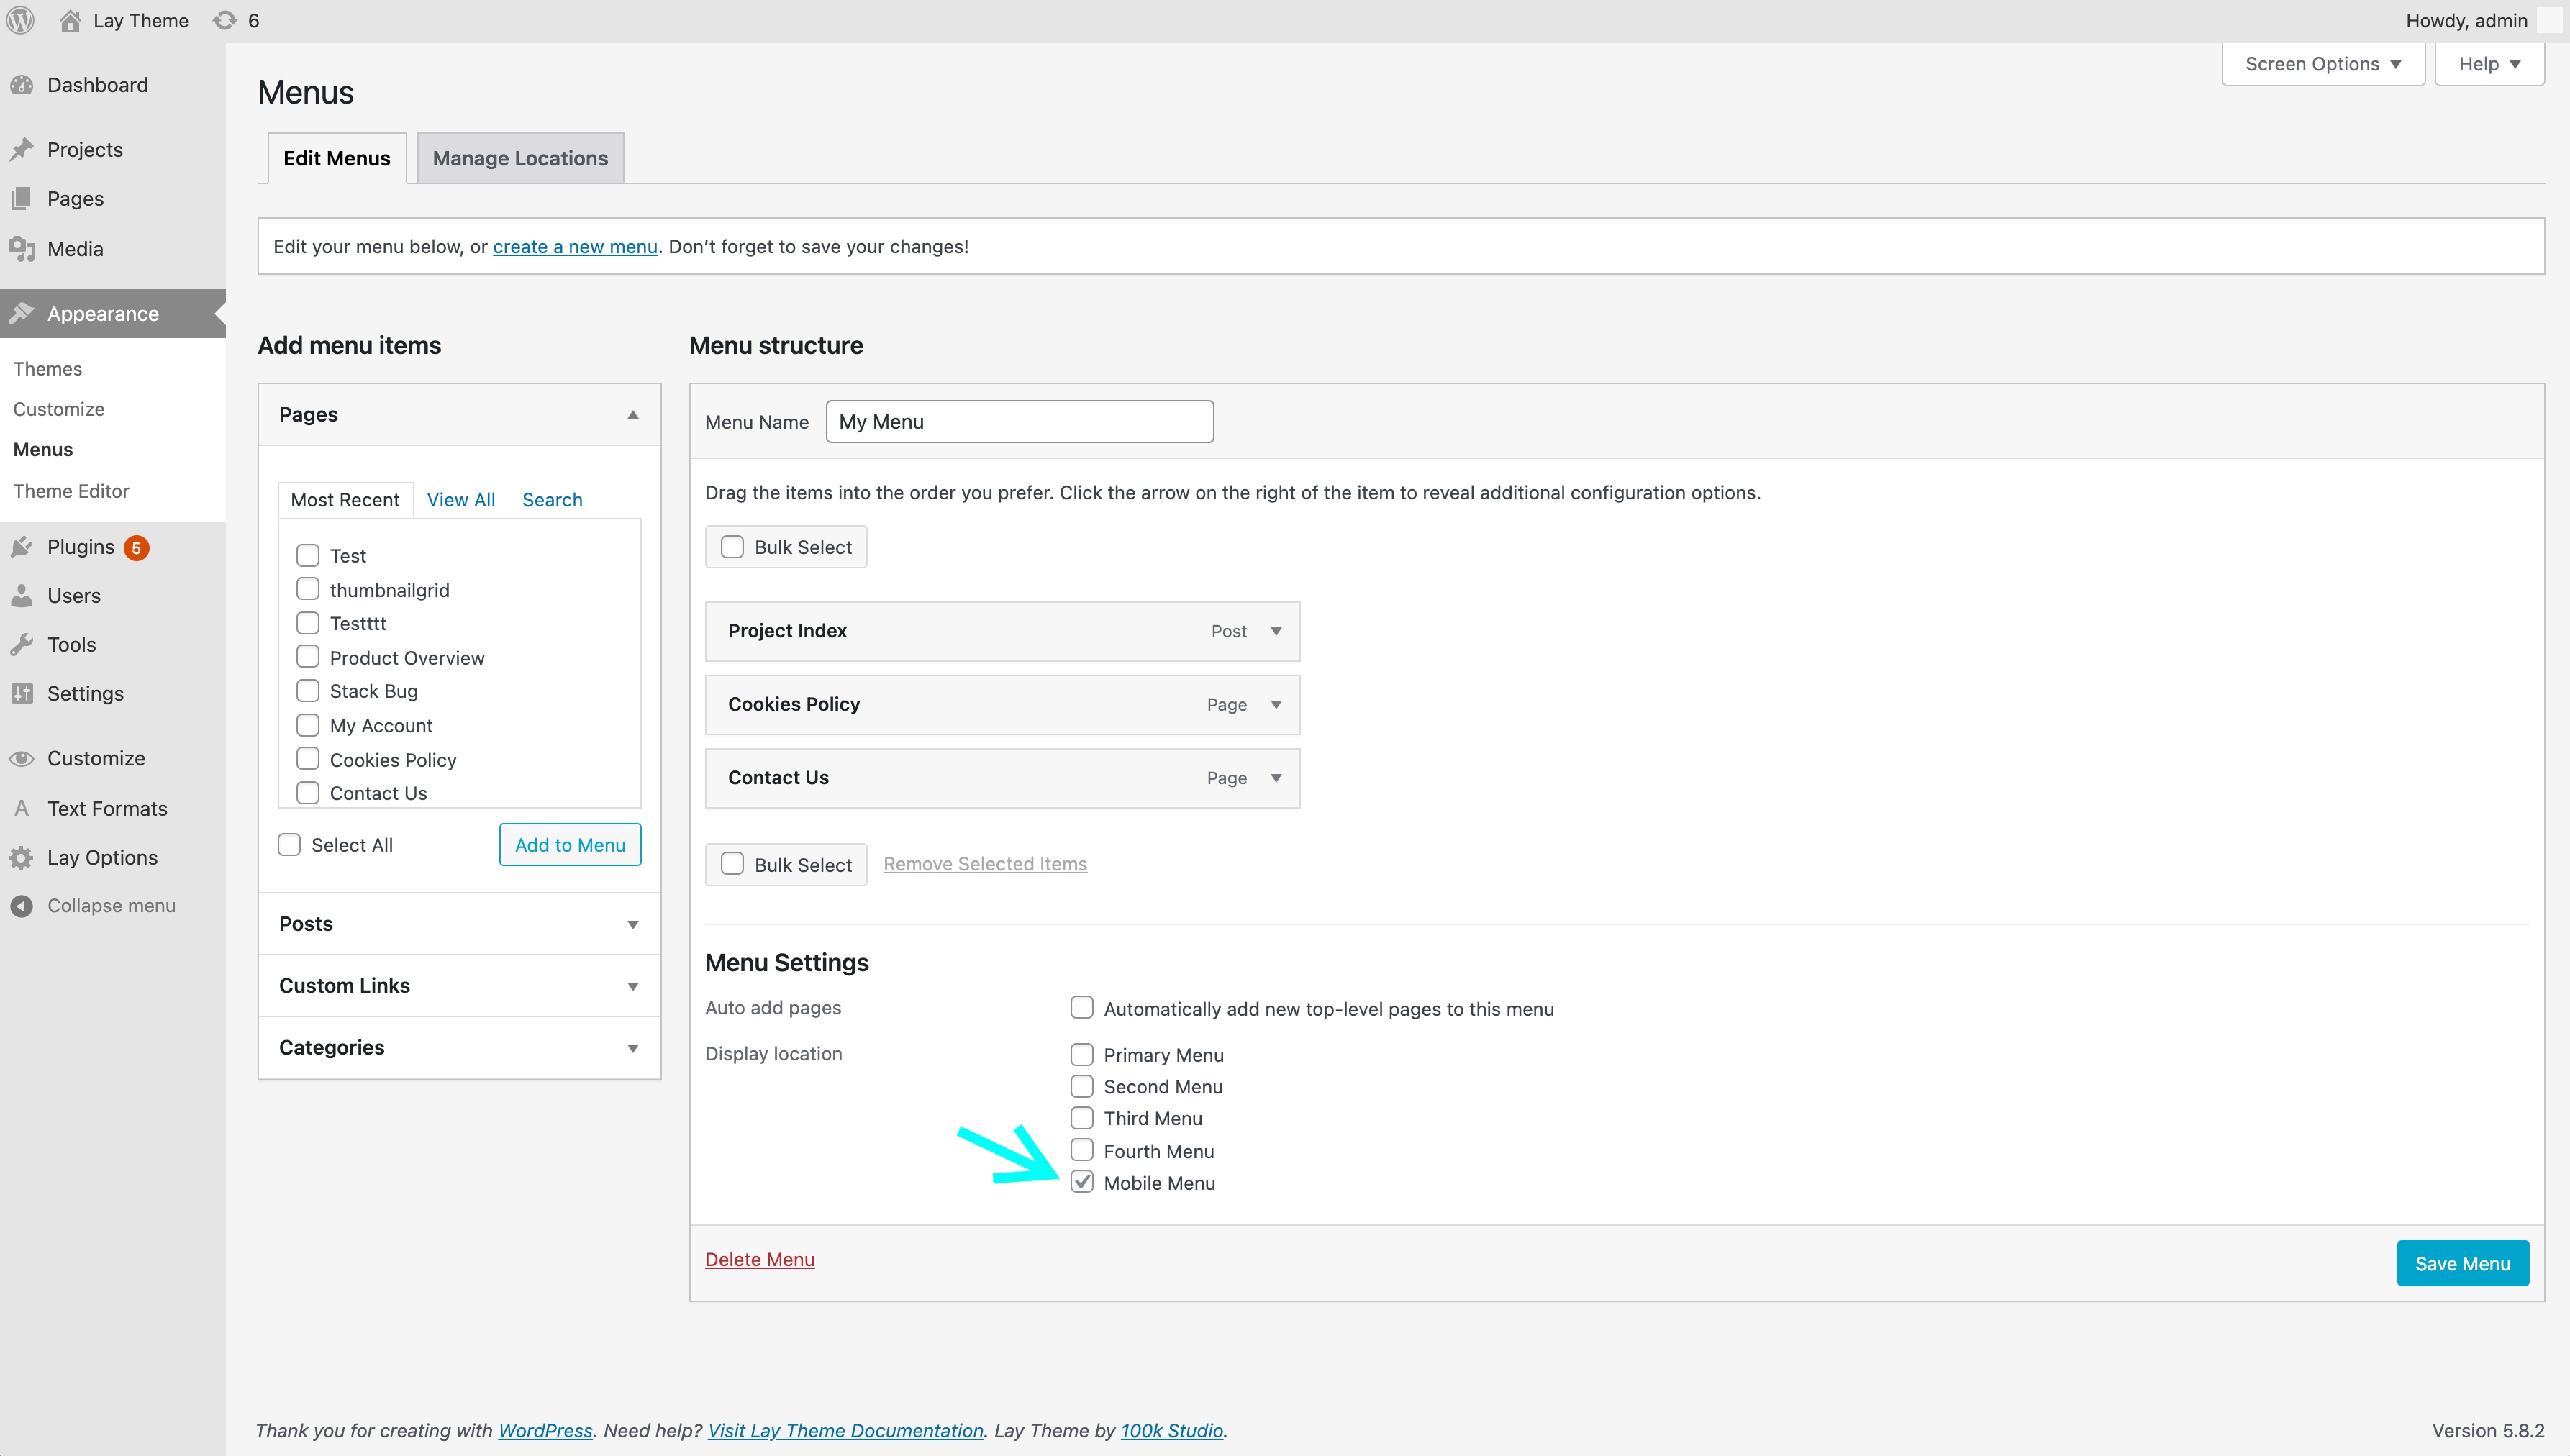
The mobile menu display location setting
Styling your Menu
Go to "Customize" → "Menu Style". To style your mobile menu go to "Customize" → "Mobile (Smartphone)" → "Mobile Menu".
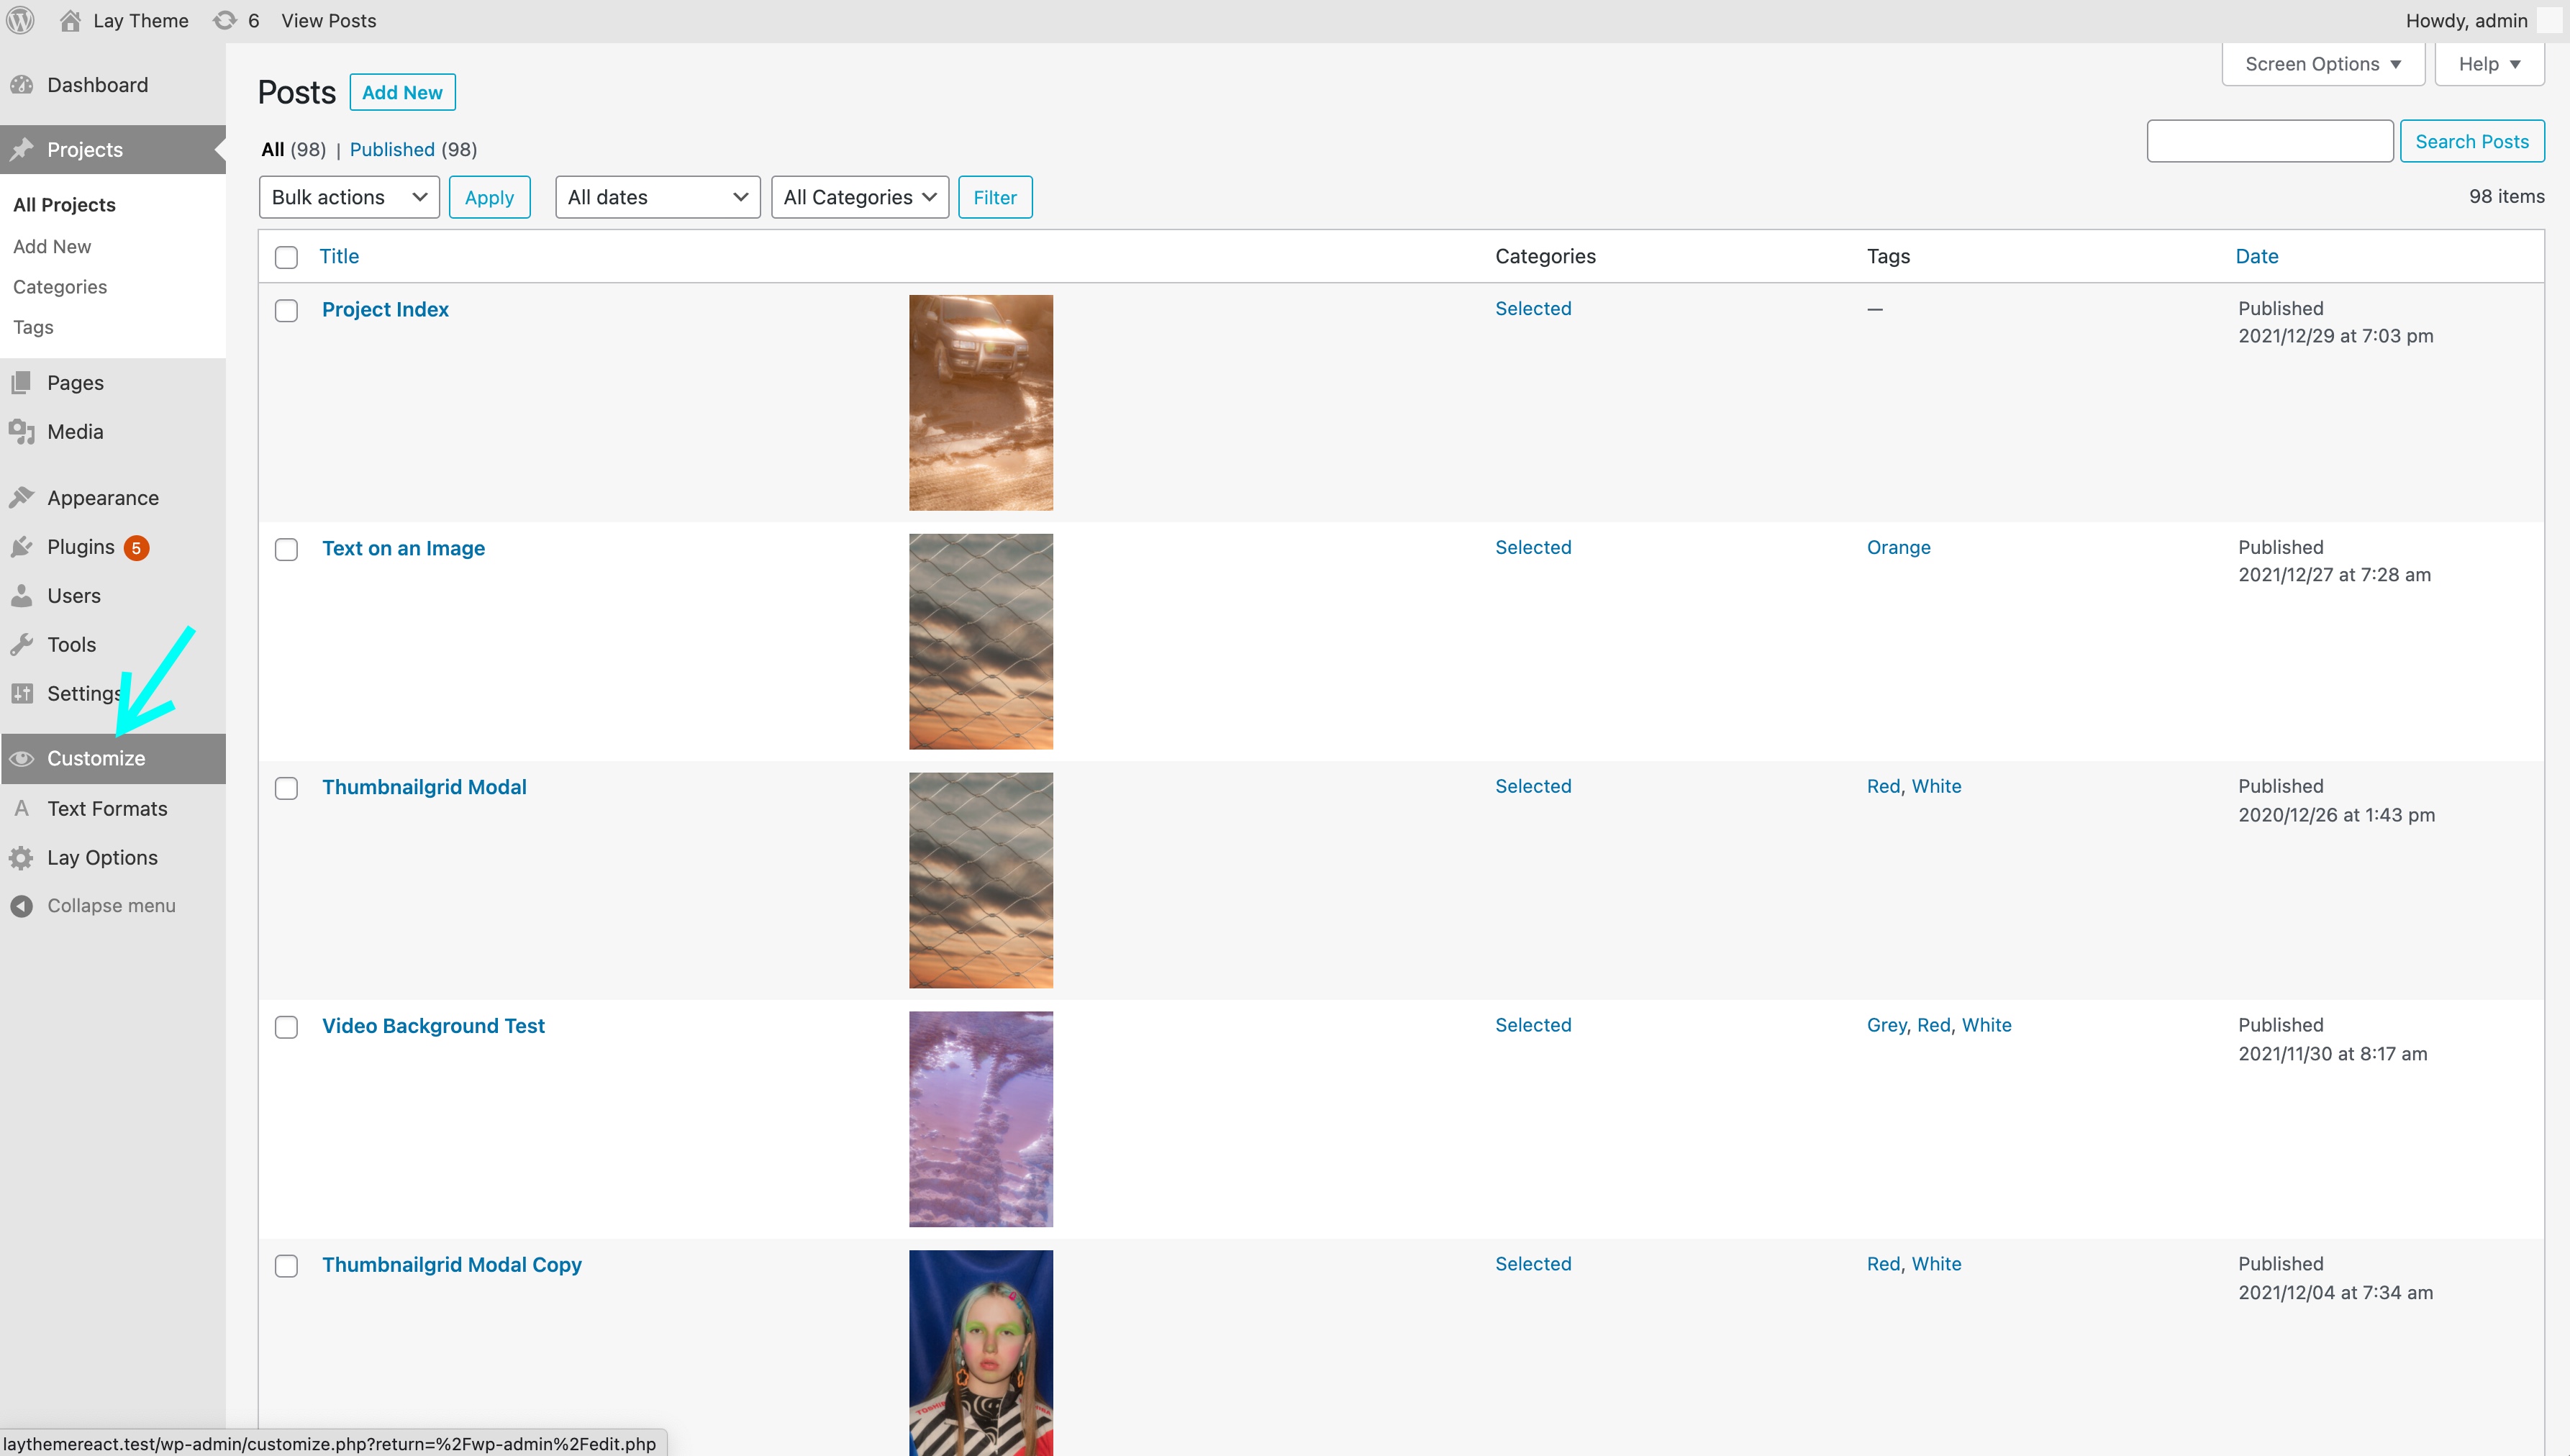
The "Customize" button
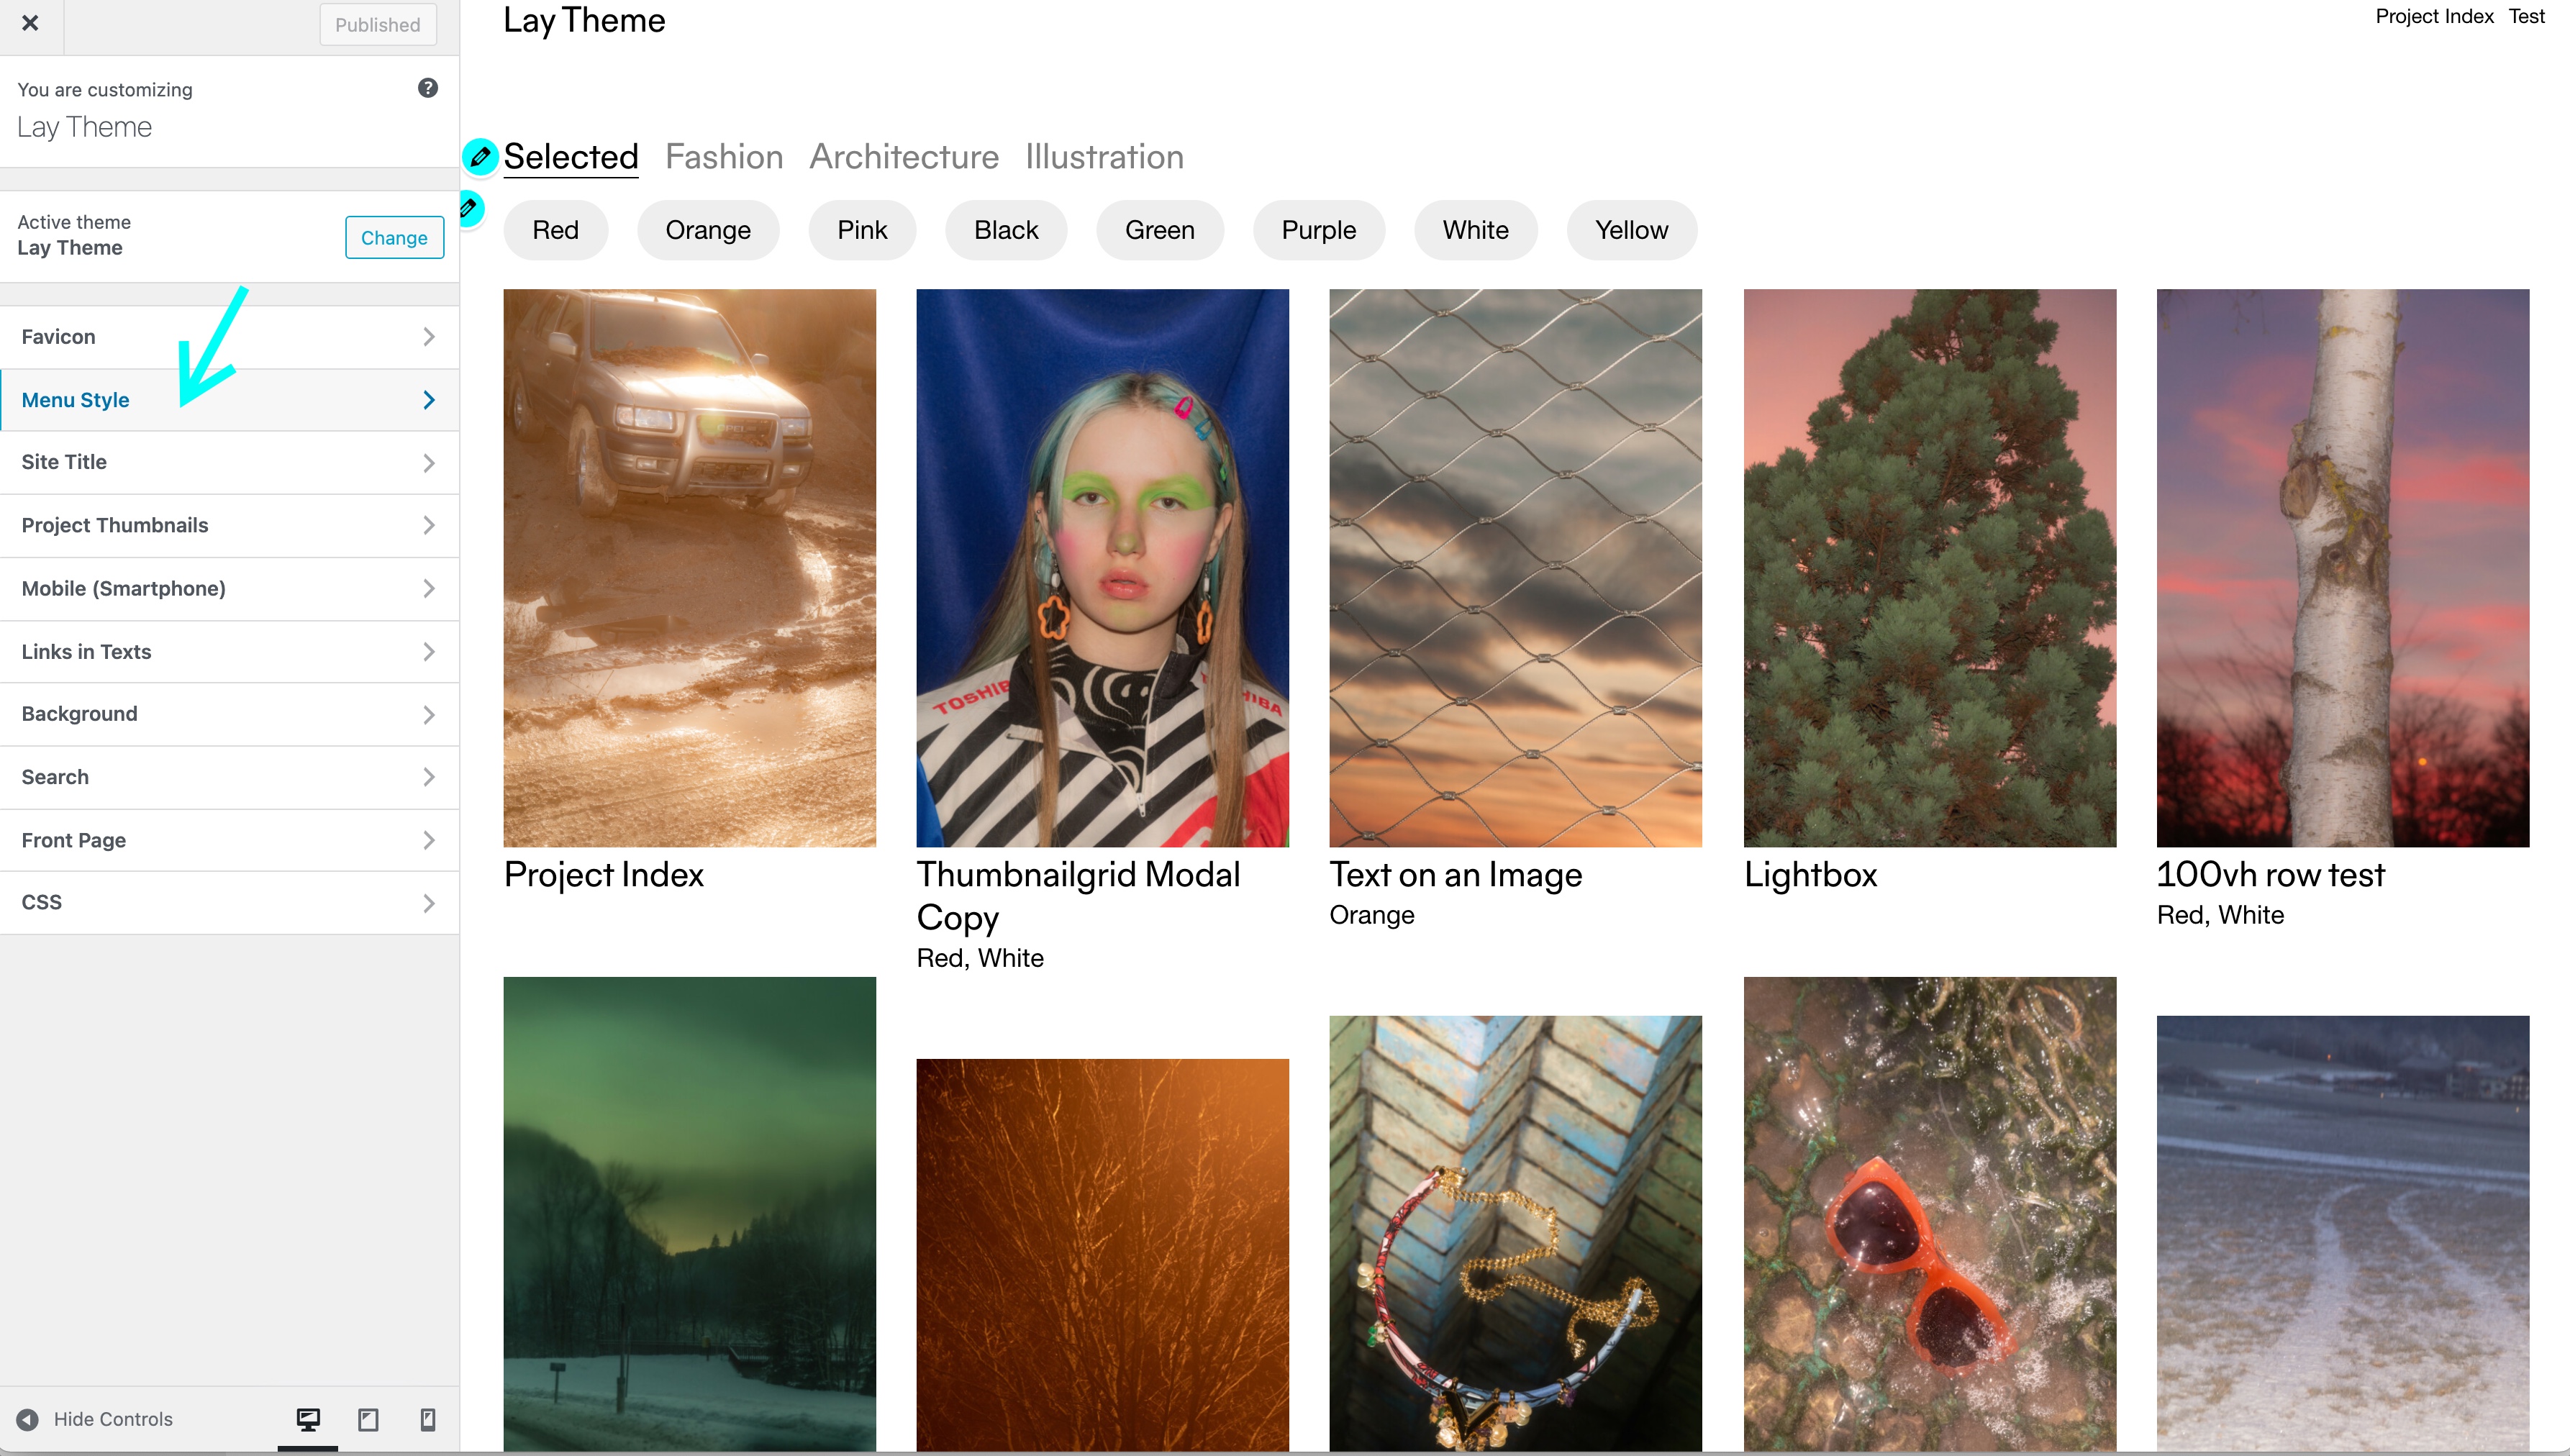
You can style your submenus too in "Customize" → "Menu Style" → "Submenus"