Gridder Rows
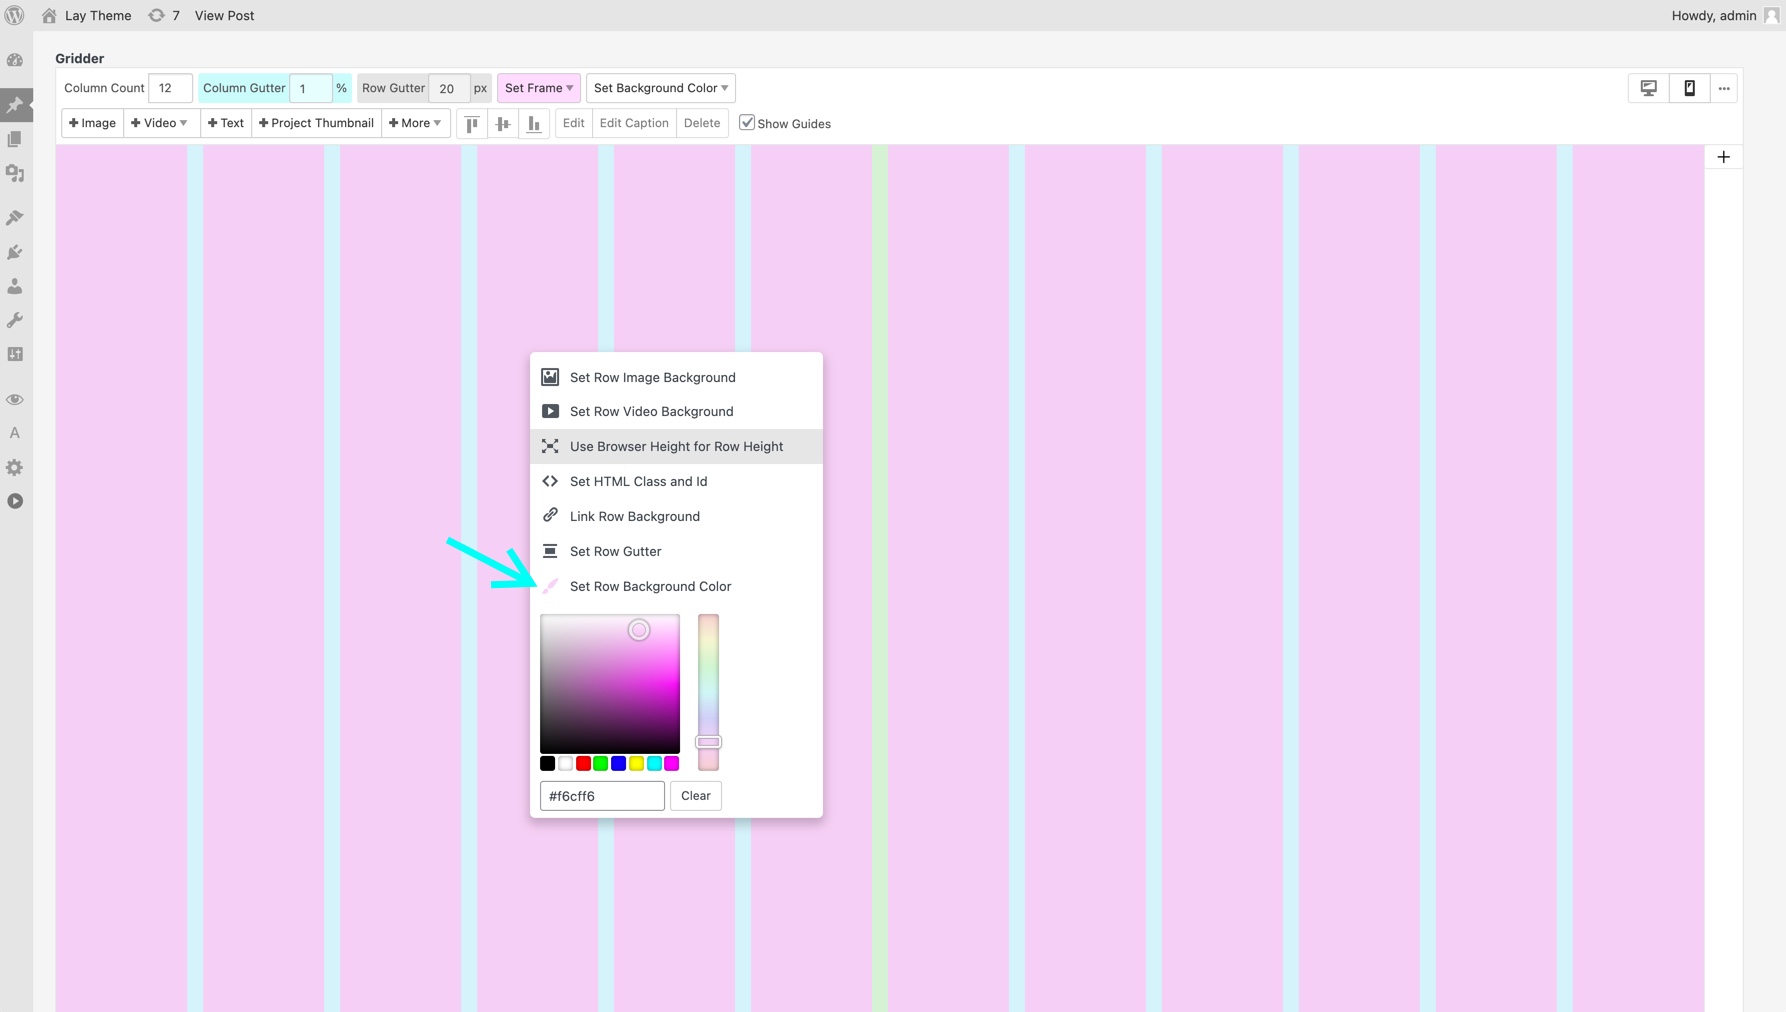
Change settings of a row by using its context menu. Just right-click on an empty spot of a row and a context menu shows.
Add a Row by clicking a "+" button:
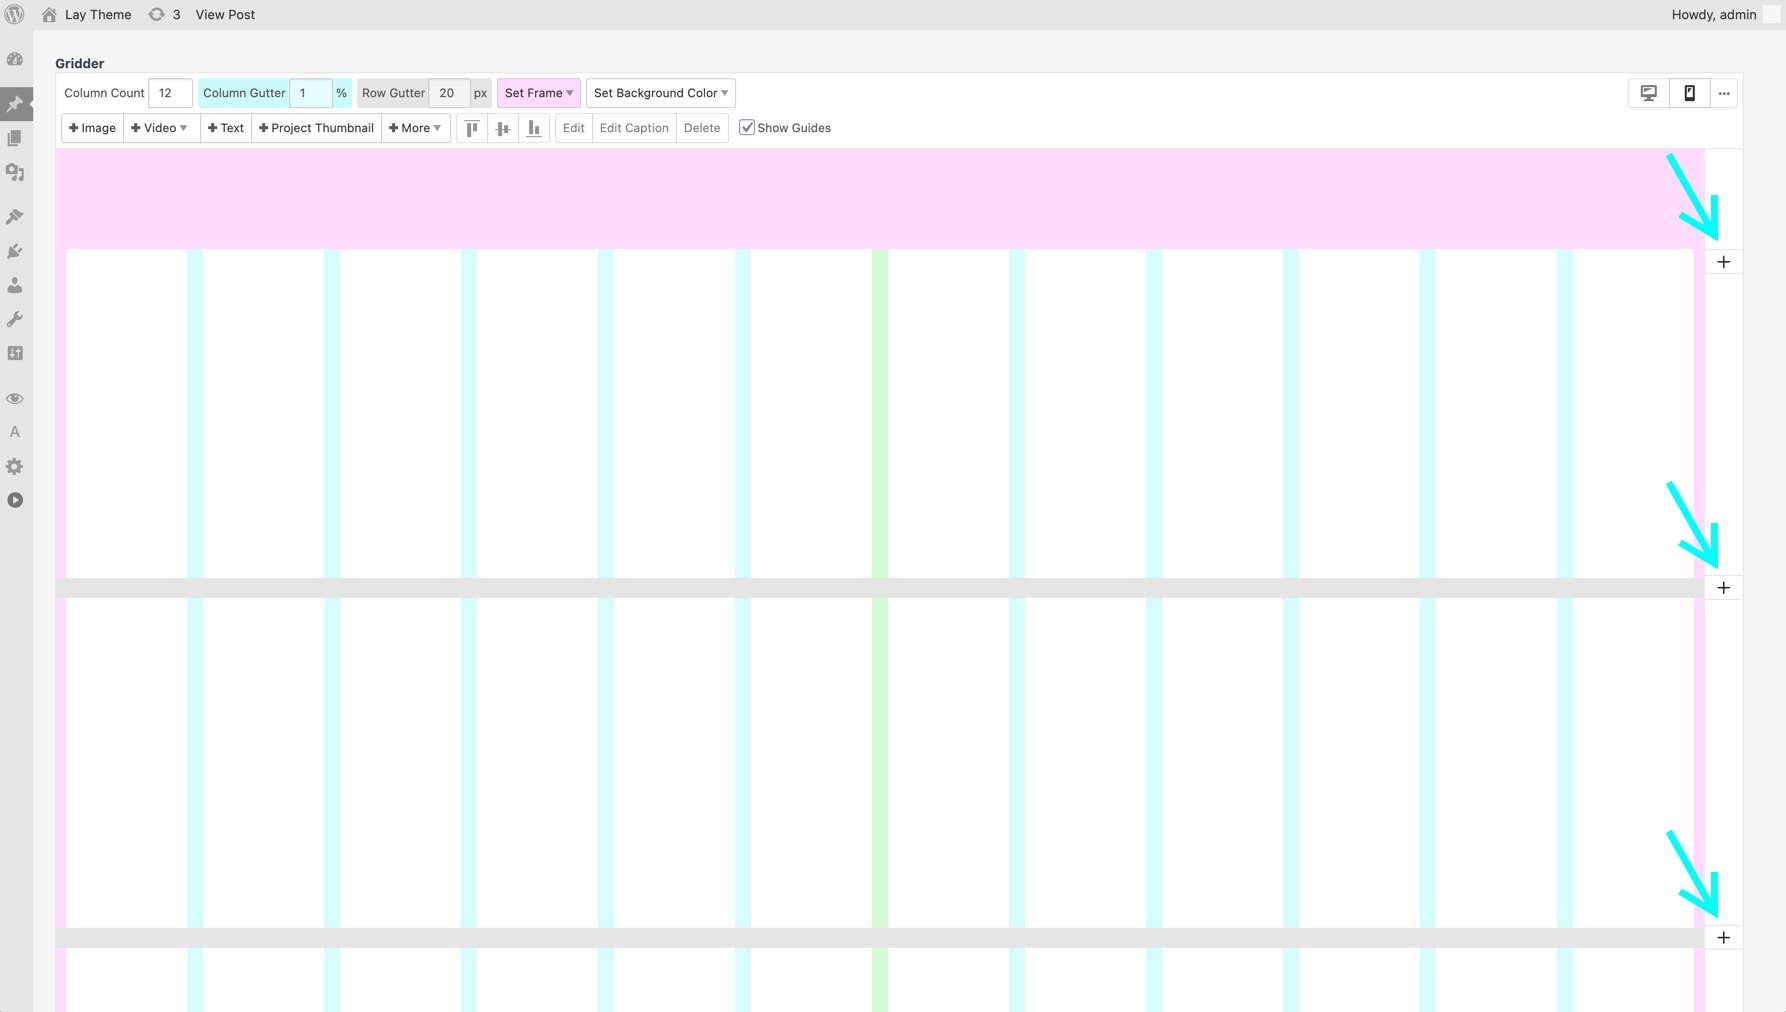
The buttons for adding a row are on the far right
Browser-filling Rows
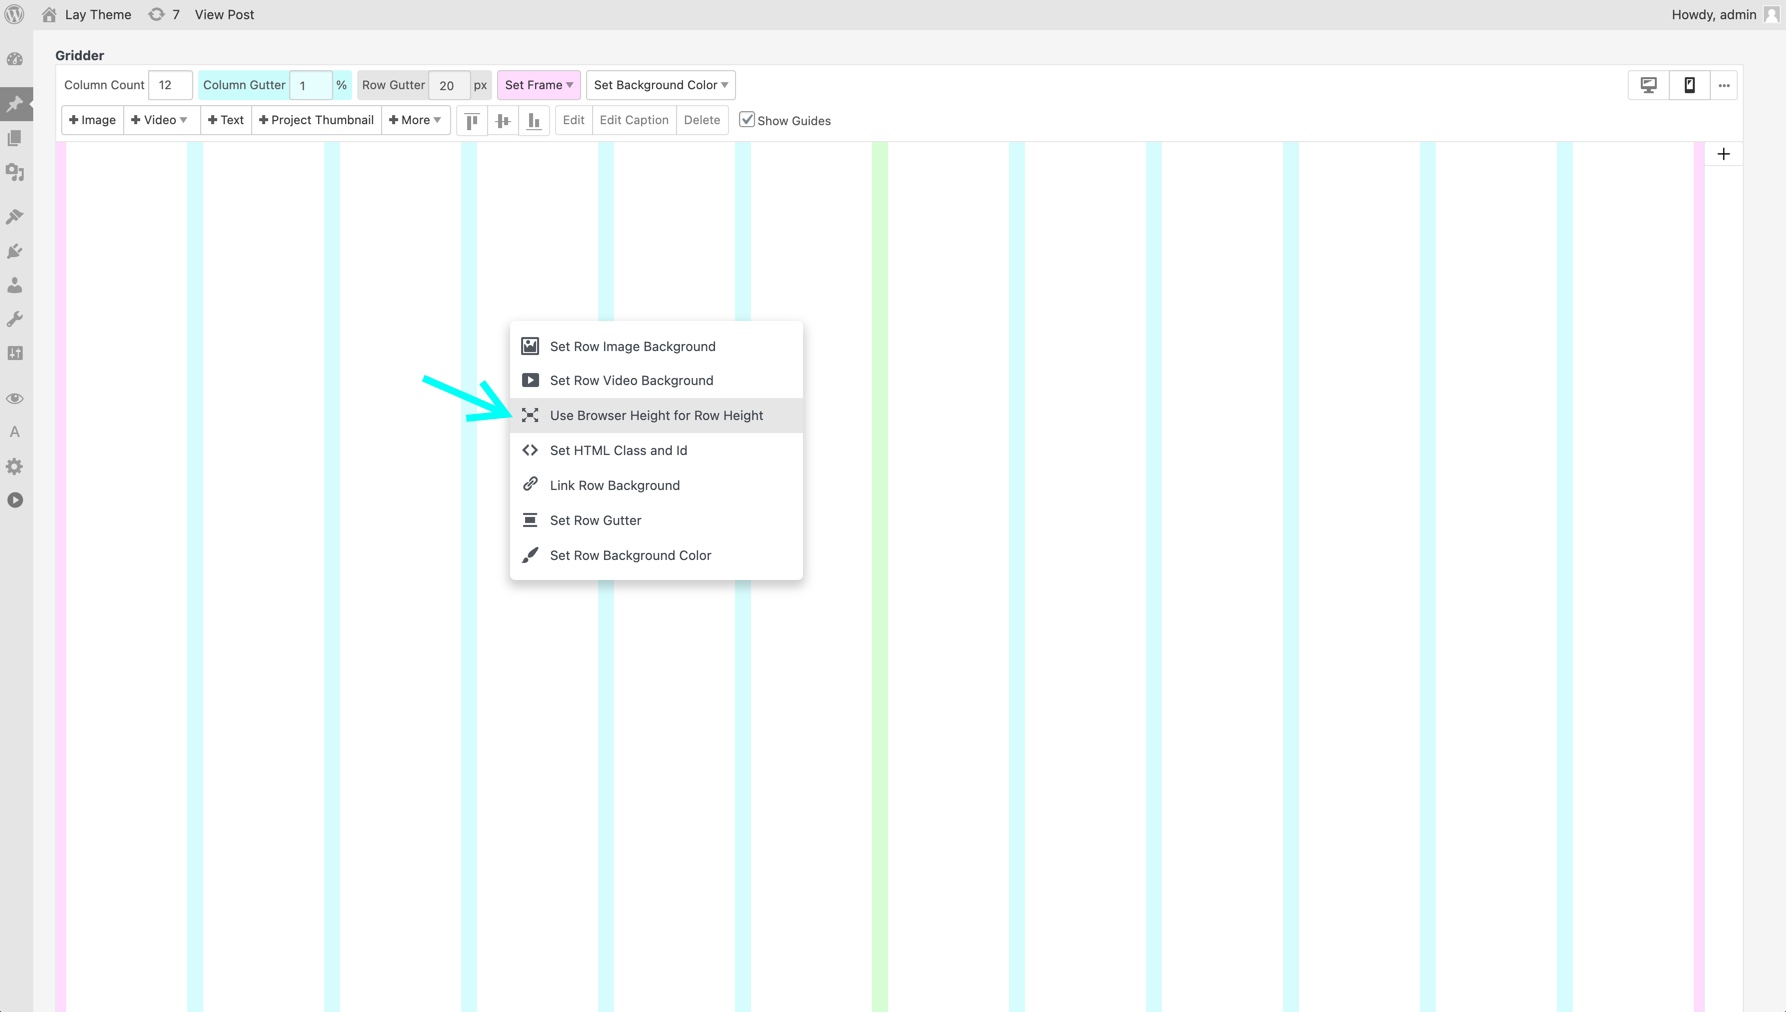
Right-click a row and choose "Use Browser Height for Row Height".
Two Row Background Images
Right click and choose "Set Row Image Background". Right click again and click "Set Second Row Image Background".
Row Background Link
Right click a row and choose "Link Row Background".
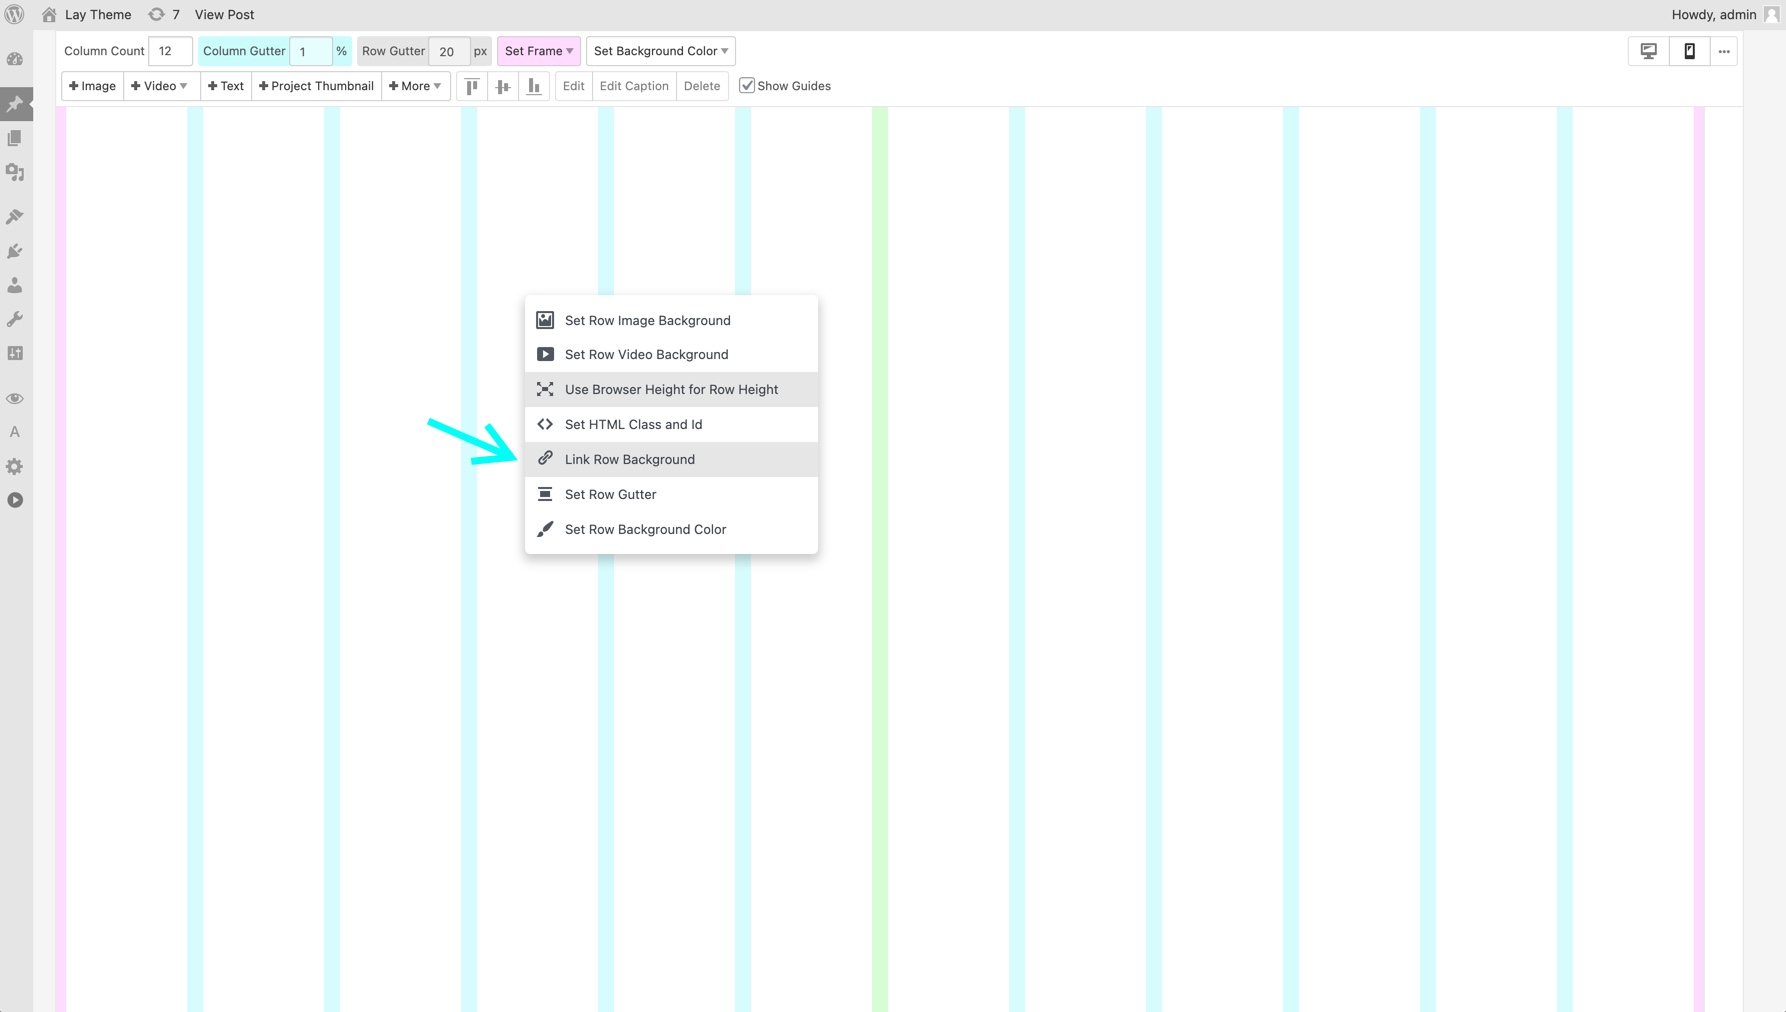
The "Link Row Background Button"
In this example you can click the text "Visit my Project, 2022" or the background to visit that project because the row background is linked.
We combined a row background link, a background image, "use browser height for row height" and a linked text.
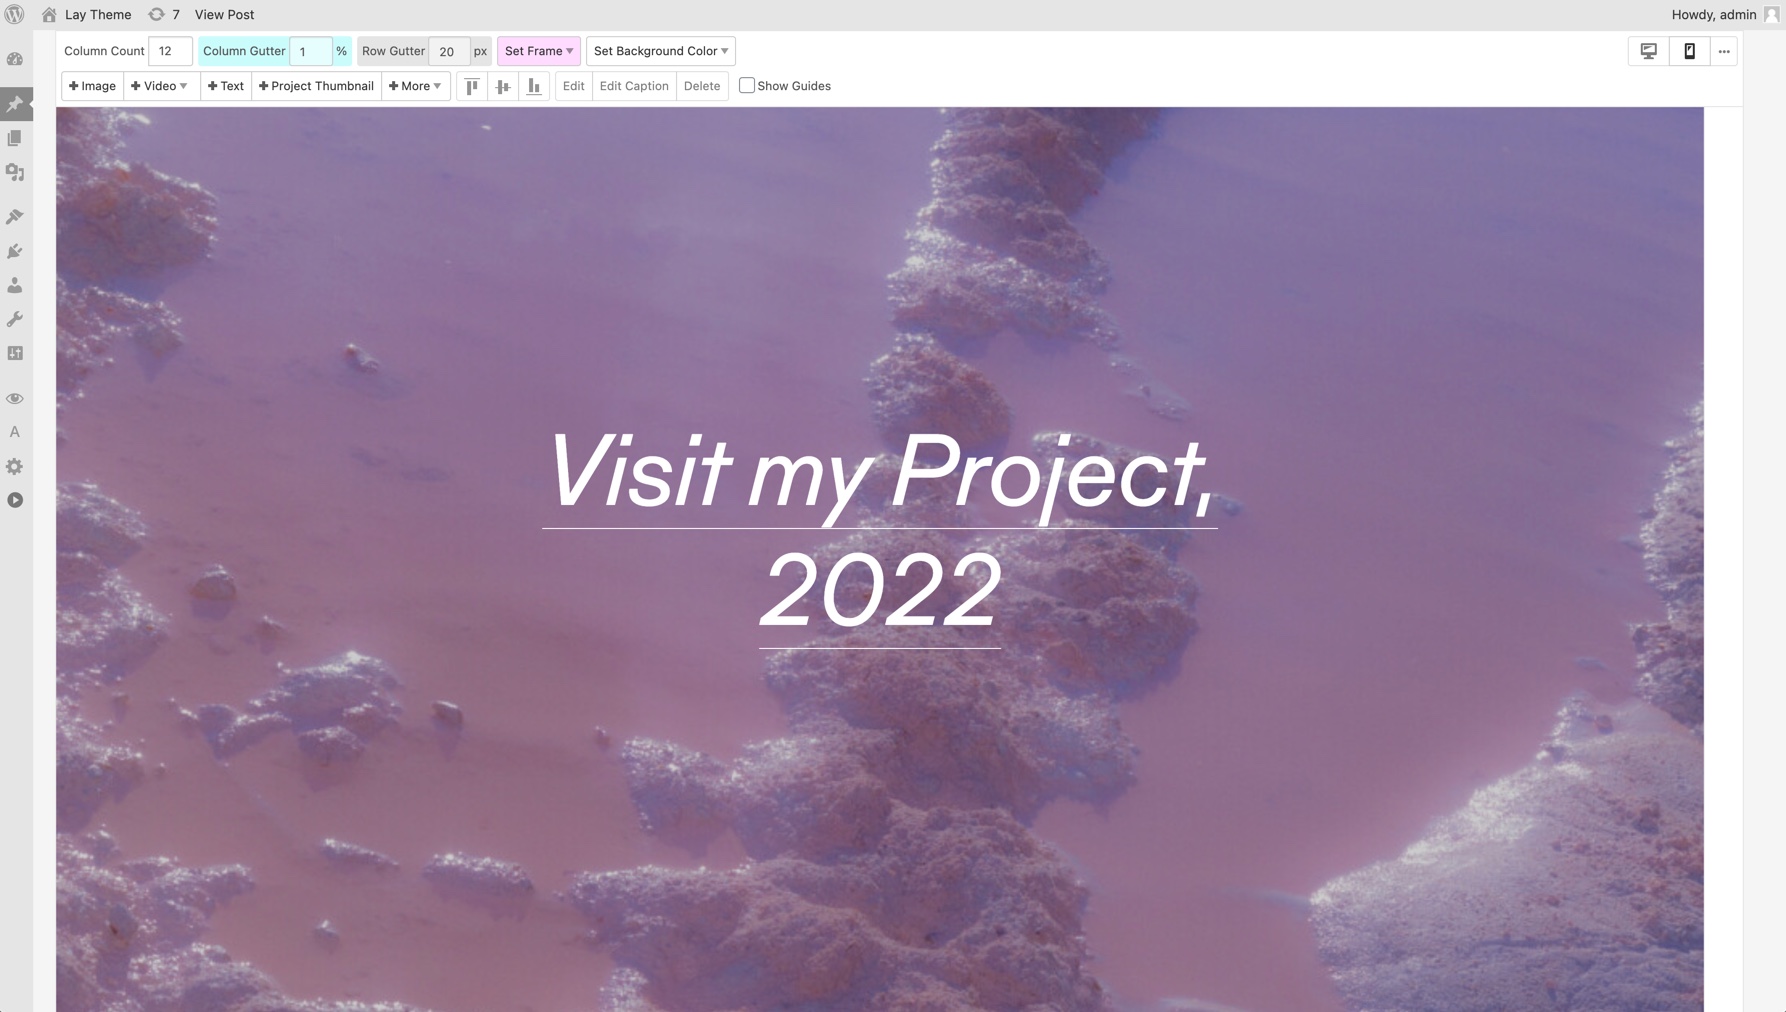
A "Link Row Background" use case
Fullscreen Background Image
Right click a row and choose "Use Browser Height for Row Height". Right click again and choose "Set Row Image Background".
If you just want to set a background image for the whole website you can do so in "Customize" → "Background".
Fullscreen Background Video
Right click on an empty spot of a Row and activate "Use Browser Height for Row Height". Right click the Row again and choose "Set Row Video Background". The video will be an autoplaying, looping and muted HTML5 video.
Individual Row Gutters
Click on a row gutter which is shown as a gray bar. The bar will turn pink and you can enter a number to individually set the size of this row gutter. You can also right click an empty spot of the row and choose "Set Row Gutter".
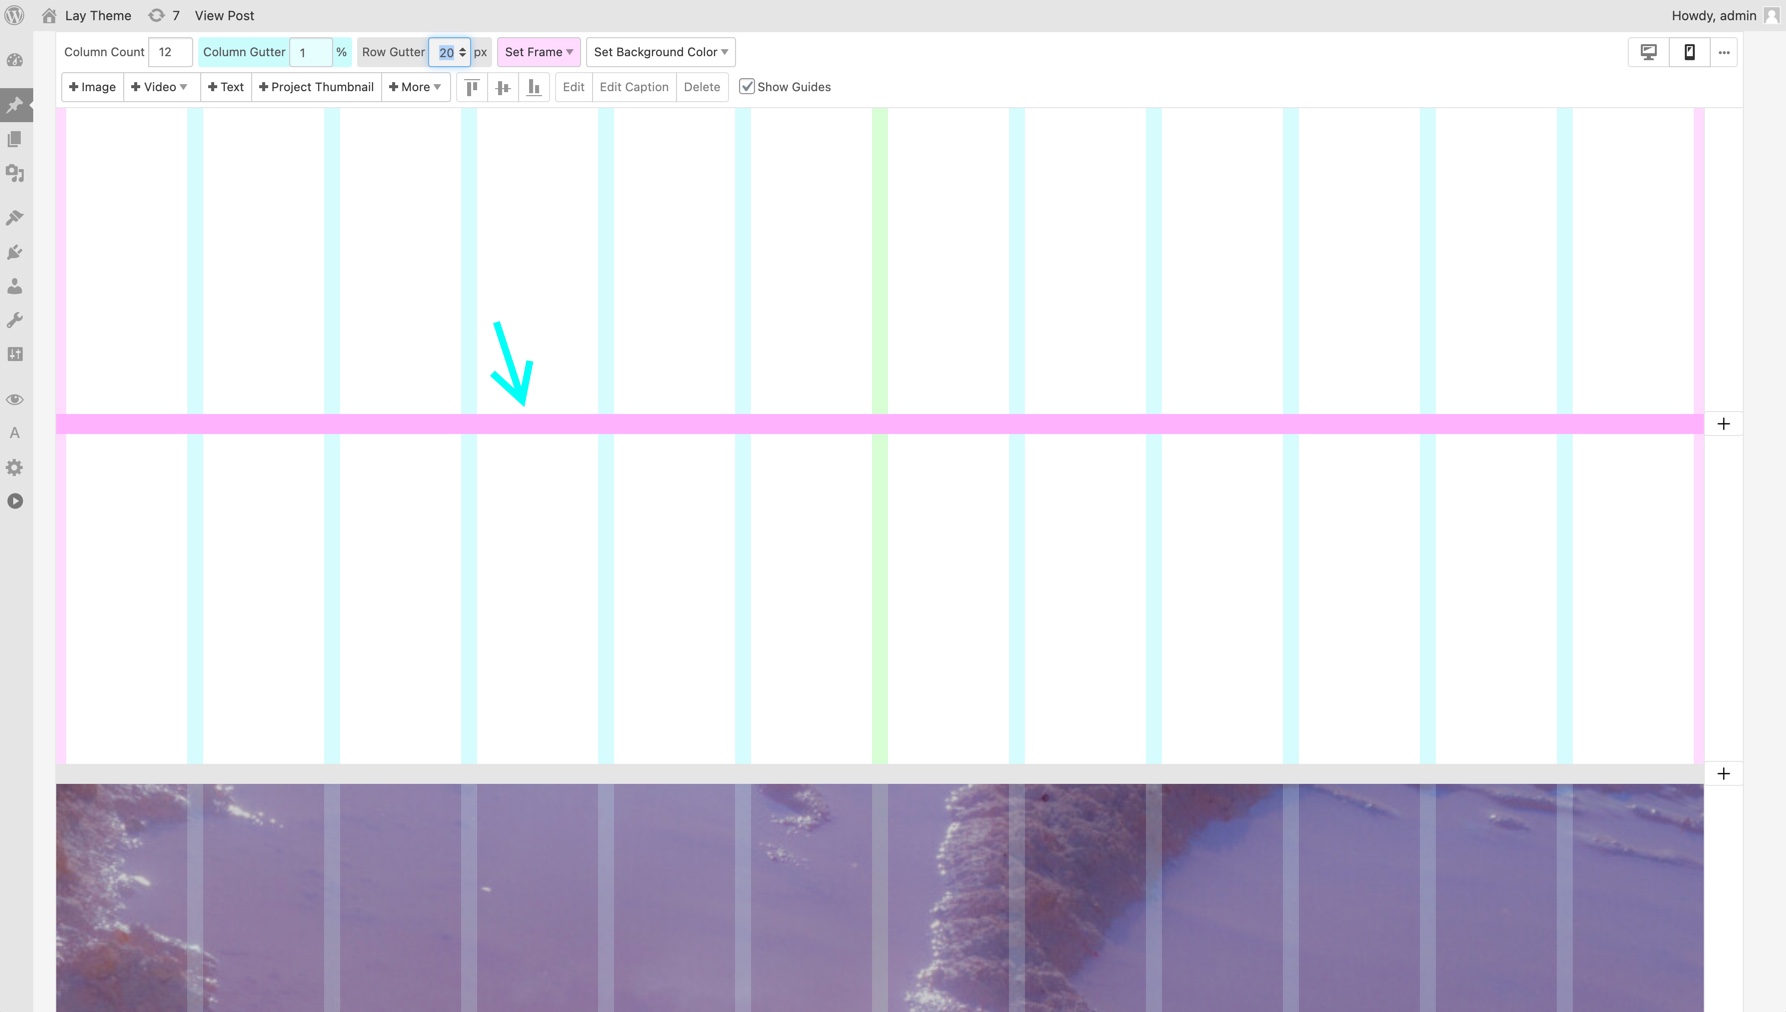
In "Lay Options" → "Gridder Defaults" you can set Row Gutters to be in pixels rather than in %.
Row Background Color
Just right click a row and click "Set Row Background Color".
